Android UI Design: Tips and Best Practices

Enhance user experience and engagement with these top Android UI design tips and best practices for creating visually…
How to Update Your App for Android 13 Permissions

To prepare your app for Android 13, you should ensure that it follows the best practices for handling…
How to use Biometric(Fingerprint) in Android?
One method of protecting sensitive information or premium content within your app is to request biometric…
How to start activity using Animation?
Start an activity with a shared element.Enable window content transitions in your theme. · Specify a shared elements…
How to add ProGuard to Android?

We may have used ProGuard in our project when developing Android applications.
How to Check the Visibility Keyboard in Android?
The keyboard is one of the basic components of any Android application. Typically, we use the keyboard to take input…
How To Add Google In-App Review for Android
The Google Play In-App Review API lets you prompt users to submit Play Store ratings and reviews without the…
How to Start and Stop Jobscheduler in Android

Android apps will work in the background (Android Background Service) mode to listen to broadcast messages, push…
Android 11 Released: Top New Features
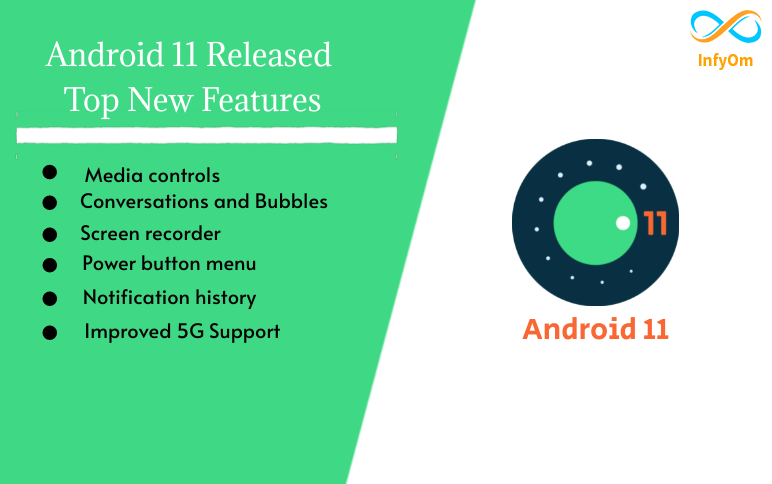
This is only part of what’s new as there are over 100 features that serve app developers to further the entire…
How to Change App Language in Android Programmatically?
Android 7.0 (API Level 24) provides support for multilingual users, allowing users to select multiple locales in the…