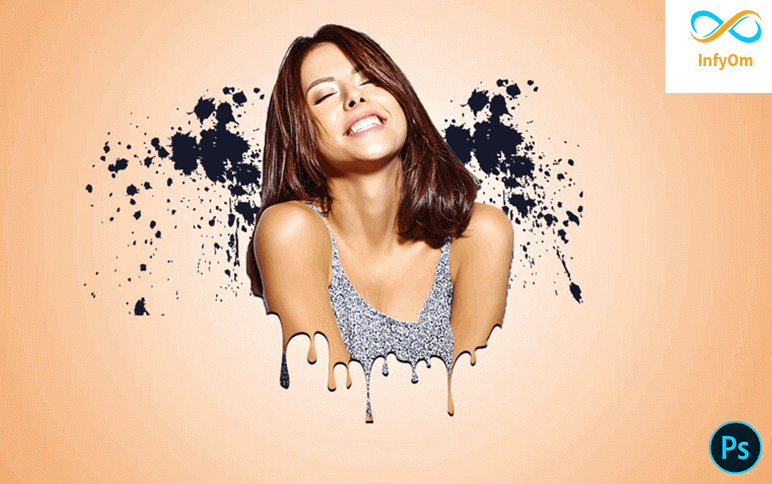
Step:1 Create a new artboard
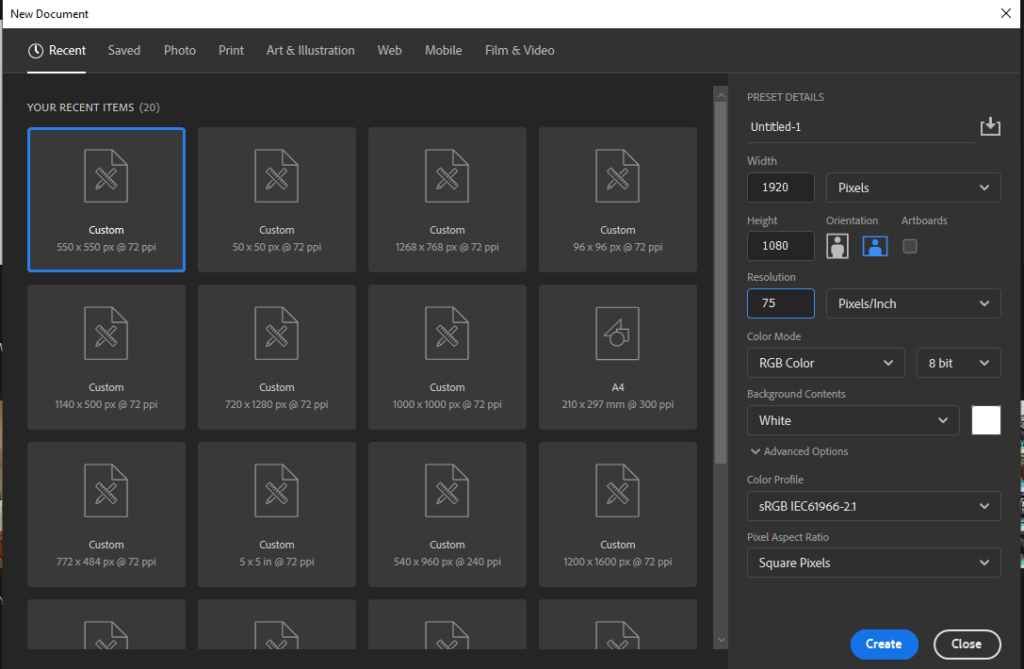
Create new artboard fill property width 1920 height 1080 resolution 75px/inch color mode RGb-8bit background white.
Step:2 Select Add a layer style
Click the lock icon to unlock the background and double click it to open click gradient overlay and the gradient bar.
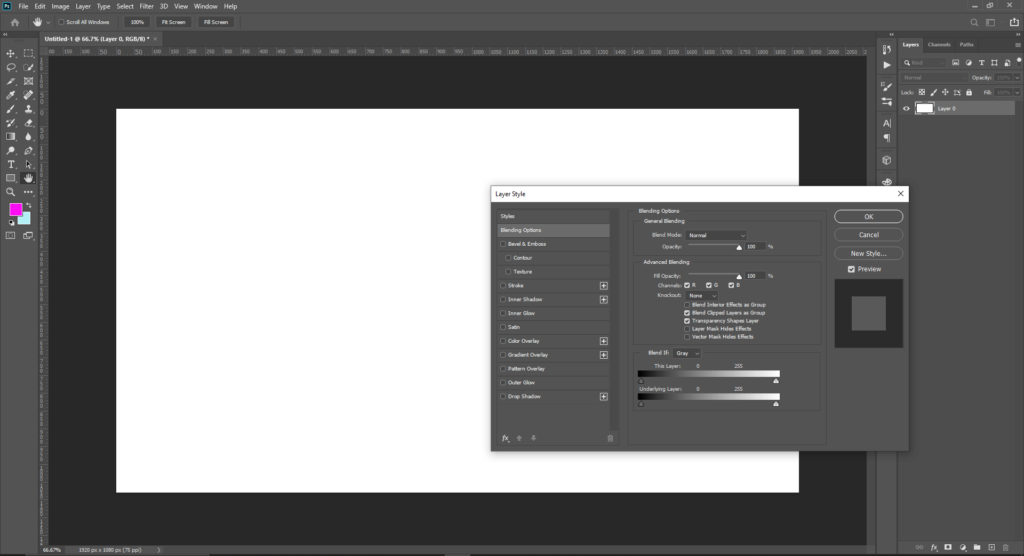
Click the black & white thumbnail in the lower-left step, click the color box and pick a soft color that works with your subject.
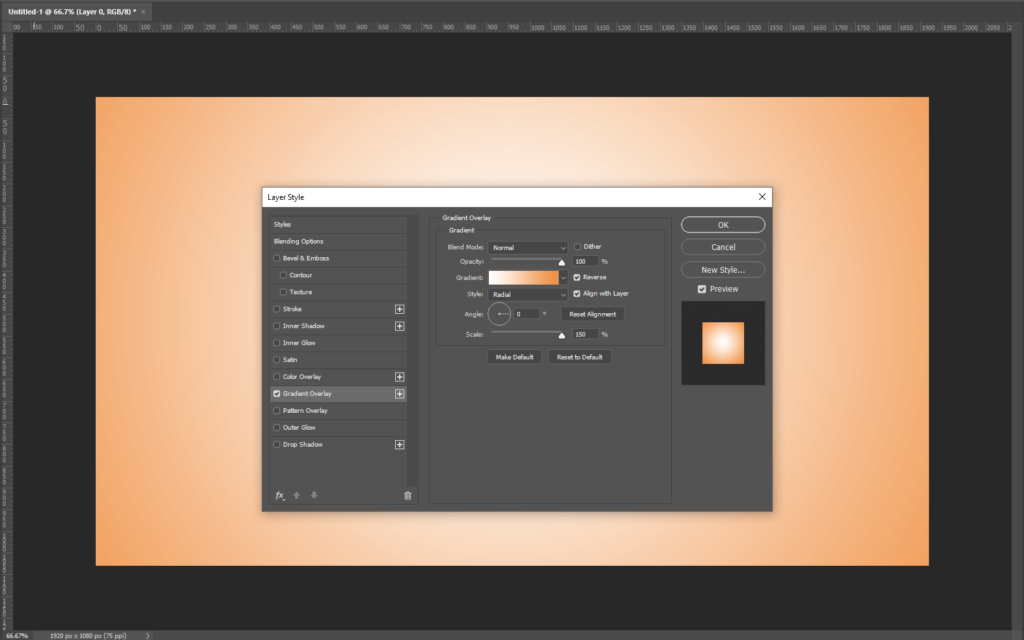
Step:3 Set Image In artboard
Press v on your keyboard drag the photo onto the keyboard to reposition it just drag it.
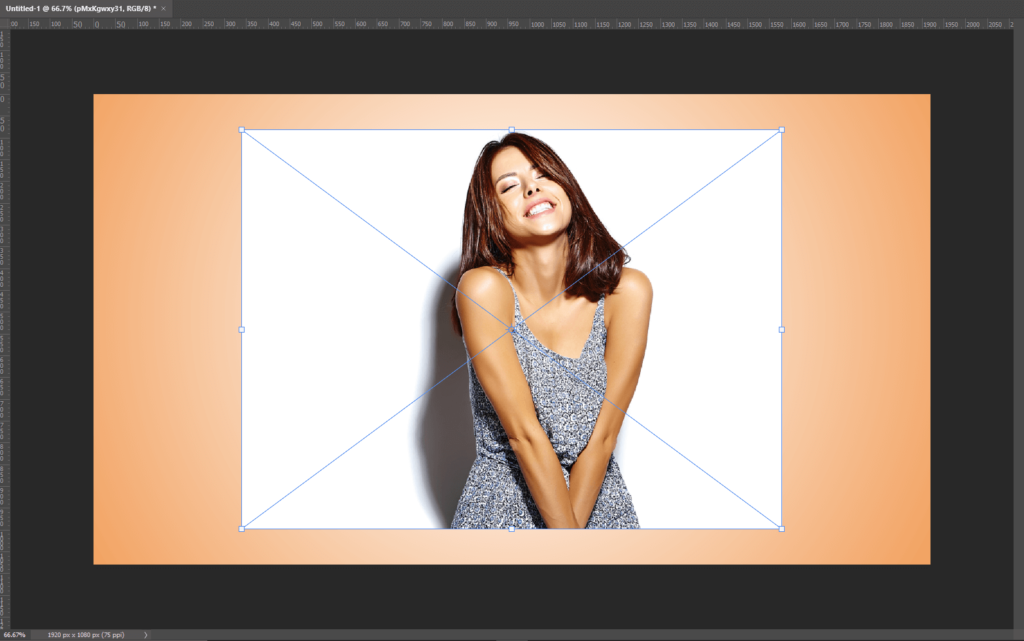
Once you’re happy with its size and position press enter or return next we’ll septate the subject from its background by making a selection around the subject. there are many ways to do this but for this example, I’ll use the quick selection tool if you’re using
Step:4 Crop as a requirement
This tool as well makes its radius anywhere between 5 and 10 pixels drag the tool over the inside of your subjective selection
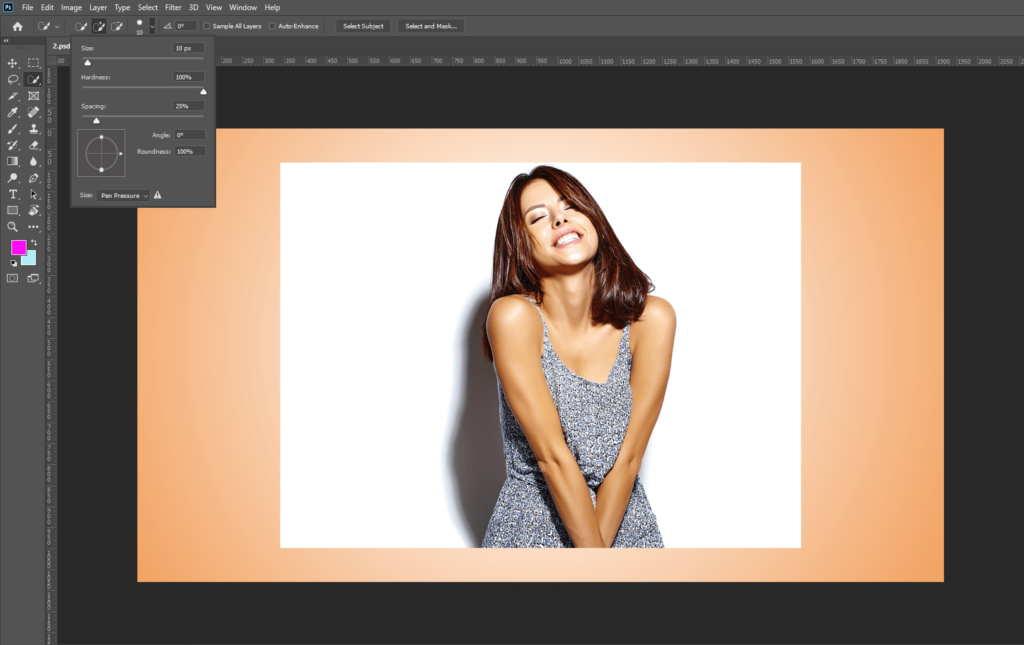
Step:5 Select Refine edge
Those areas to refine the selection edge click refine the edge and check smart radius that detects smooth and hard edge drags the radius a little bit to the right to adjust the size of your project make sure.
The caps lock key is off and press the right or left bracket key on your keyboard drag the brush cover all soft edges like air and press OK.
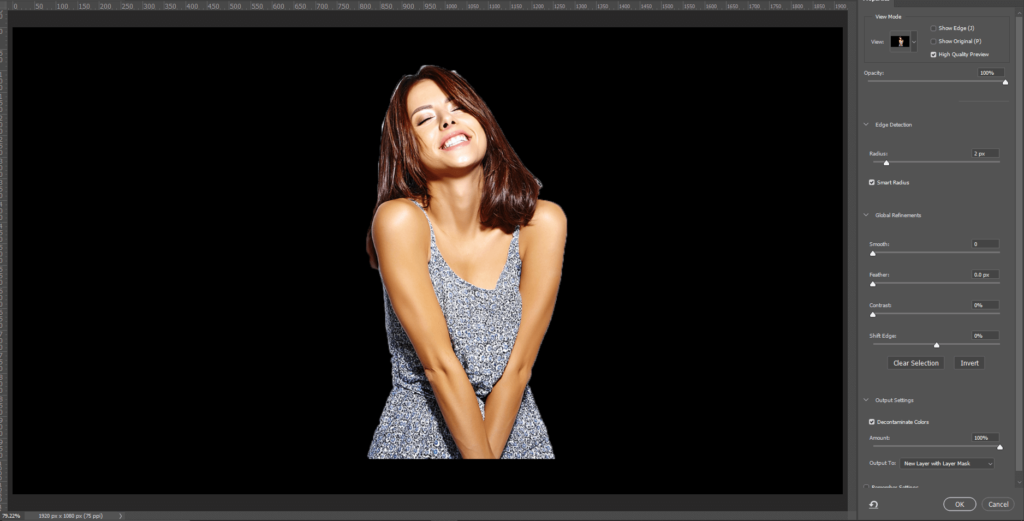
Step:6 Add Drip image
How to hook it to a new layer with a layer mask open in the background.
Ctrl-click the dripping photo to make a selection, make the original subject photoactive and press the delete icon on your keyboard click eyeball to hide the dripping pattern then be selected by pressing Ctrl+D.
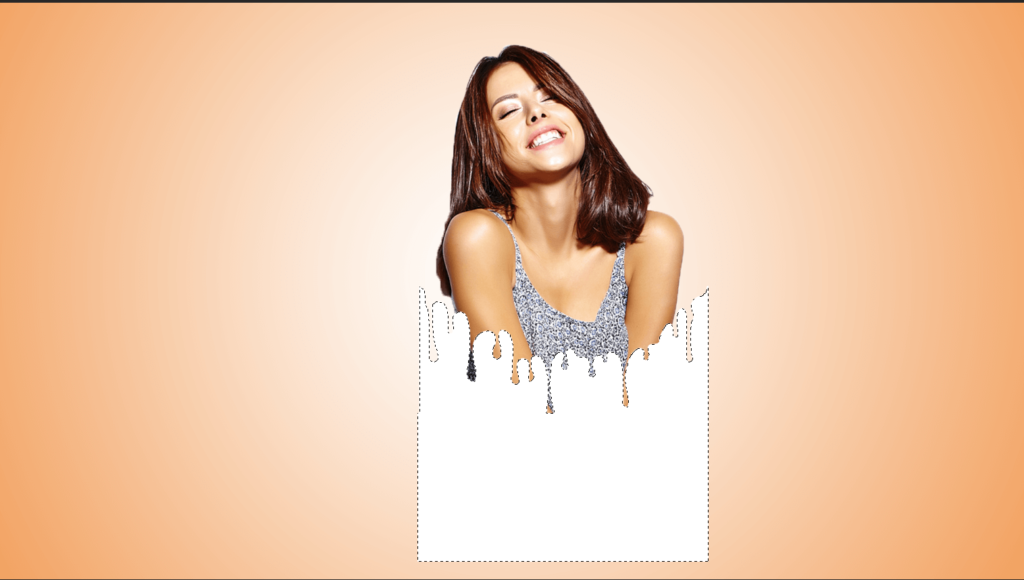
Step:7 Add Brush Style
Click the new layer icon to make a new layer drag it below your subject.
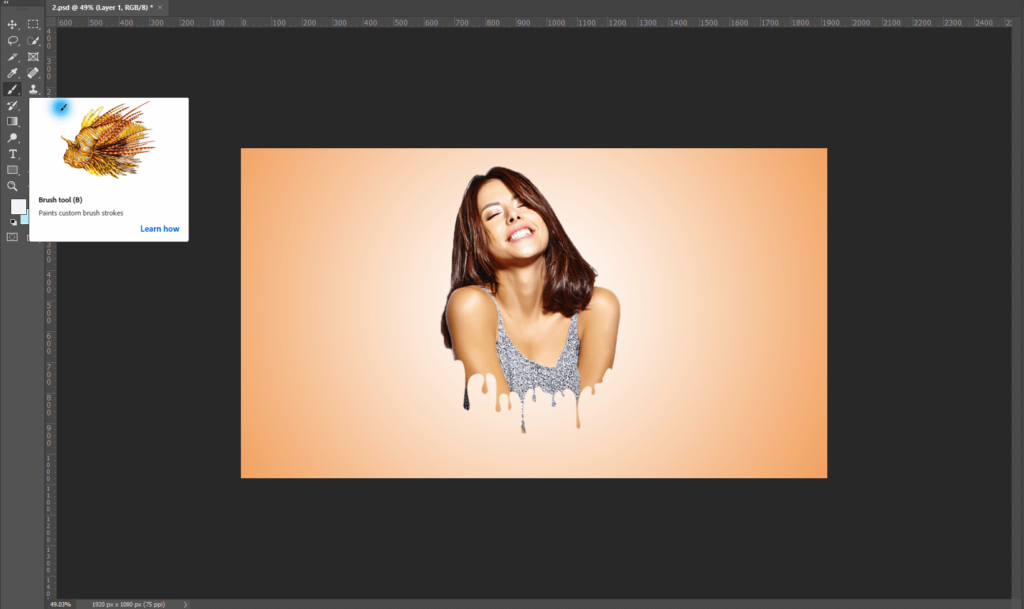
Set open brush tool and brush picker take this flat seven board number 504 for brush download the splatter brush.
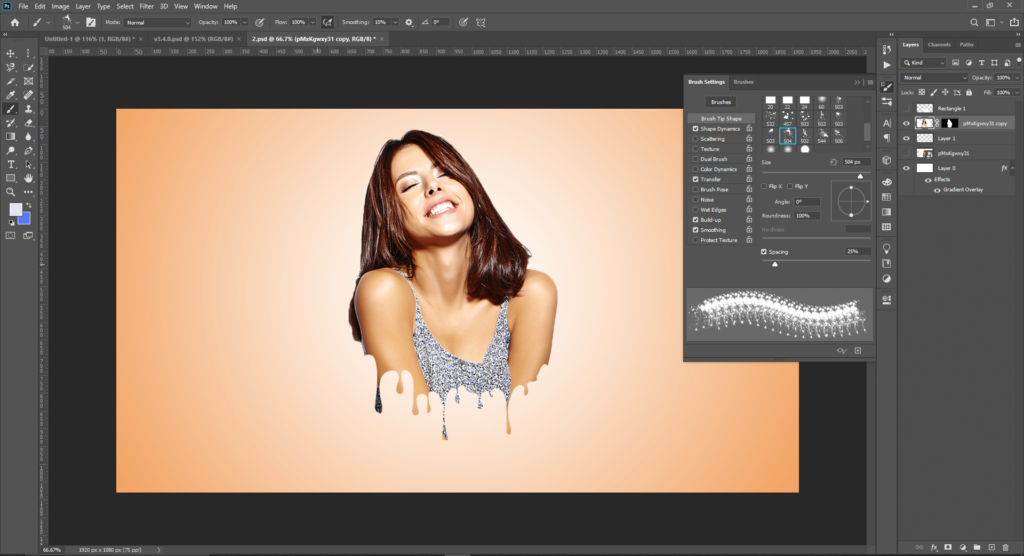
Step:8 Add Effect as per your Requirement
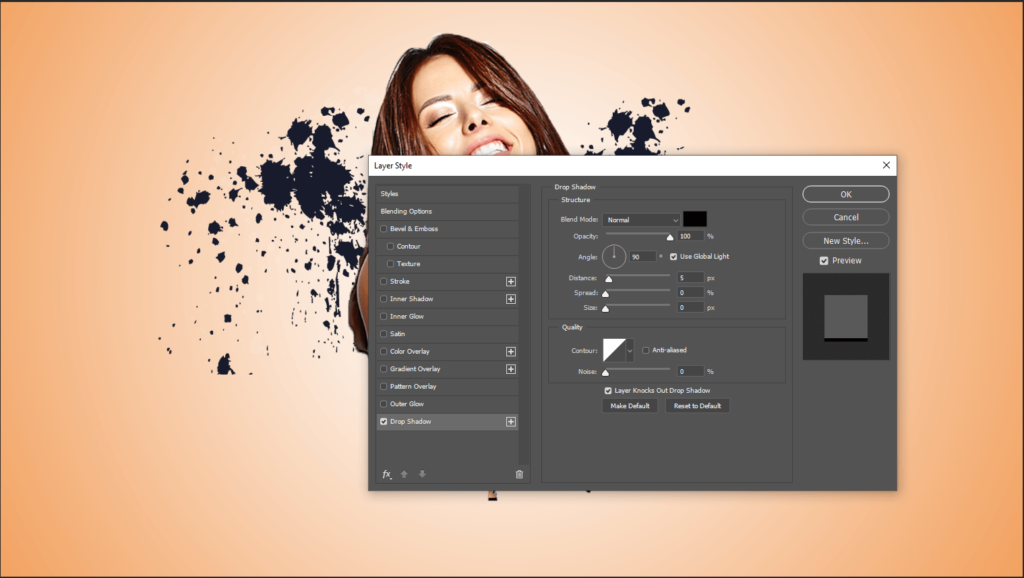
Make the subject layer active and open layer style window click drop shadow the blend mode is linear burn the color is black and the opacity is 100% the angle is 90 degrees and check the use of global light.
The distance is 5 pixels the spread is 0% and the size is 0 pixels the contour is linear and the subject is ready
