
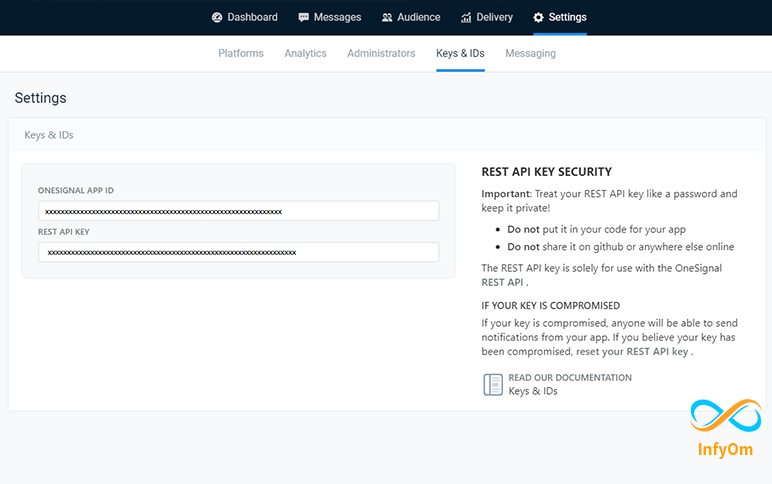
How to use One Signal in Laravel
Use Laravel one signal wrapper One Signal in Laravel
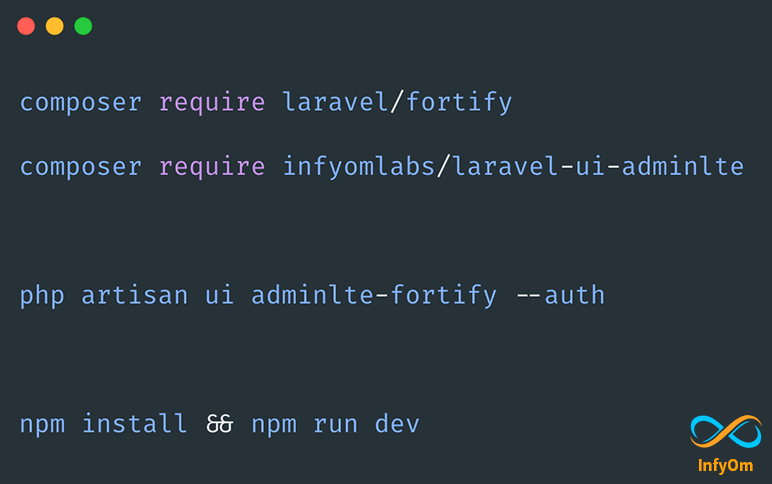
How to use AdminLTE theme with Laravel Fortify
How to integrate and use Laravel Fortify with AdminLTE theme with package infyomlabs laravel ui…
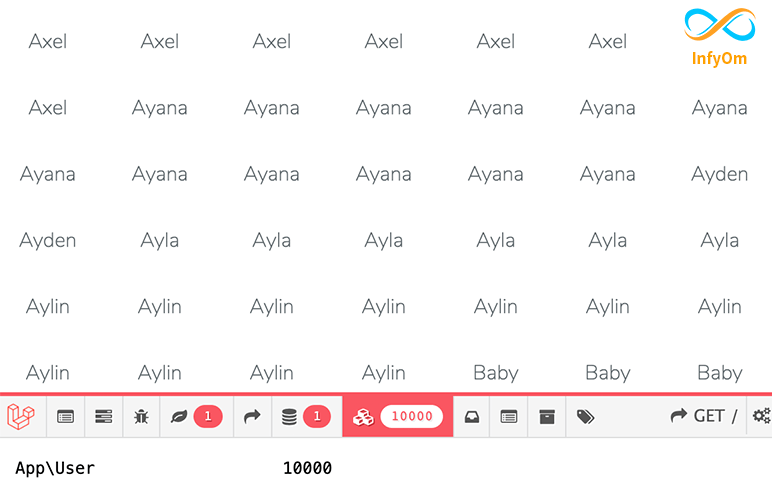
toBase function in Laravel Eloquent
How and when to use the toBase function in laravel eloquent query to improve the performance of the app while querying…
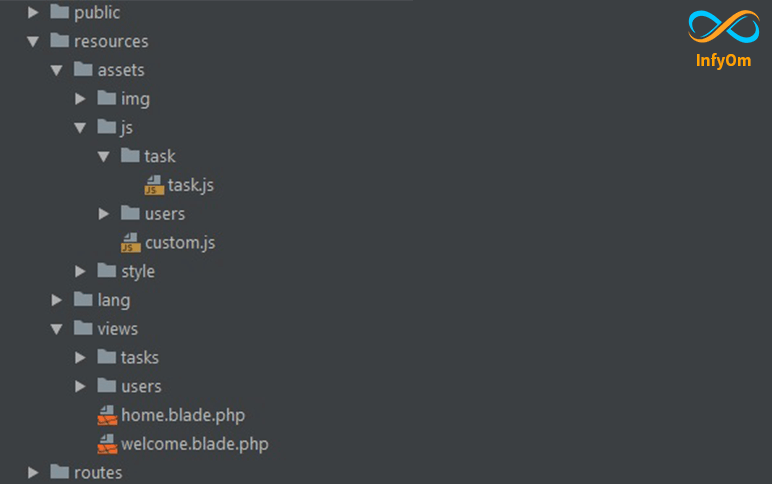
Make long path shorter in asset function in laravel
How to create a custom laravel helper function to shorten long asset paths to more readable and easy…

Avoid Micro-Management & Respect Each and Everyone
Learnings on avoiding micro-management and respecting each other from the 5th chapter of Shreemad Bhagavad…

When CEO should come back to the company while being A-Karta
In Last Podcast and Blog Post, we discussed how we need to create 4…

4 Varna in Gita vs 4 Departments in Business
Shreemad Bhagavad Gita has a lot to say about business management. In

12 Business Learnings of 2019
2019 was a great year for us in terms of business as
Business Learnings from Shree Bhagavad Gita Karma Yoga
In the second chapter of Gita Lord Krishna said, कर्मण्येवाधिकारस्ते मा…