
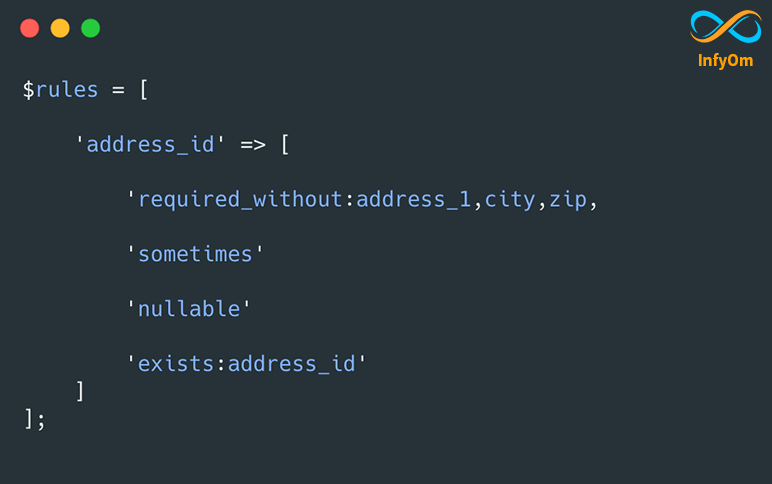
Use of Required Without Validation Rule in Laravel
How to handle complex laravel validation rules like required_without with checking if a record exists for a given id in…
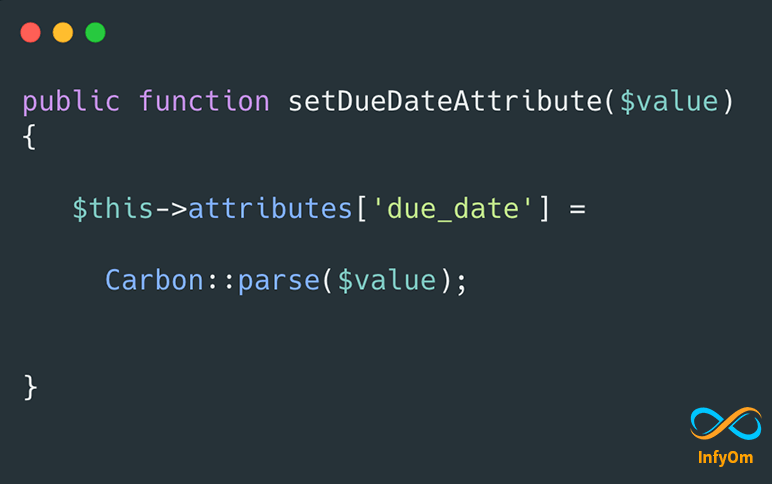
DateTimeLocal with LaravelCollective Model Binding
Last week, we were working on one project where we were…
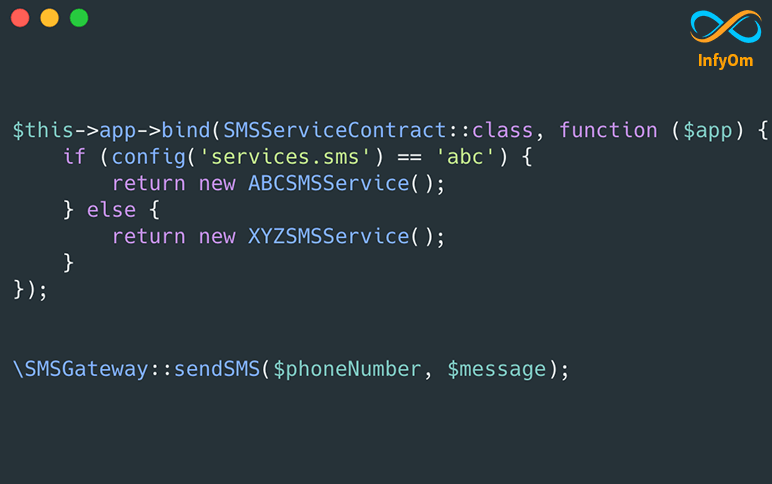
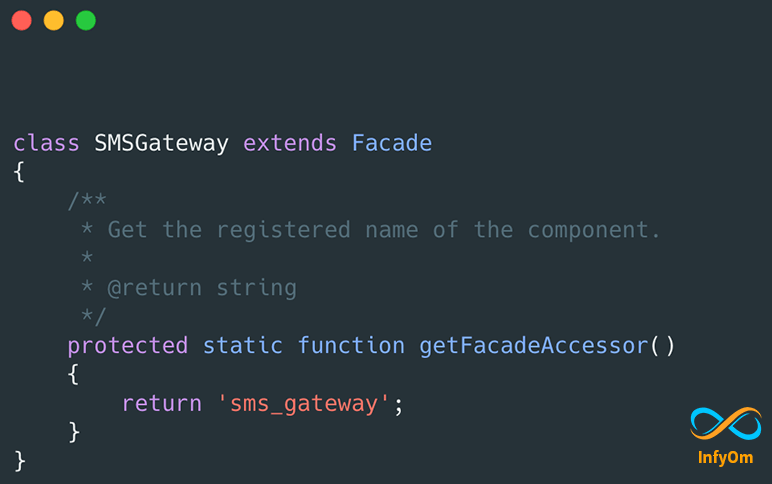
SMS Driver with Laravel Facades and Service Providers
How to create a laravel facade with a service provider to use multiple SMS services as an SMS…
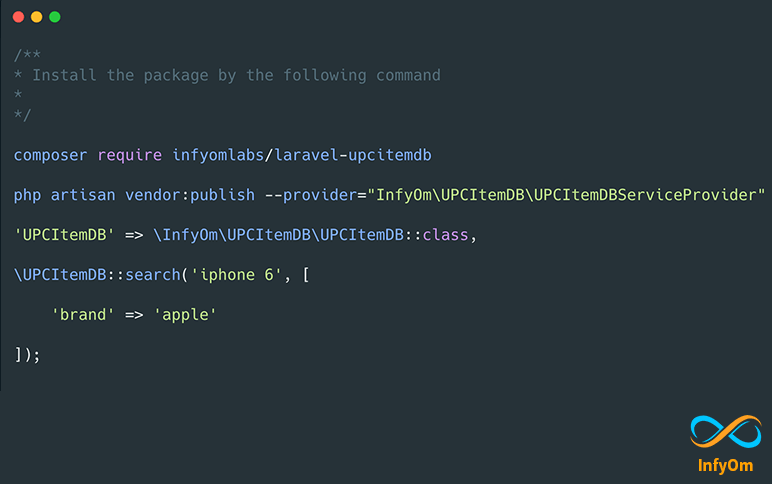
Laravel UPCItemDB Package
We have been working on an inventory system for one of our
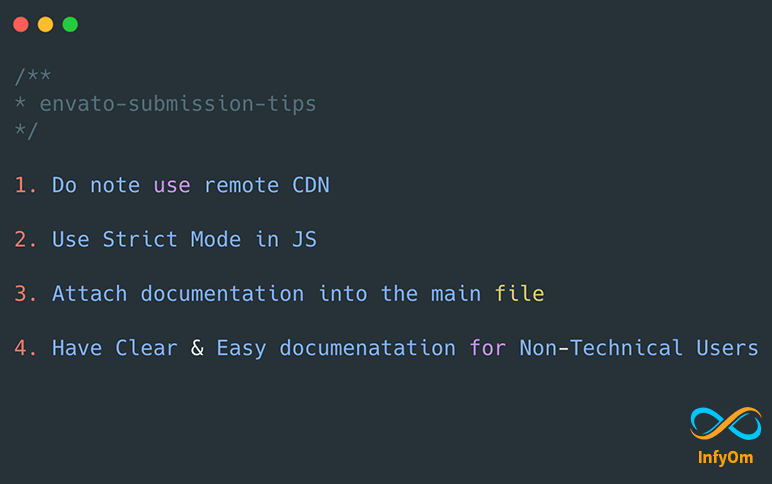
Tips Before Submitting First Envato App
Checklist for CodeCanyon before submitting the app. 4 Tips to take care of before submitting a script to…
How to Create Laravel Facade and Simplify Code
Last month, I started training in one company where I am giving
Laravel App – Code Optimizations Tips
Last month we started working on one of our internal project called
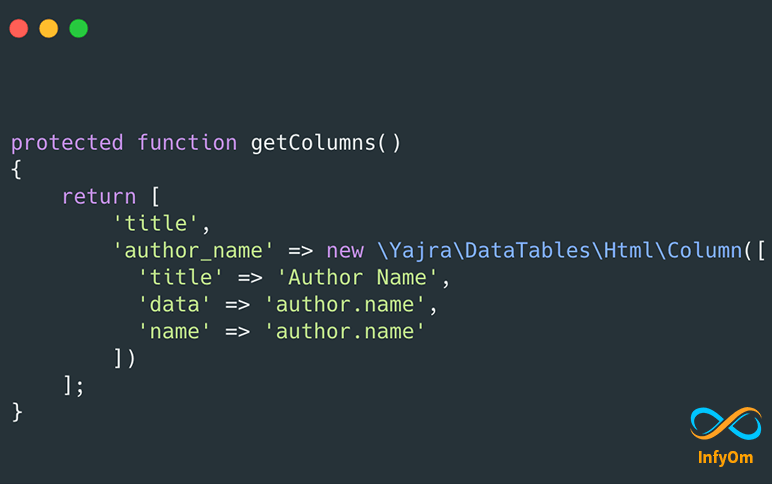
Show Relationship Data in Laravel DataTables
Lots of people asked a question on our Github Repo about how
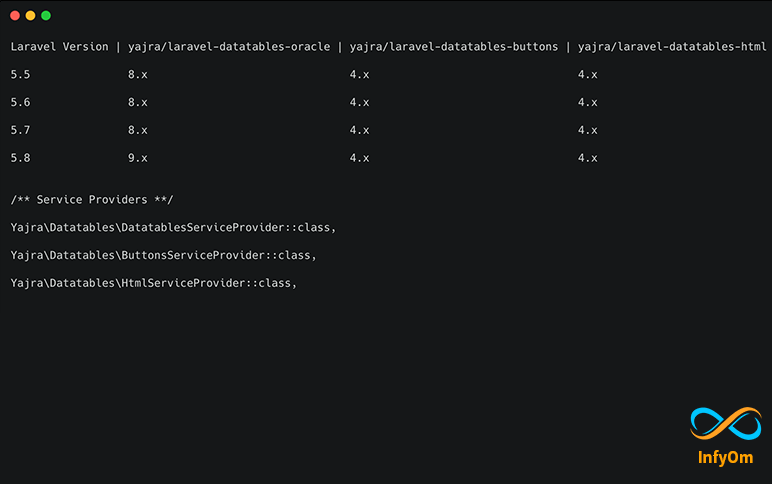
How to use Datatables in InfyOm Laravel Generator
InfyOm Laravel Generator comes with two possible choices for a table in