Appearance
Install InfyChat
Once you purchase InfyChat system then you will be able to find dist.zip within the main zip.
Extract that file on your local and follow the following steps:
Copy files to a web server
Upload dist.zip to your web server's root (public_html) and extract it there.
Default Database Setup
- Open PHPMyAdmin on your server and do a login.
- Click on the Databases tab.
- Create a new database and specify a Database name of your choice and Click Create button.
- Now on the left, select the database (chat) OR the one that you have created.
- Click Import in the top menu
- Under Import, choose the default sql file from
dist/database/chat.sqland click button Go.
Environment Variables
Open .env file from your server's root folder.

You need to change the following information into your environment (.env) file.
App name and URL Setup
ini
APP_NAME="App Name"
APP_URL="https://your-domain.com"
Database Setup
ini
DB_HOST="DB Host here"
DB_PORT="3306" // this may changed as per your DB
DB_DATABASE="DB Name"
DB_USERNAME="DB Username"
DB_PASSWORD="DB Password"
Email Setup
You will also need to set up mail configuration and update the following variables. You can use the below video for the reference on how to setup email configuration for cPanel servers.
ini
MAIL_DRIVER=
MAIL_HOST=
MAIL_PORT=
MAIL_USERNAME=
MAIL_PASSWORD=
MAIL_ENCRYPTION=
MAIL_FROM_ADDRESS=
MAIL_FROM_NAME="Your App Name"
Set Zoom configuration it is using in Live Consultations module. So first of you need to create your zoom ap into zoom marketplace and need to generate the API Keys and credentials.
- Go to Link and do sign in.
- Click
Developbutton on header and selectBuildApp menu. - Click Here to configure your application
- Input required information and click
Continueuntil your app will be activated.
After completing the above steps, you need to update your .env file by placing below keys inside that.
ini
ZOOM_API_URL="https://api.zoom.us/v2/"
ZOOM_API_KEY="INPUT_YOUR_ZOOM_API_KEY"
ZOOM_API_SECRET="INPUT_YOUR_ZOOM_API_SECRET"
ZOOM_REDIRECT_URL="${APP_URL}/zoom/callback"
Optional Configurations
OneSignal - If you want to configure Push Notifications then you need to add OneSignal configuration. You can find the steps here.
AWS S3 - You can also use your choice of storage driver to store your media assets if you want. All of your attachments will be placed into that. You can find the steps here.
Social Authentication - You can configure social authentication for registration and Login. You can find the steps here
Laravel Echo Configuration
InfyChat is built on Laravel Echo, Laravel Broadcasting mechanism. InfyChat works with all Laravel Echo supported drivers.
- Socket.io
- Pusher
You can use your choice of driver for realtime message updates. Here is the guide for both.
1 Pusher Configuration
Go to pusher website and do sign up or if you already have an account then do a login.
After login you will be redirected to the following screen.

Click on the “Create new app” button. After clicking this button you get below screen.

Enter the name of your app. Select a cluster of your choice. Select “JS” from front-end tech and “Laravel” from back-end tech and click “create my app” button. As shown in the below image.

After creating an app yow will redirect to the below screen. After that click on the “App settings” menu as pointed in below screen.

After clicking on “App Settings” you will redirect to the below screen. From there select “Enable client events” checkbox and click on the “Update” button.

Now click on the “App Keys” menu and you will get the following screen.

Copy the values and add those values in your env file.
ini
PUSHER_APP_ID = Your pusher app id
PUSHER_APP_KEY = Your pusher app key
PUSHER_APP_SECRET = Your pusher app secret
PUSHER_APP_CLUSTER = Your pusher app cluster
2 Socket.io
Laravel Echo also works with Laravel Echo Server with Socket.io implementation. We have created a very good video that demonstrates step by step to use Laravel Echo Server into InfyChat. Check the video below.

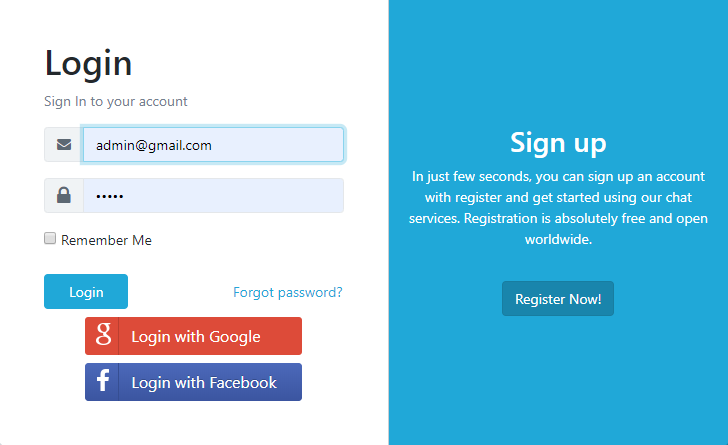
Admin login
You can now login as admin using the following credentials.
Email: admin@gmail.com
Password: admin
We are ready to go.