
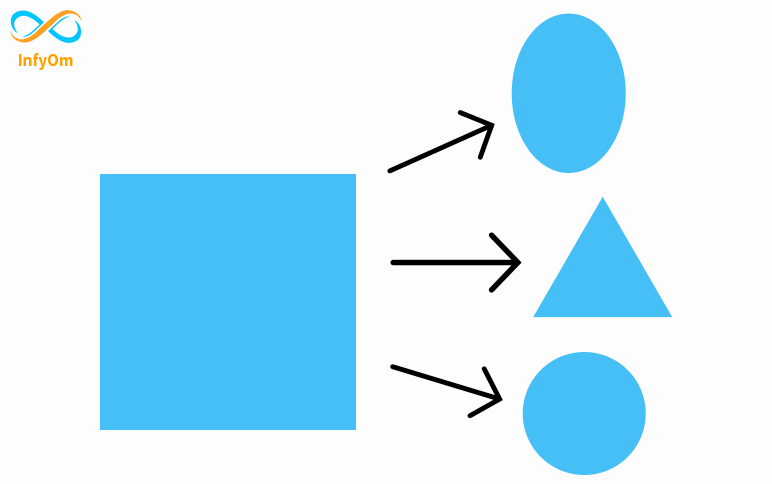
What is a clip-path? And how to use CSS clip-path elements?
CSS Property clip-path creates shapes by clipping an element. It clips some regions of an element to create new…
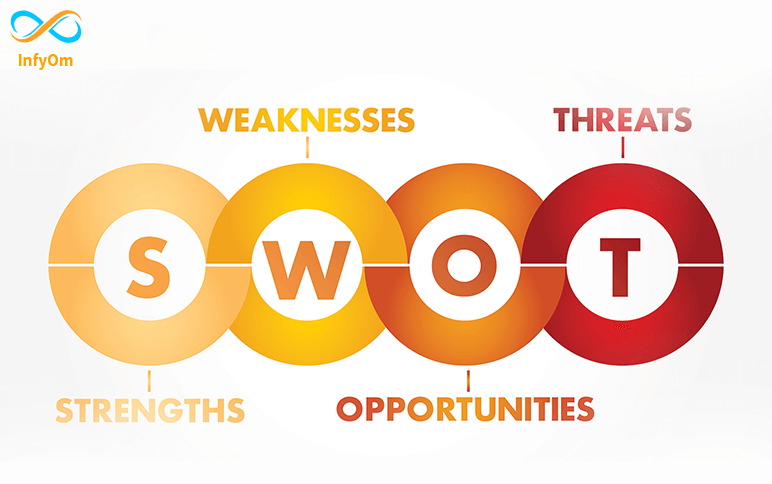
SWOT Analysis – Strategic Planning
SWOT Analysis is a strategic planning framework which helps business to identify Strengths, weaknesses, threats,…
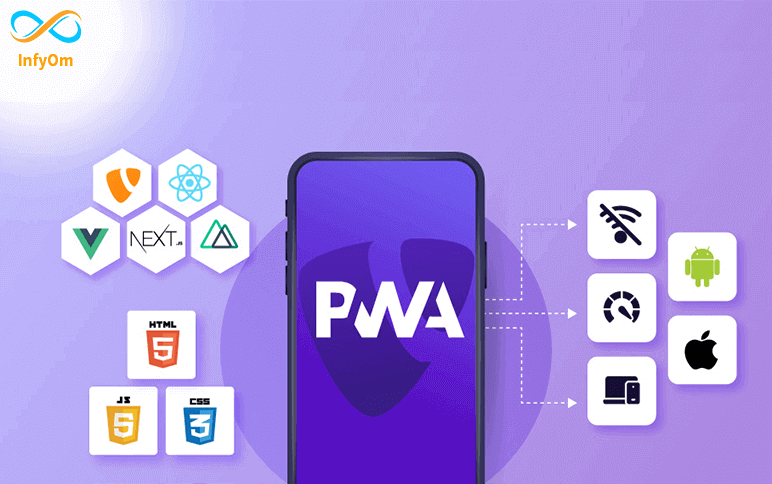
How to make a Progressive Web App
What is a PWA? A Progressive Web App (PWA) is a hybrid
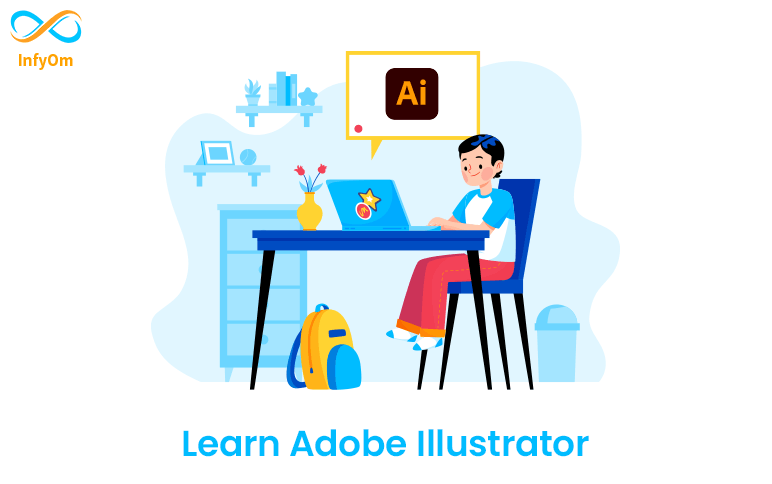
Why you should learn Adobe Illustrator?
An illustrator is an artist who specializes in enhancing writing by providing visual representations tailored to the…
How to increase sales using Email Marketing?
Email marketing is an effective way to increase your sales. Email marketing
How to add project as a library to Android Studio
There can be a situation when we need to modify the library code according to our requirement then in that case we can…
Room Database in android java
Room databases use users to store data offline. This database is very helpful and fast gives user…
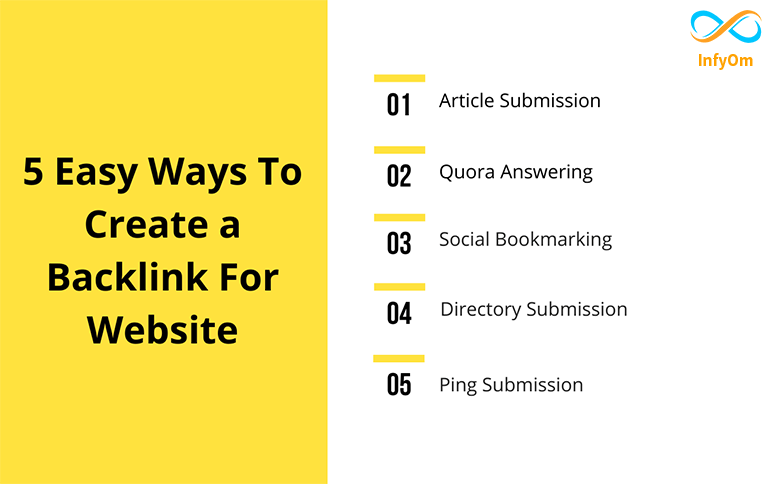
5 Easy ways to create a Backlink for Website
Today I’m going to show you how to create a backlink easy way. Create backlinks from high-domain authority site and…
How to test reCAPTCHA form – prepare yourself for bots !
Nowadays, people are hacking secure data systems, so will See the security