
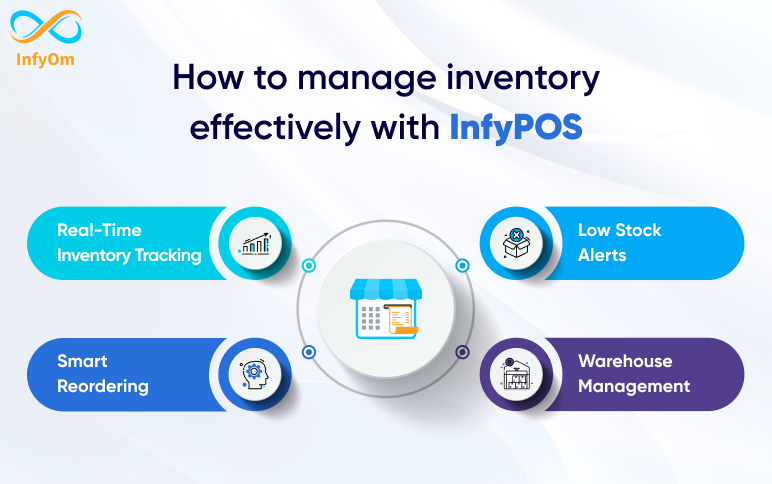
How to manage inventory effectively with InfyPOS
InfyPOS inventory management software empowers retailers with real-time stock tracking, low stock alerts, smart…
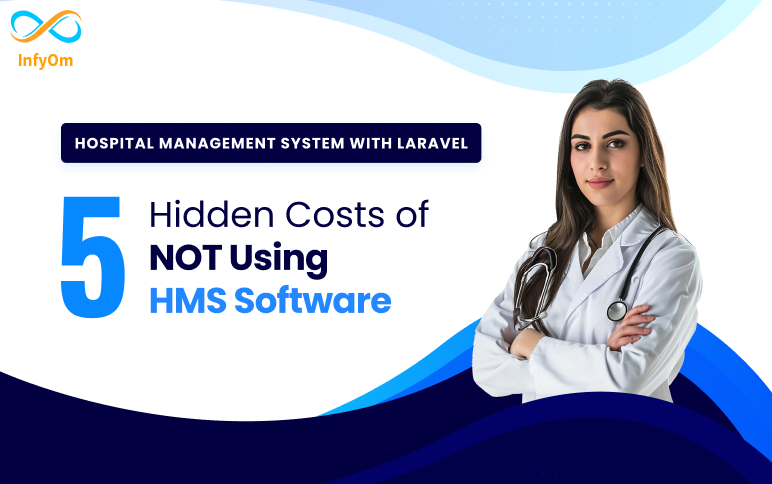
5 Hidden Costs of NOT Using HMS Software
HMS can eliminate hidden costs associated with paper-based systems. InfyHMS is an HMS solution that can help hospitals…
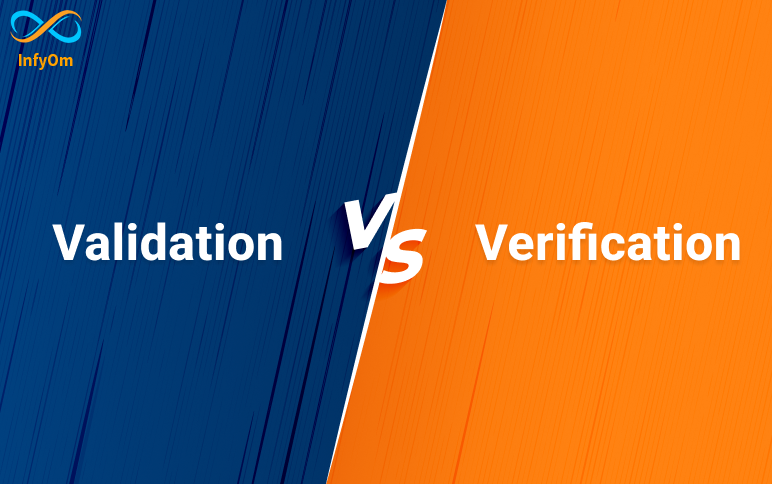
Verification and Validation: What’s the difference?
Differences between Verification and Validation Verification Validation It includes checking documents,…

The Upwork Advantage: Skyrocketing Your IT Sales Career
Discover how to leverage Upwork’s global marketplace, diverse projects, and efficient tools to elevate your IT sales…

What is A/B testing?
A/B testing is essentially an experiment where two or more variants of a page are shown to users at random, and…

From Proposals to Profits: Mastering IT Sales on Upwork
Unlock success in IT sales on Upwork! Explore expert strategies, from crafting winning proposals to turning them into…

LinkedIn for Sales: Strategies to Connect, Engage, and Convert
Unlock Sales Success with LinkedIn: Expert Strategies to Connect, Engage, and Convert Prospects. Explore actionable…

LinkedIn Sales Prospecting: Finding and Nurturing Leads
Master the Art of LinkedIn Sales Prospecting: Discover Effective Strategies for Identifying and Cultivating…
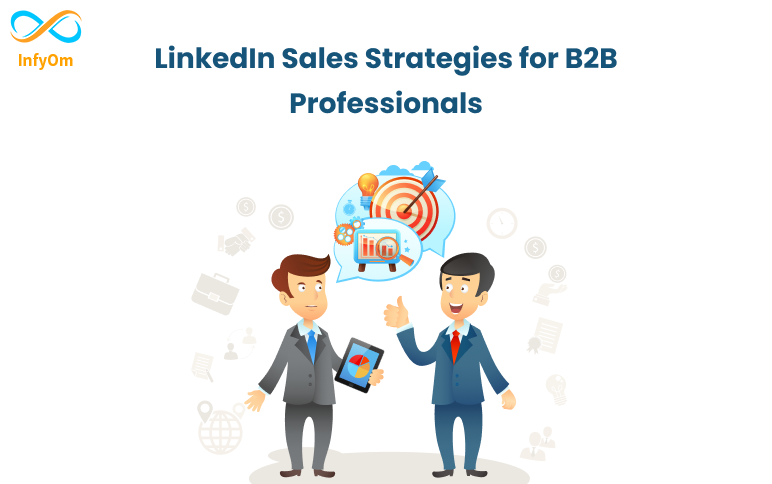
LinkedIn Sales Strategies for B2B Professionals
Discover Effective B2B Sales Strategies on LinkedIn: Elevate your business-to-business (B2B) sales game with expert…