

Regression Testing Techniques & Tools
Regression Testing Techniques: Retest All: Retest All In this technique, the…
Integrate CCAvenue Payment Gateway with Laravel
This is the hardest thing as a developer I found, as there

Motivate Teams by Creating a Sales Culture
Discover powerful strategies to build a winning sales culture that motivates and inspires your team, driving success…

Android UI Design: Tips and Best Practices
Enhance user experience and engagement with these top Android UI design tips and best practices for creating visually…

Laravel Jobs – How Jobs works in Laravel?
Out of 100 only 30/40 people know about Laravel jobs and how its works
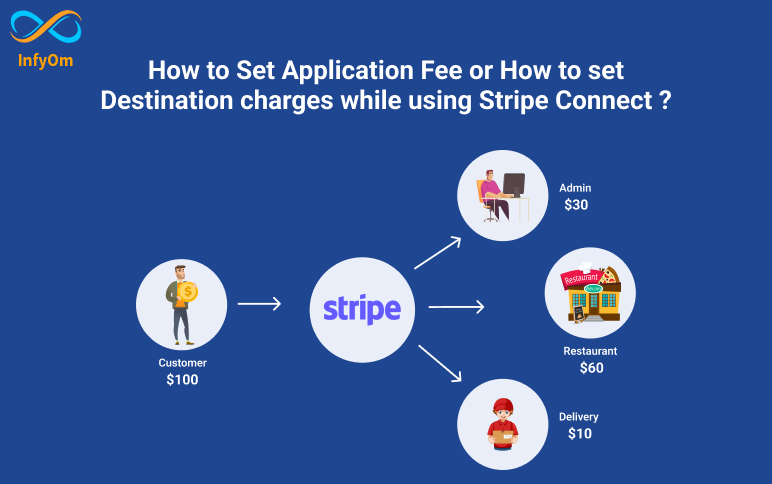
How to Set Fees or Charges in Stripe Connect
In our previous blog, we had seen how to integrate stripe connect. Now

How to integrate Stripe Connect in Laravel / PHP ?
Stripe Connect is the fastest way to integrate payment into your marketplace….

Exploring AI-Based Tools in Adobe Photoshop
Unlock the power of artificial intelligence in Adobe Photoshop with our comprehensive guide to exploring AI-based…

5 Proven Strategies to Boost Your Sales Revenue
Discover five proven strategies that can significantly boost your sales revenue and drive business growth, delivering…