How to use laravel routes with Javascript / JQuery ?
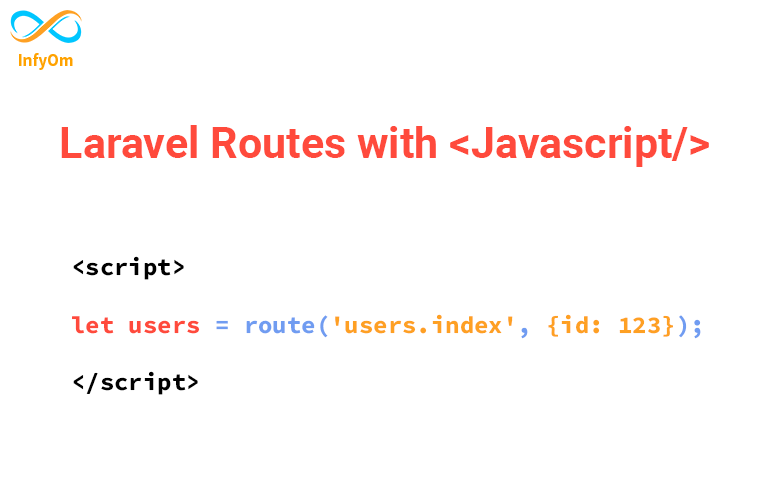
Generally, we can use laravel routes into its blade files, but what do we have to do when we want to use routes in…
How to setup React in Laravel
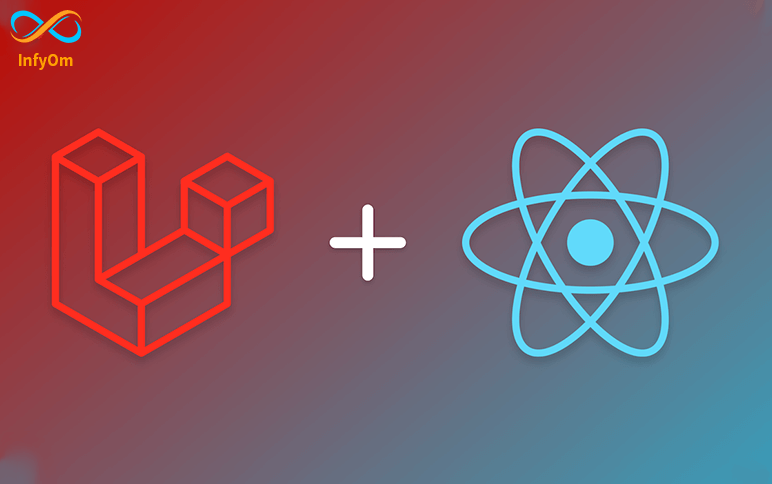
In this article, I show you how to set up react application in Laravel Framework. as you know react is a very flexible…
How to Implement Browser Push Notification in Laravel

In this article, I show you an easy way to set up browser push notifications. fist of all, you have a question what is…
How To Make a Laravel Application PWA In Few Minutes
Recently, I have created a new package for Laravel Community. it’s called Laravel PWA. first of all what is PWA?…
How to Setup Swagger in Laravel Application
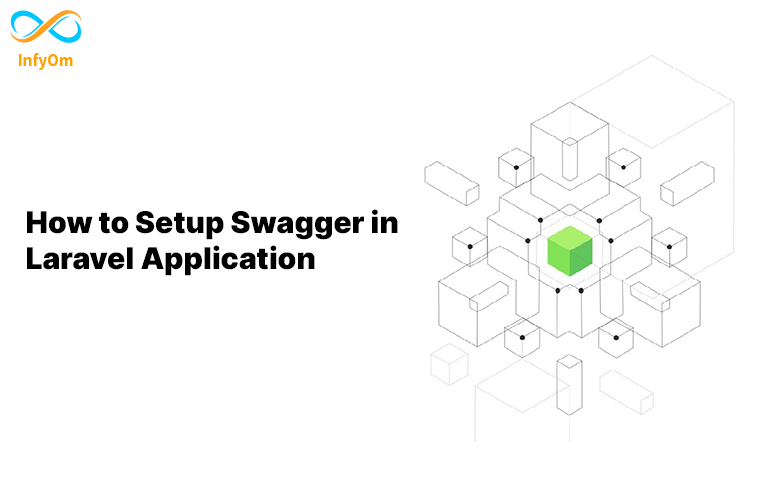
Generally, we are using a Swagger in Laravel. it will take time if we set up swagger manually. so, In this article, I…
How to use laravel multi tenant (stancl/tenancy) with single DB ?
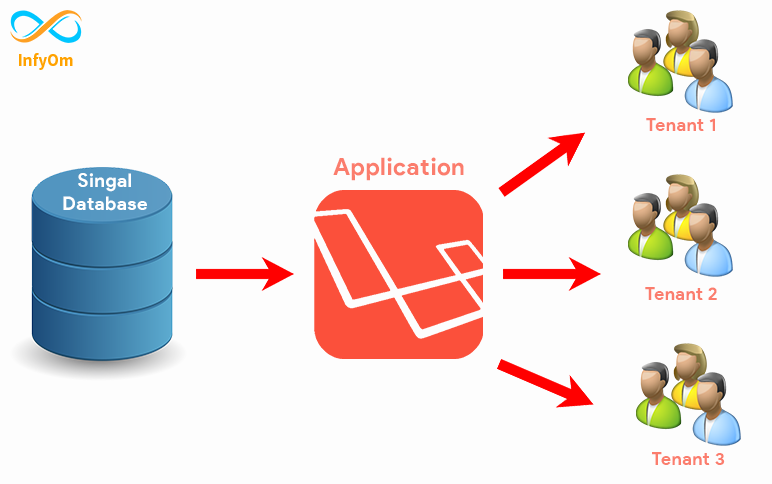
Nowadays multi-tenant applications are more useful than single-tenant applications. We can use multi-tenant with…
How to generate pre-signed URL from s3 bucket ?
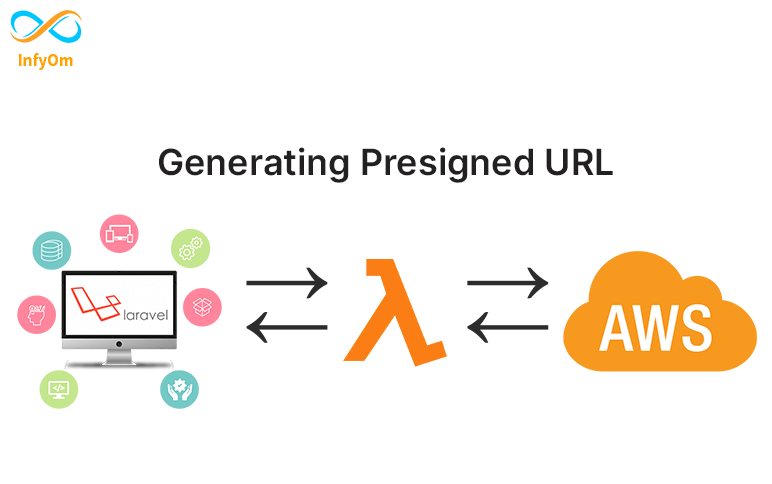
People nowadays are becoming more intelligent, so better to protect our application’s content/data from those who…
How to generate User Device API using Laravel One Signal
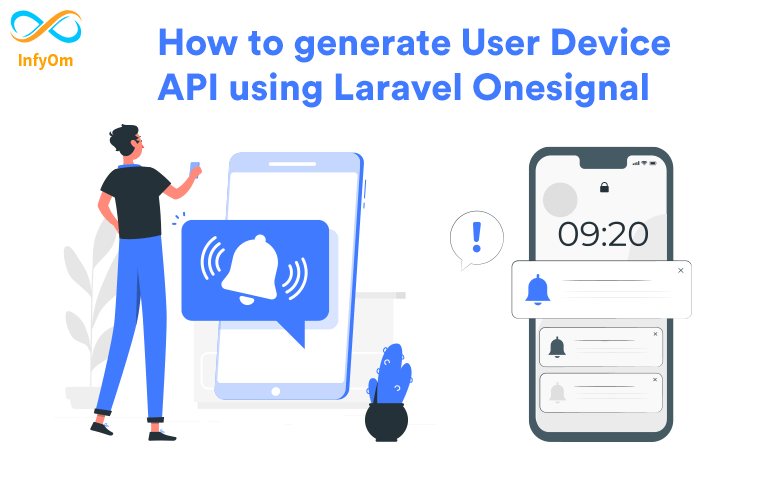
How to Generate User Device API using Laravel One Signal
How to display responsive image in different devices

Today we are going to see how we can image based on resolution. We have the most common issue of loading big images in…
How to setup passwordless Login In Laravel
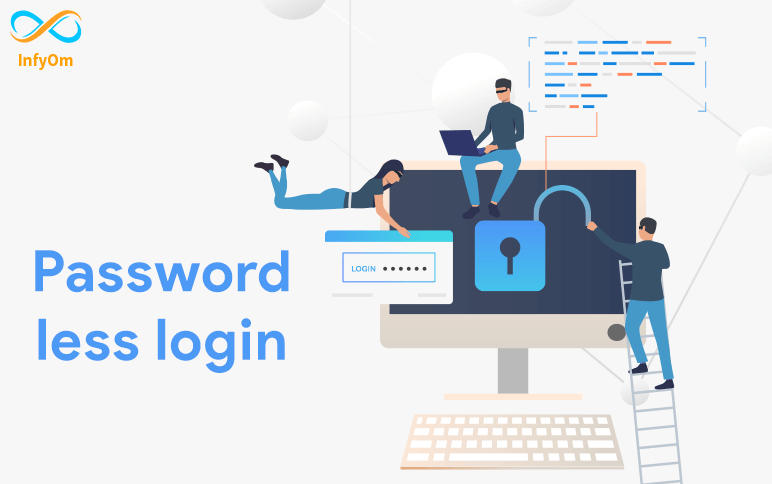
Parsed in 0.31 ms or 2 times faster Basically, we set up email/username and password login in all our projects. but,…