How to Integrate the Stripe Customer Portal
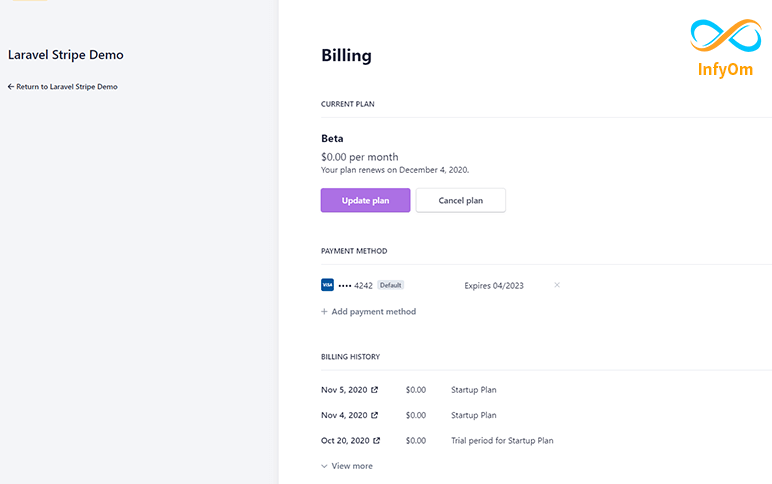
Stripe Customer Portal users can directly manage their subscription user can update/cancel subscriptions, change…
Customize Spatie Multi-Tenancy Without Subdomain
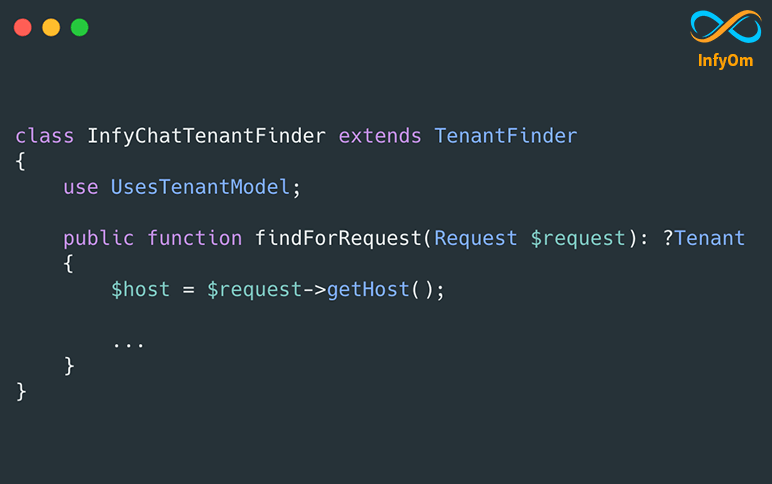
How to use Spatie multi-tenancy package with a single domain and create your custom TenantFinder class in…
How to build Pagination with Laravel Livewire
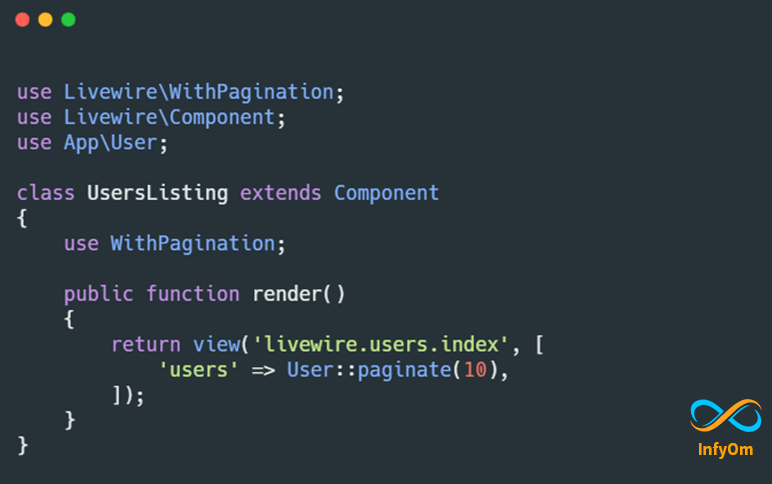
Livewire is a very awesome thing that I have ever seen, the old school developers are still using the jquery and ajax…
How to use One Signal in Laravel
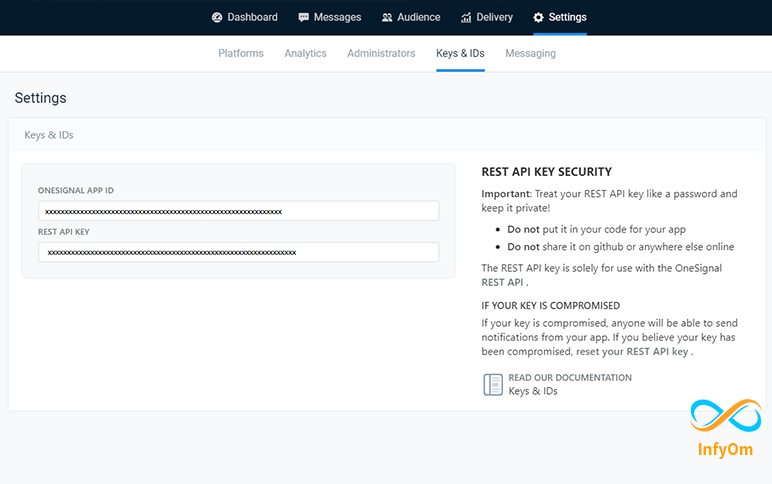
Use Laravel one signal wrapper One Signal in Laravel
How to use AdminLTE theme with Laravel Fortify
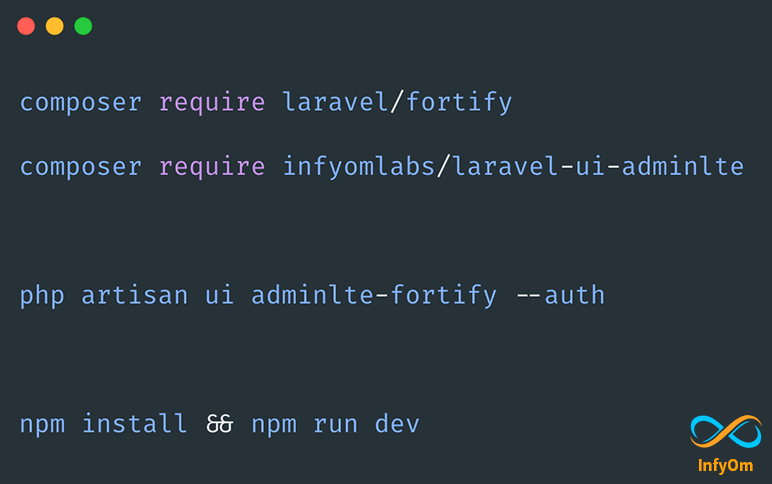
How to integrate and use Laravel Fortify with AdminLTE theme with package infyomlabs laravel ui…
toBase function in Laravel Eloquent
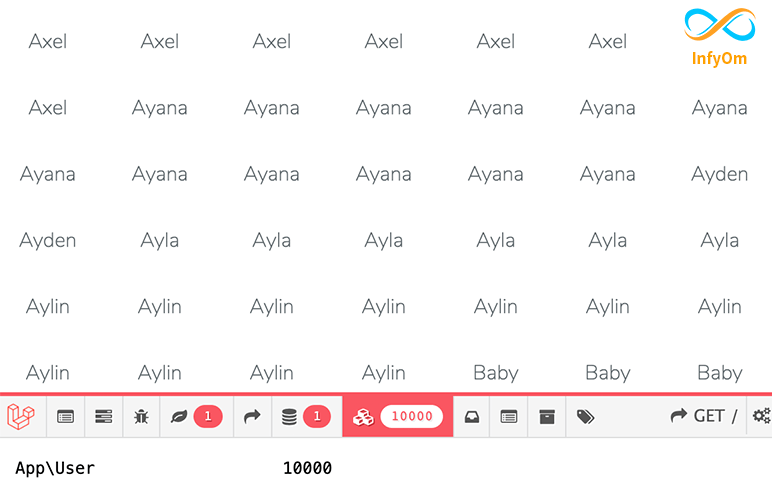
How and when to use the toBase function in laravel eloquent query to improve the performance of the app while querying…
Make long path shorter in asset function in laravel
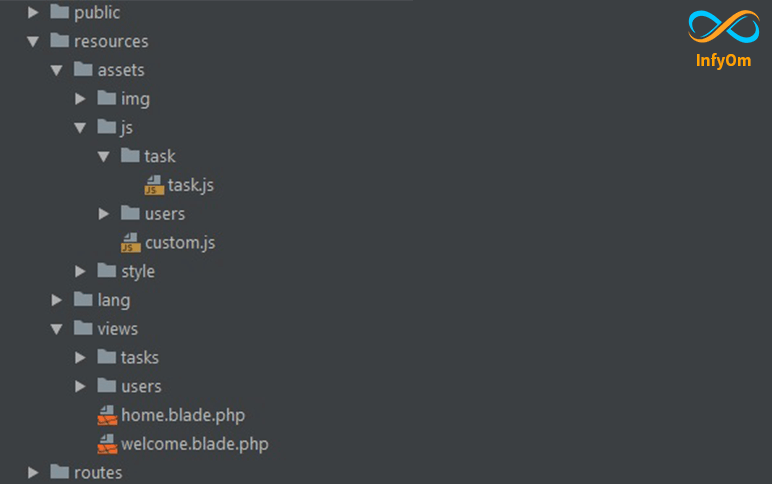
How to create a custom laravel helper function to shorten long asset paths to more readable and easy…
Use of Required Without Validation Rule in Laravel
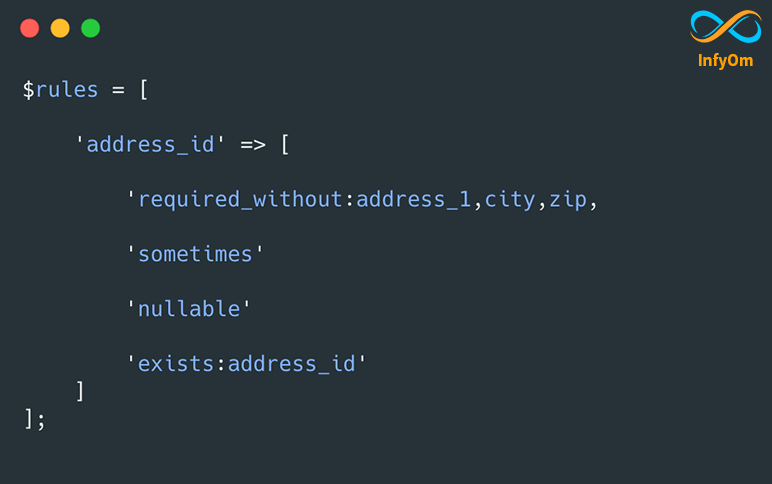
How to handle complex laravel validation rules like required_without with checking if a record exists for a given id in…
DateTimeLocal with LaravelCollective Model Binding
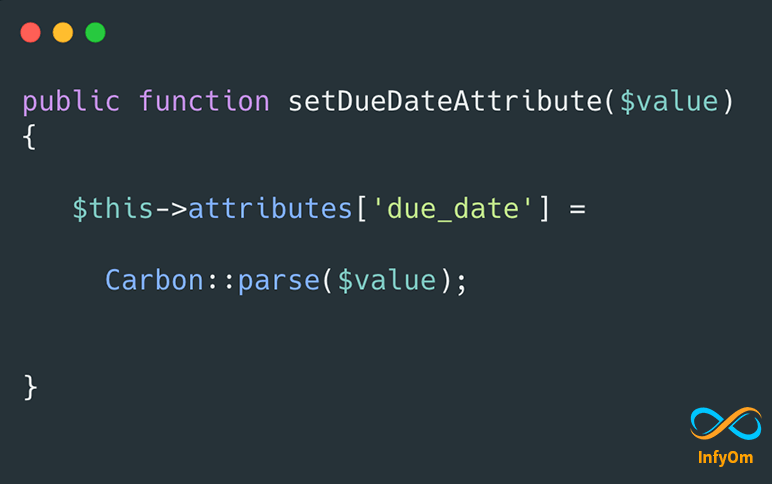
Last week, we were working on one project where we were using LaravelCollective for generating our form….
SMS Driver with Laravel Facades and Service Providers
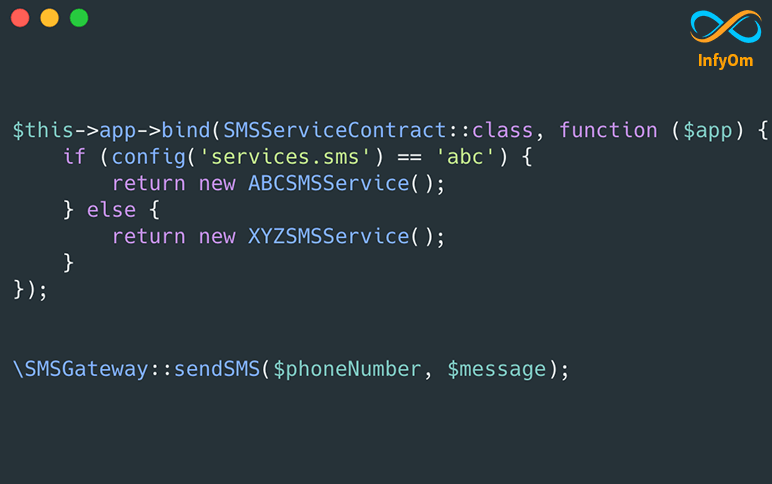
How to create a laravel facade with a service provider to use multiple SMS services as an SMS…