Integrate CCAvenue Payment Gateway with Laravel
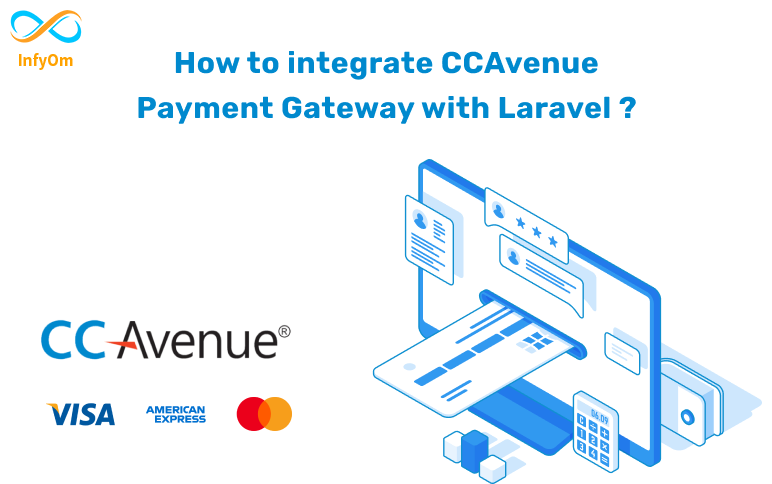
This is the hardest thing as a developer I found, as there is no official documentation available to integrate the…
Laravel Jobs – How Jobs works in Laravel?

Out of 100 only 30/40 people know about Laravel jobs and how its works or where we can use it. When there is a need…
How to Set Fees or Charges in Stripe Connect
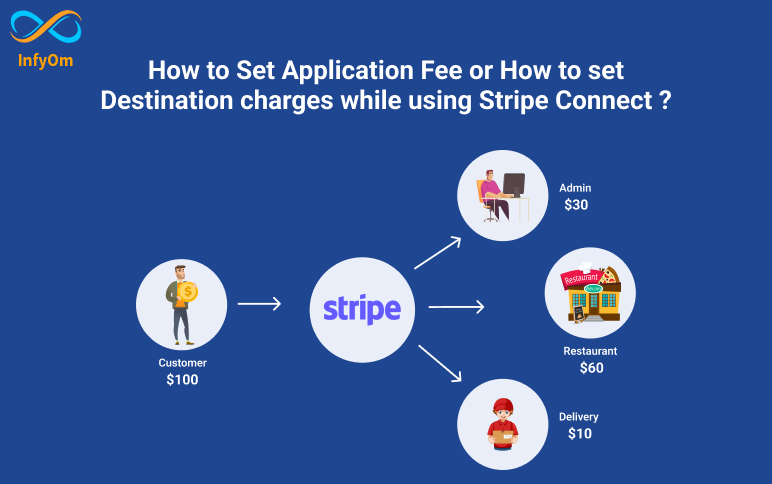
In our previous blog, we had seen how to integrate stripe connect. Now we are going to see how we can split payments…
How to integrate Stripe Connect in Laravel / PHP ?
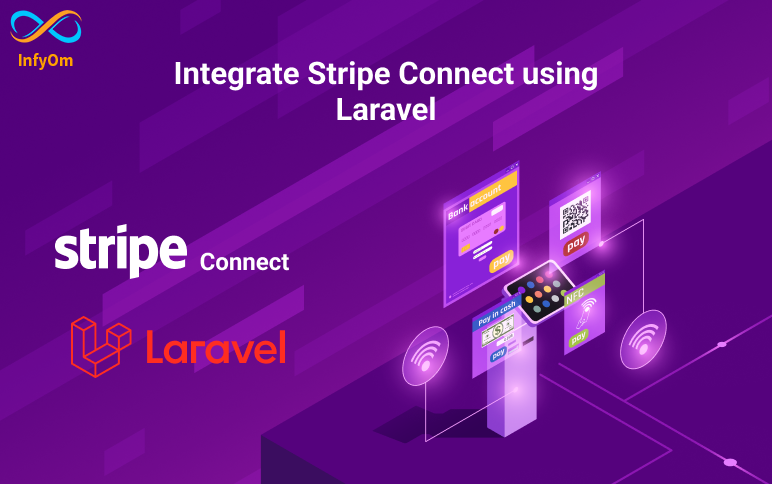
Stripe Connect is the fastest way to integrate payment into your marketplace. In this tutorial we are going to…
How to create artisan command in Laravel with arguments support
create artisan command in laravel with arguments
How to implement Paystack payment gateway in laravel application
Paystack is the most popular payment gateway in Africa. Paystack has supported ZAR currencies. It’s very simple to…
A look at what coming to Laravel 10

I am personally really excited about Laravel 10, are you also excited 🙂 ?. the expected release date for Laravel 10…
Some Laravel tips that we must need to know

1) Null safe operator From PHP 8 you can use Null Safe Operator How we are doing null checking code in PHP < 8.0…
Laravel hasOneThough & Laravel hasManyThough Relationships
Laravel HasOneTHough & Laravel HasManyThough Relationships We generally know about the 4 basics Laravel…
How to implement Laravel impersonate

What is user impersonate and why we use it in projects? User Impersonate is useful when we want to login on behalf of…