
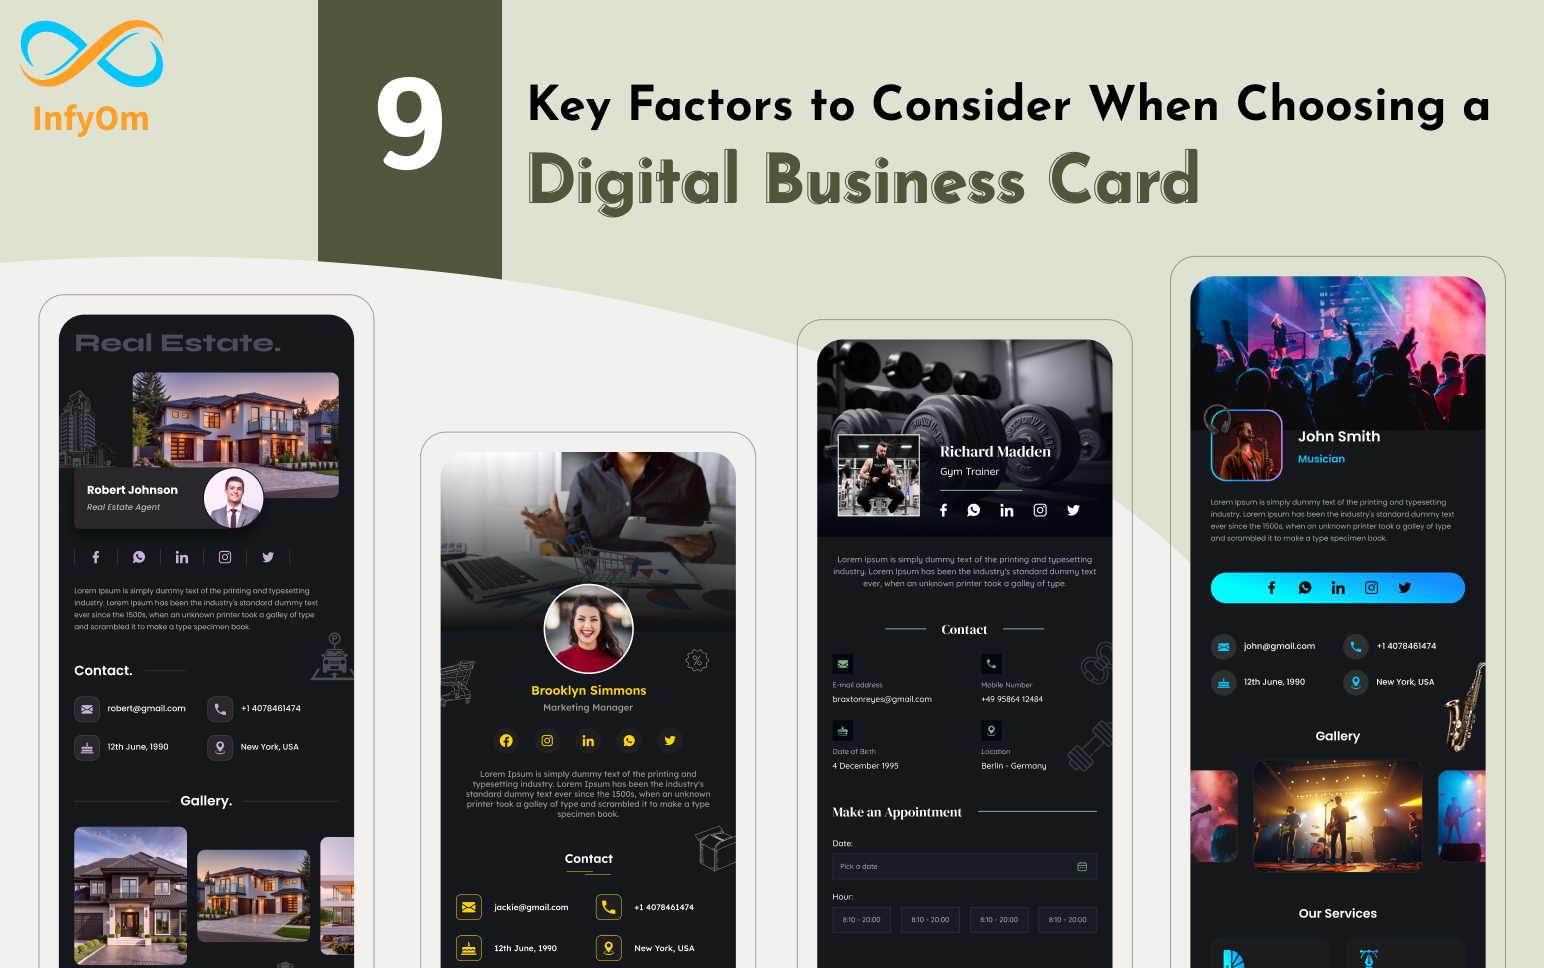
9 Key Factors to Consider When Choosing a Digital Business Card
In the previous blog, we discussed how digital business cards streamline contact
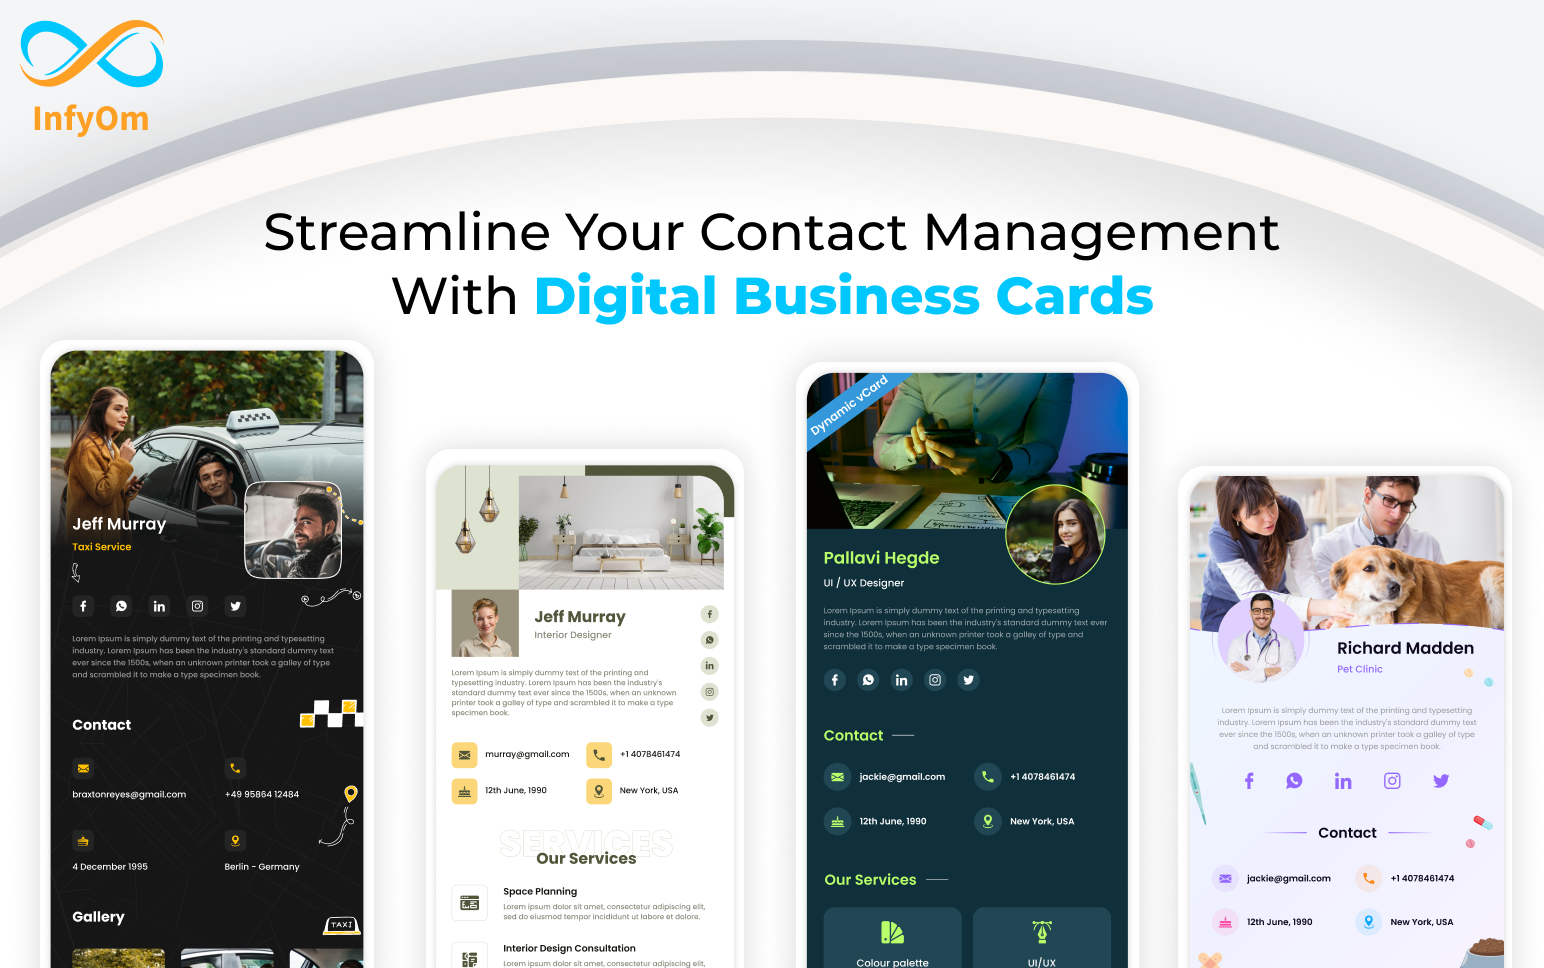
Streamline your Contact Management with Digital Business Cards
Done with searching through heaps of paper business cards or scrolling through

The Emerging Use of Chatbots in the Finance Sector
Today, innovation in the financial sector adapts to the new needs and

Why Your Website Needs a Chatbot
Why Your Website Needs a Chatbot In our internet-first world, having a
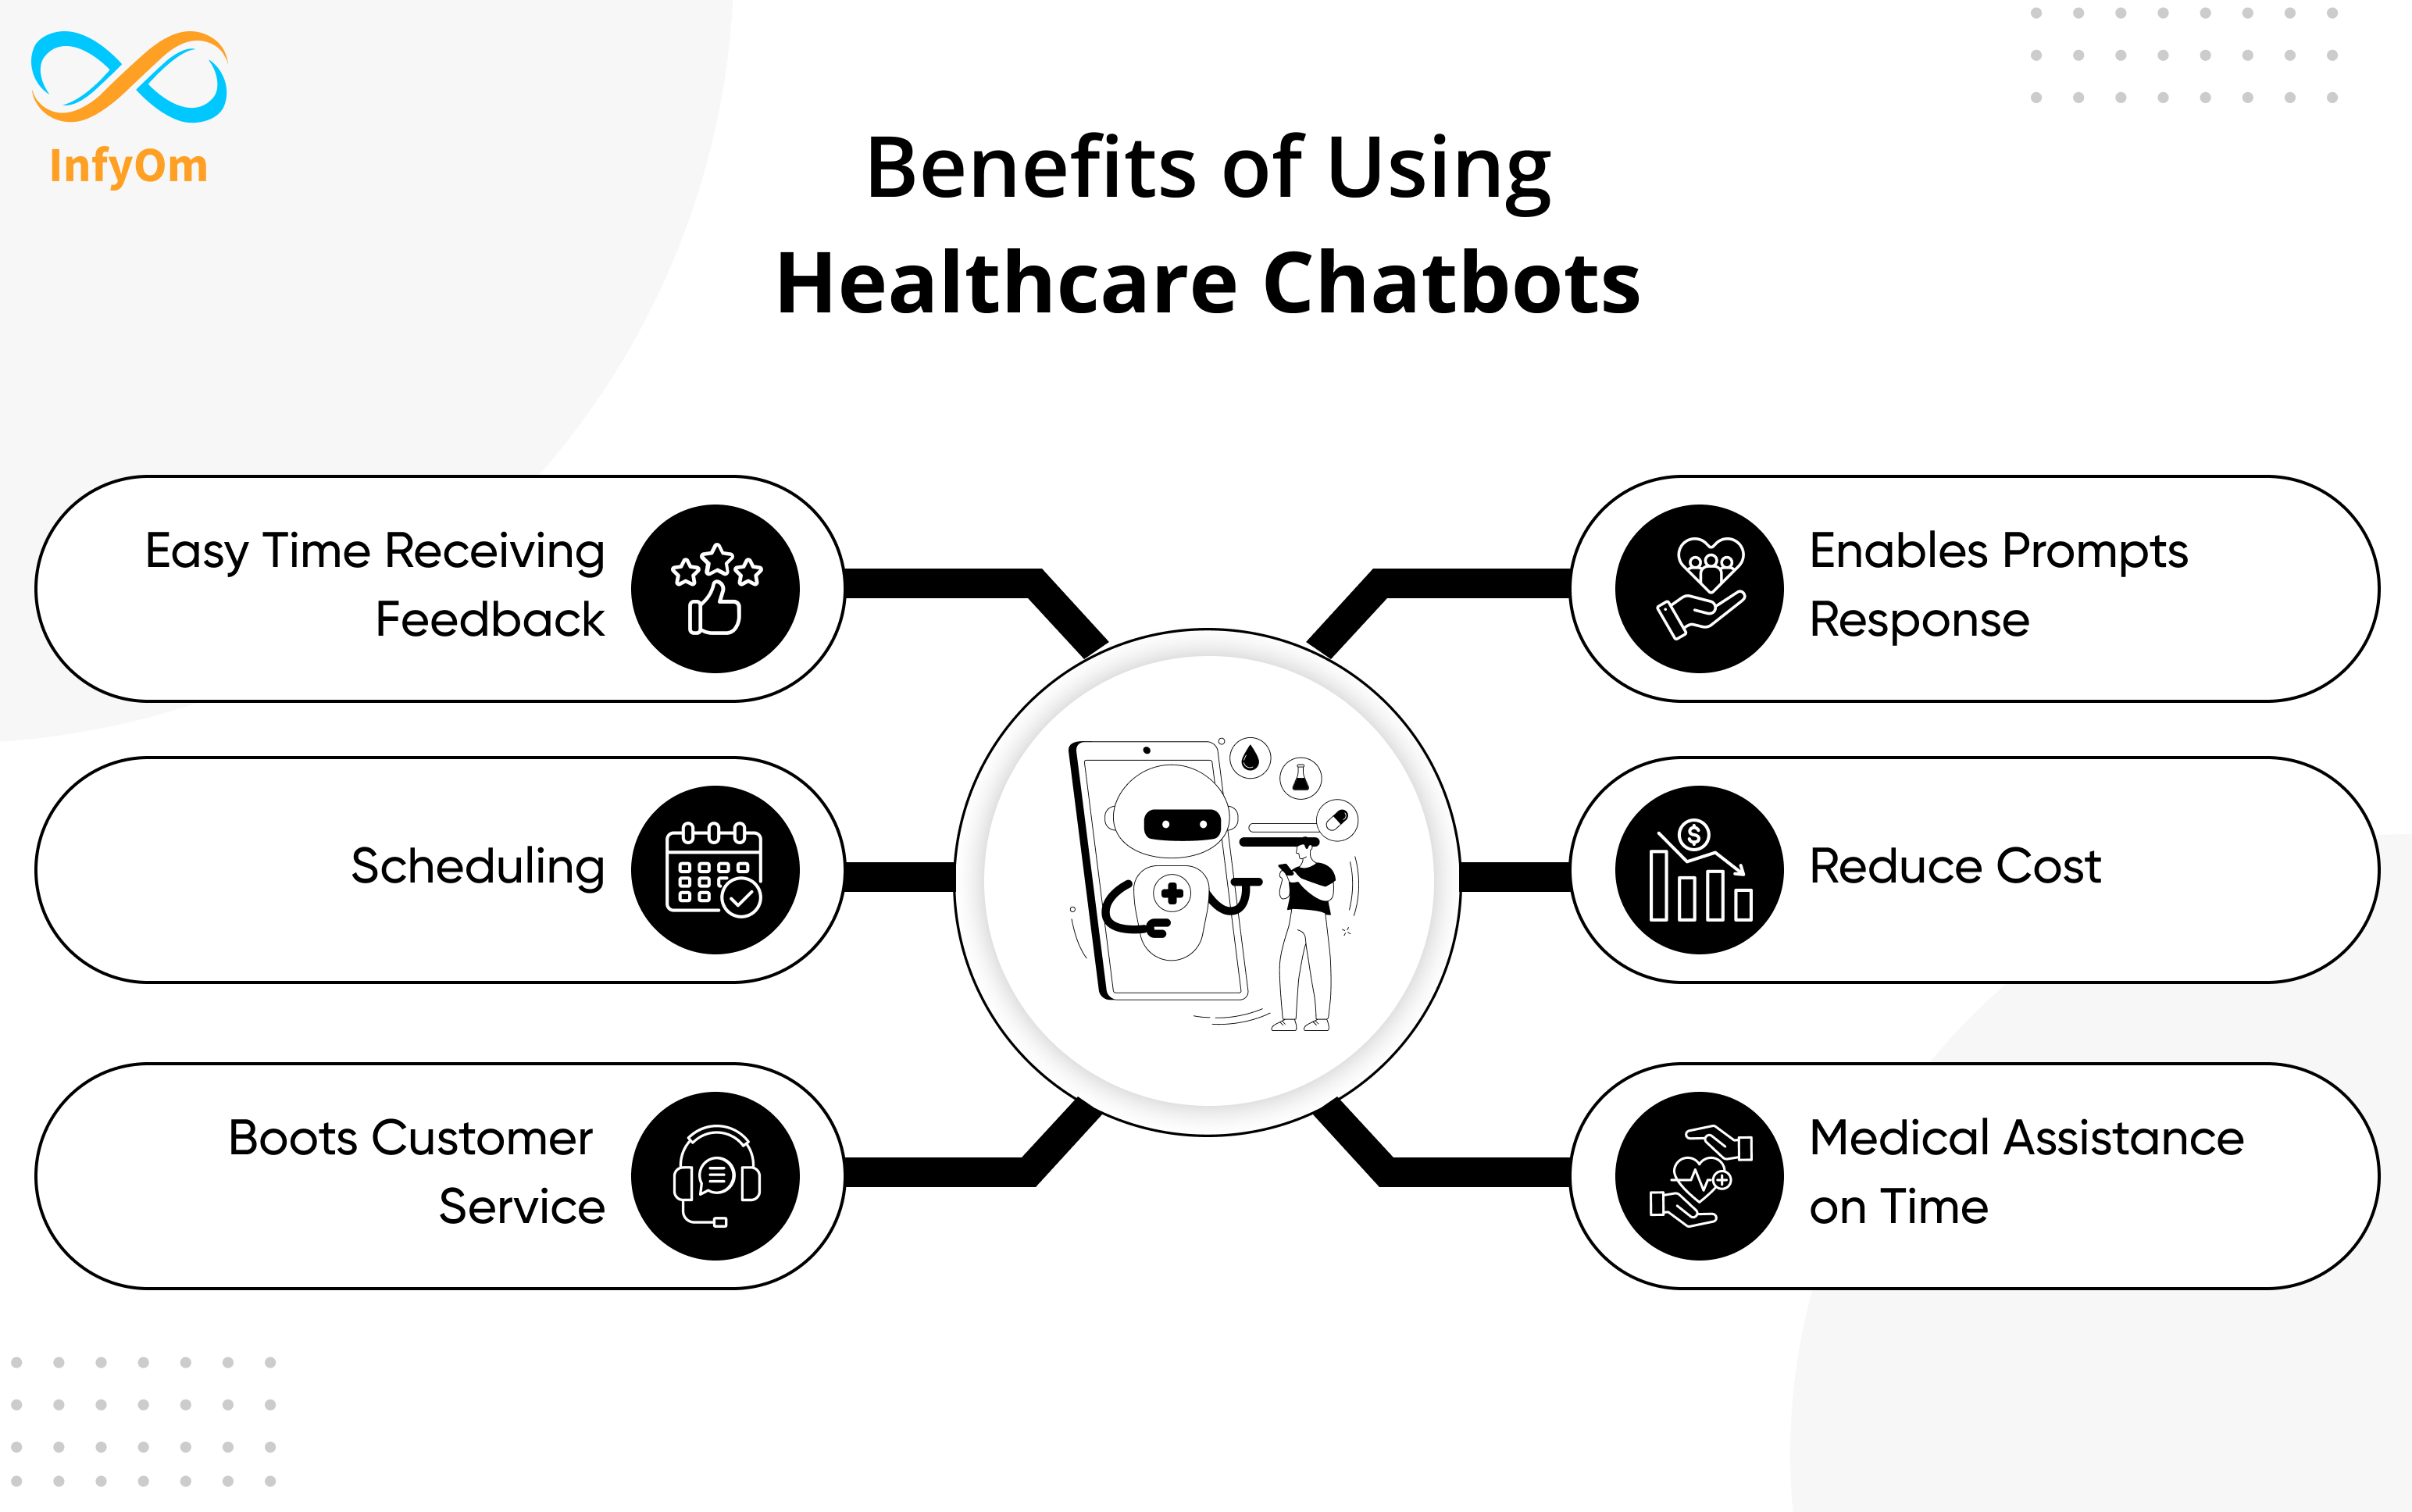
Top 6 Benefits of Chatbots in Healthcare
The Rise of Healthcare Chatbots: A Look into the Future The healthcare

Custom ChatGPT for Business
Businesses are always looking for new ways to improve efficiency and promote
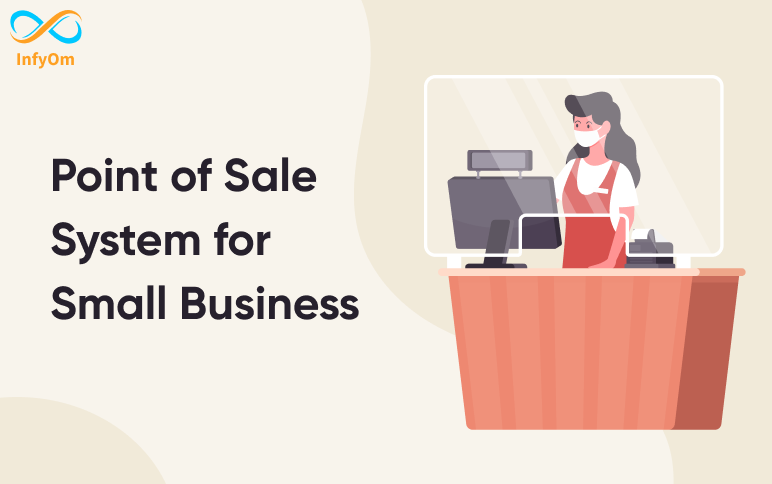
Point of Sale System for Small Business
A Point of Sale (POS) system is a critical tool for businesses
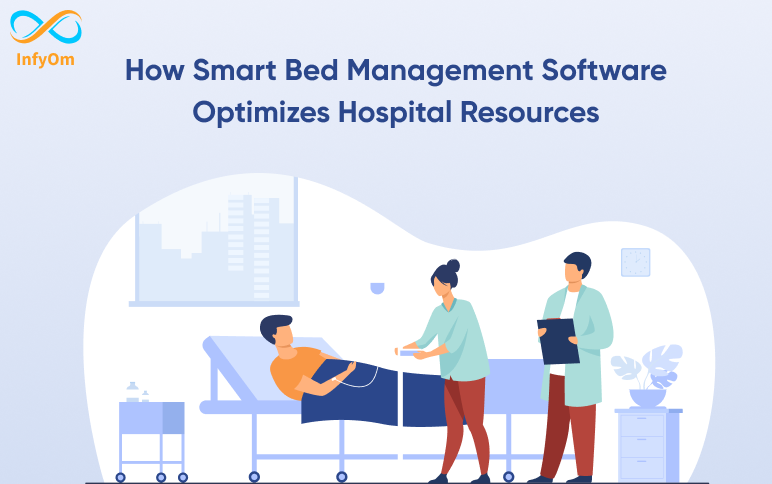
How Smart Bed Management Software Optimizes Hospital Resources
Smart Bed Management Software optimizes hospital resources, improves patient care, reduces costs, and enhances…
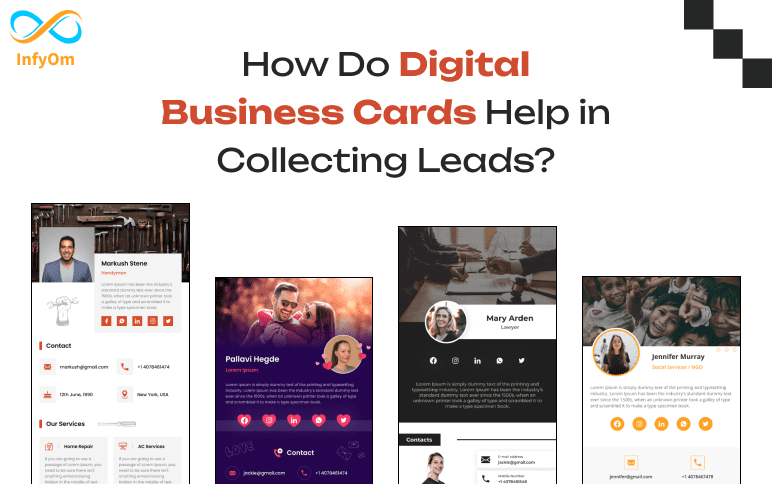
Collecting Leads Efficiently Using Digital Business Cards
Learn how these eco-friendly, shareable, tools can help you effortlessly collect leads and grow your business. Switch…