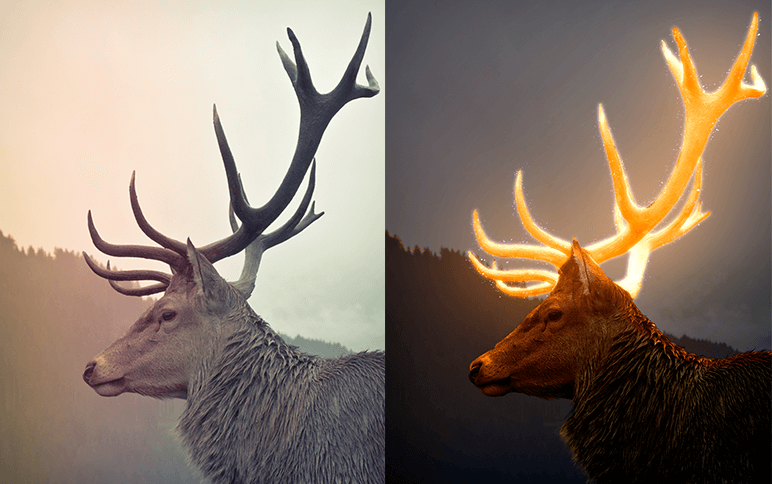
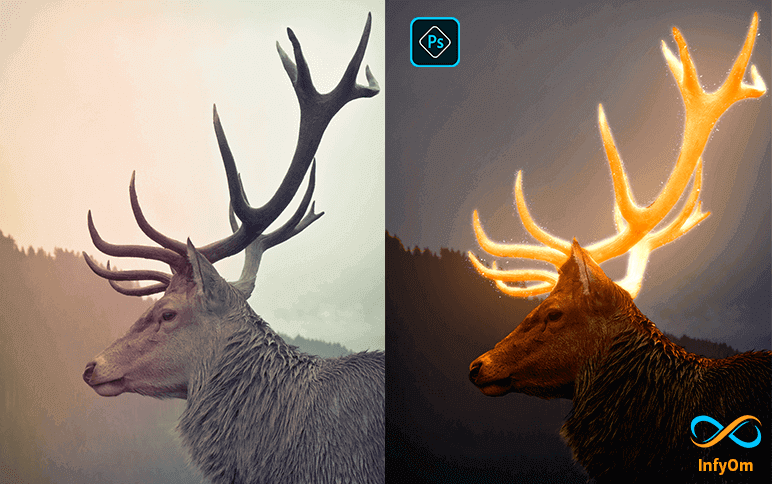
Step 1: Selection of your Subject
select any selection tool for selection but select the Quick selection tool.
select your subject and press select and mask setting
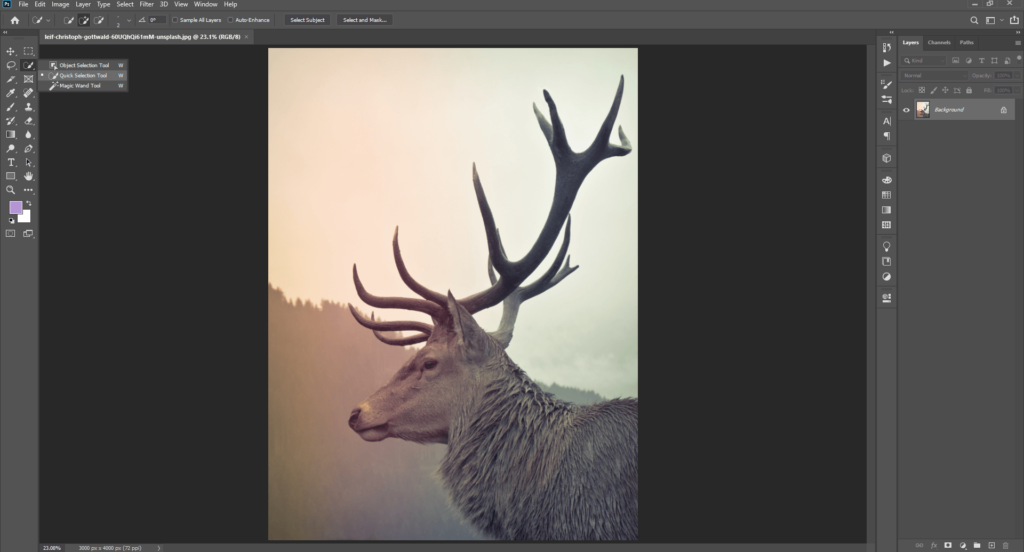
Step 2: Edit your Subject
- Open property and select onion skin and transparency 50%
- Refine edge brush tool and then refine edge
- Set contrasts 9%
- Output setting on
- Tick decontaminate colors amount 100%
- Output to a new layer with layer mask then press OK
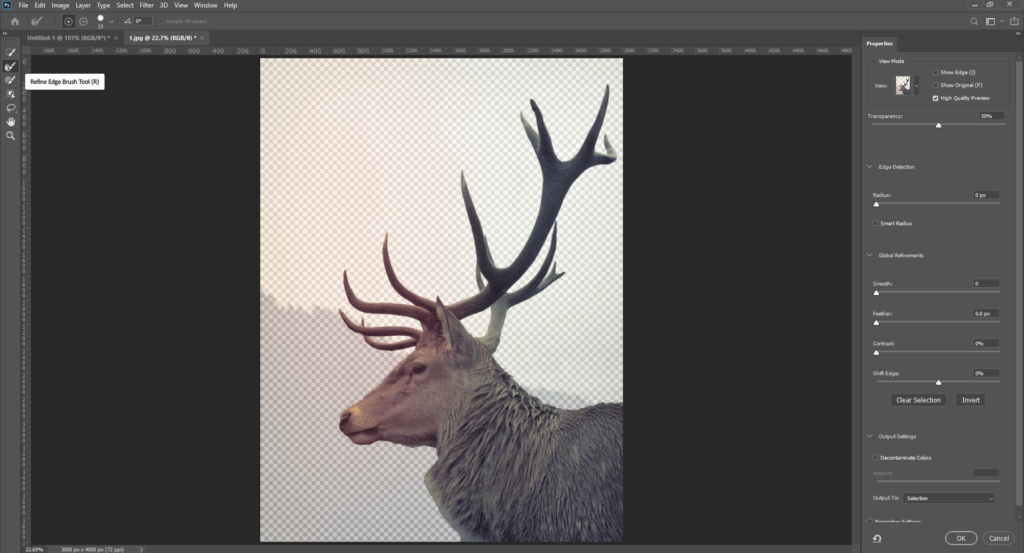
Step 3: Crop the Upper part of the subject
Select layer mask and press ctrl + click for selection and new cut out the upper part to polygonal lasso tool. select perfectly then select layer and ctrl+j for duplicate layer
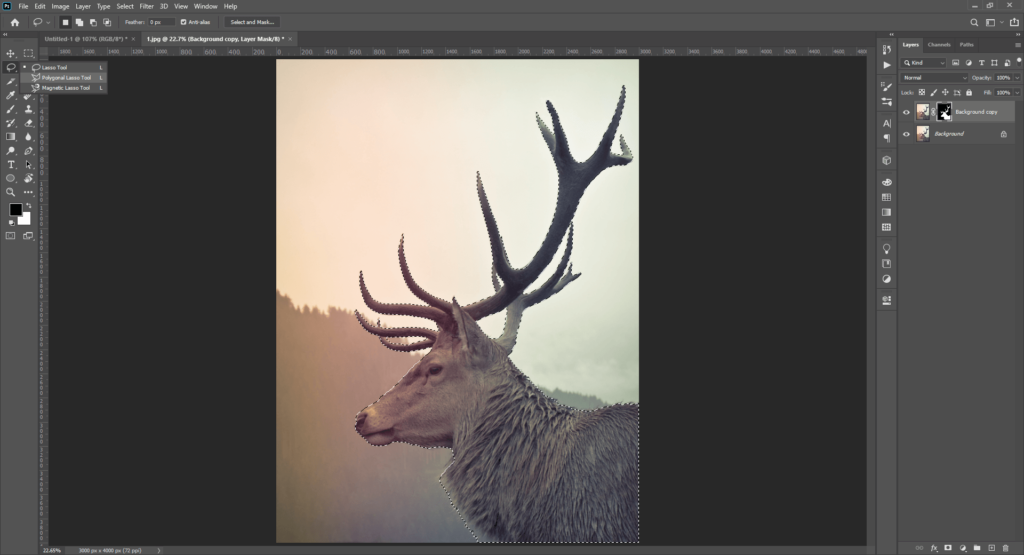
Step 4: Create an effect for Background
Create Ctrl+G for the group layer, select the last layer and create a color lookup effect.
Then 3D lut file and select moonlight.3dl. and then Create a new effect black & white Opacity set 50%
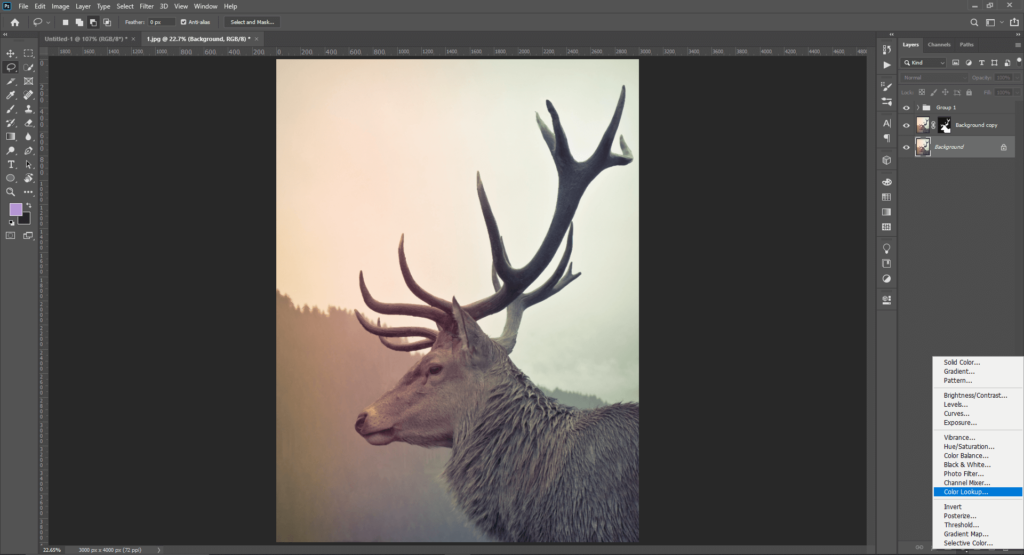
Step 5: Create Effect for Main Subject
Select the group layer and convert this layer to a Smart Object.
Then create this layer duplicate. then create a color style to the top layer in linear Dodge(Add).
Then go to the
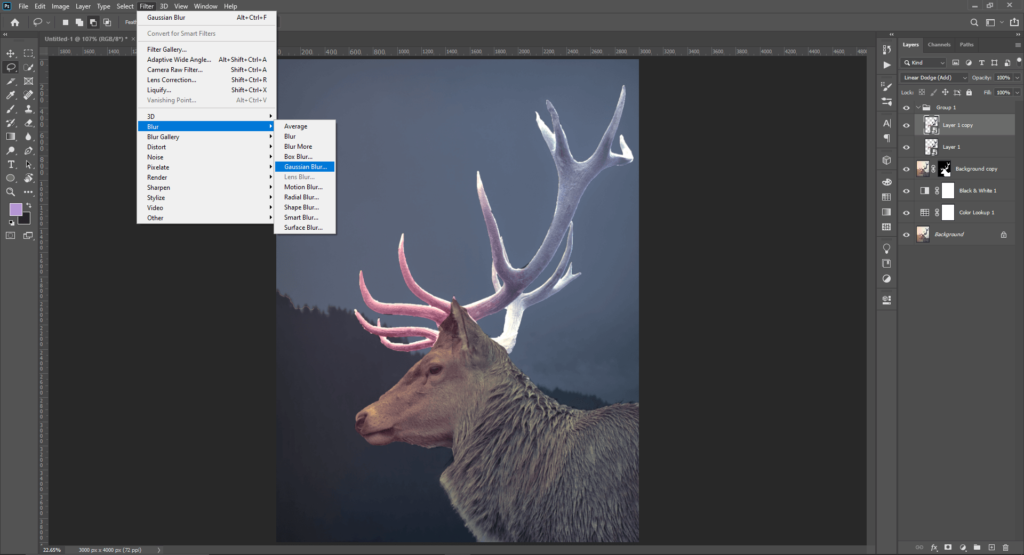
- Filter – blur – Gaussian blur Create radius – 5 for soft edges
- Create a duplicate layer and double click on the smart filter and Create a radius of 100
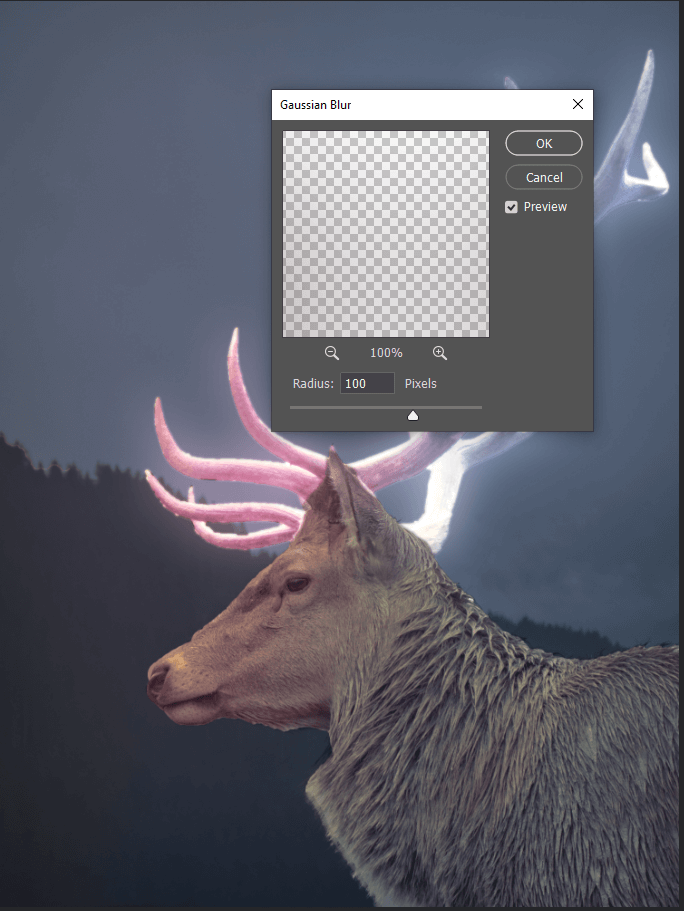
again Create a duplicate layer and double click on the smart filter and Create a radius of 2504. again Create a duplicate layer and double click on the smart filter and Create a radius of 500 then add hue/saturation adjustment layer and click on create clipping mask then click on colorize and increase the saturation to your perfect and choose a color
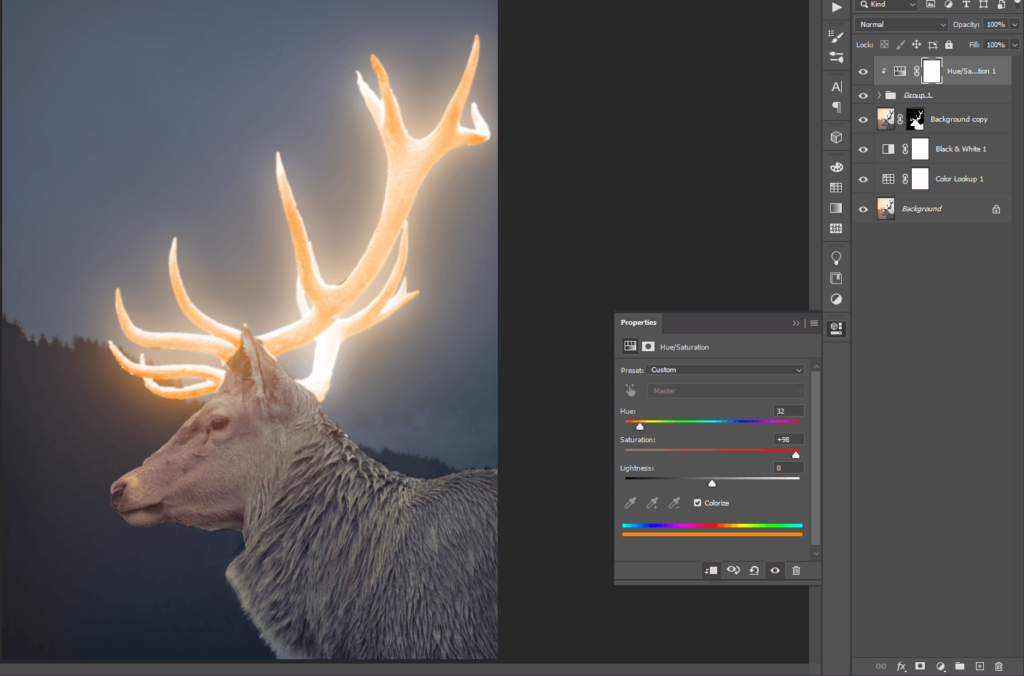
Step 6: Create All effects in the subject
Select the main layer mask image and create effect curves.
And click on create effect curves and click on create clipping mask and curves per requirement select layer mask and select the brush tool. and set property opacity 100%flow 30%
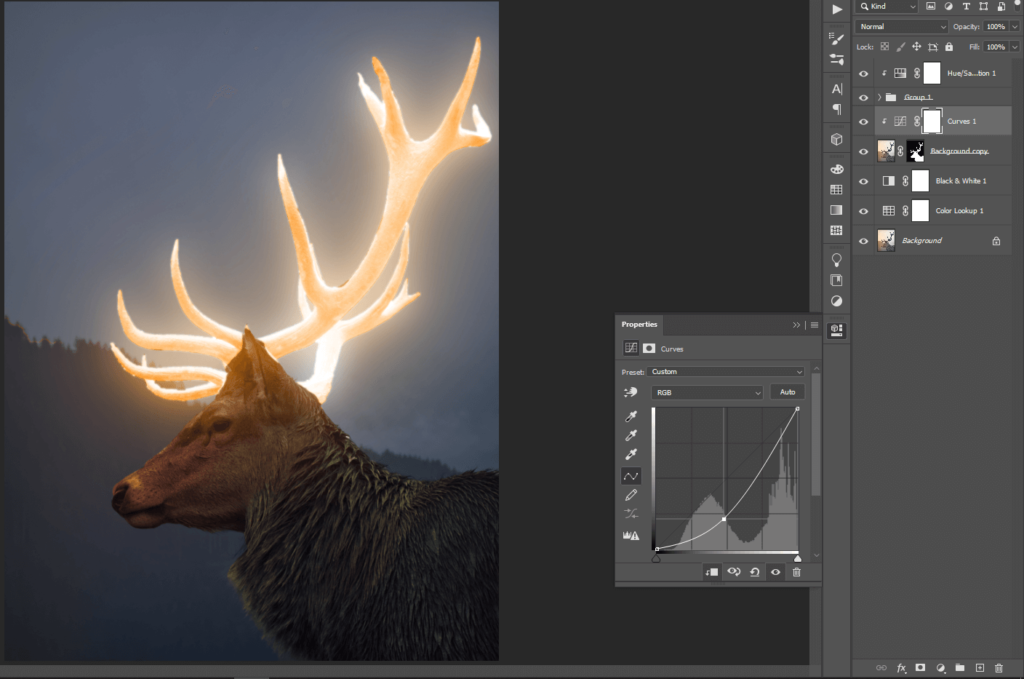
Create a duplicate hue/saturation effect layer and set this layer to the bottom of the main object and select this layer and open property and click ok create a clipping mask.
And select the mask and make sure the foreground color is white.
And give shade to the object and you can also adjust the opacity.
Step 7: Add the sparkle and give effect
Let’s add sparkle and change the blending yo screen.
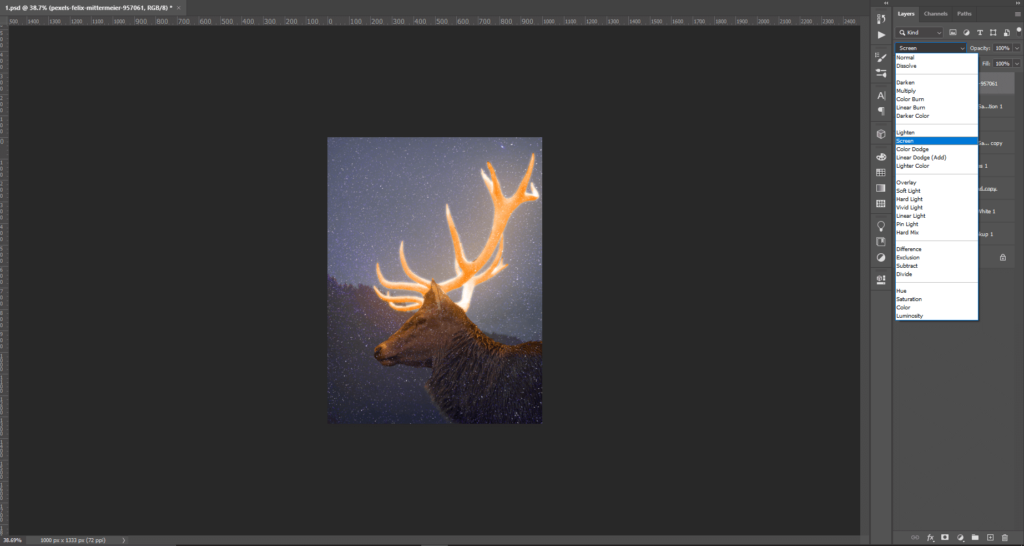
Then add a mask and convert to invert the layer and select brush tool.set foreground color is white and creates an effect in the main object after creating effect open blending mode and create a level and click on create a clipping mask and set property per requirement.
Then open blending mode and select color lookup and set 3dlutfile to crisp_warm: look and set opacity as per requirement.
Now finally ready to glow effect
