Use Laravel localization key into your Javascript code
Generally, we cannot use the laravel localization key in its javascript. is that possible to use laravel localization…
UUIDs as Primary Keys with a Trait in Laravel 9

What are UUIDs? UUIDs stands for Universally Unique Identifiers and are 128 bits values used to uniquely identify some…
How to integrate Paypal payment gateway with Laravel / PHP ?
In this tutorial we are going to see to integrate the paypal payment gateway with checkout method using the Laravel….
Difference between Eager Loading and Lazy Loading
We often listen to the words “Eager Loading” & “Lazy Loading” in Laravel. but maybe some of…
Implement Bootstrap Laravel Livewire tables
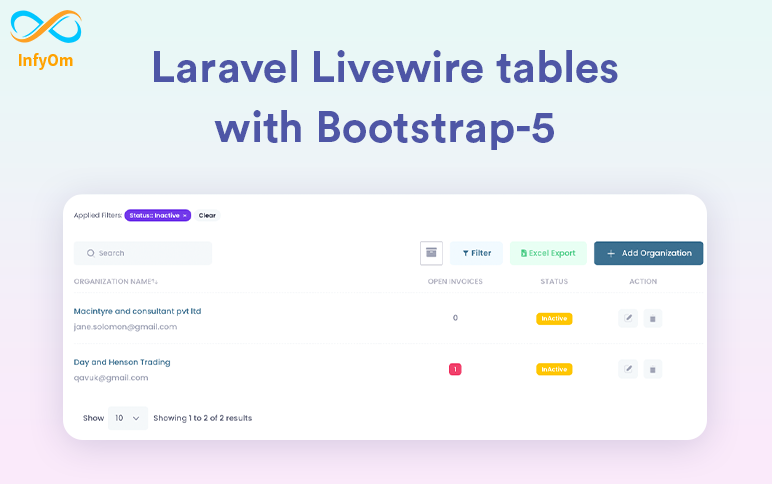
It’s 2022 and people are still using the old jquery tables with Laravel. As laravel have the livewire why do we…
Top Laravel packages that you need in 2022
What is Laravel? Laravel is the most popular PHP framework right now to develop web applications, it offers a very easy…
Use Multi-Database Tenancy in Laravel Apps
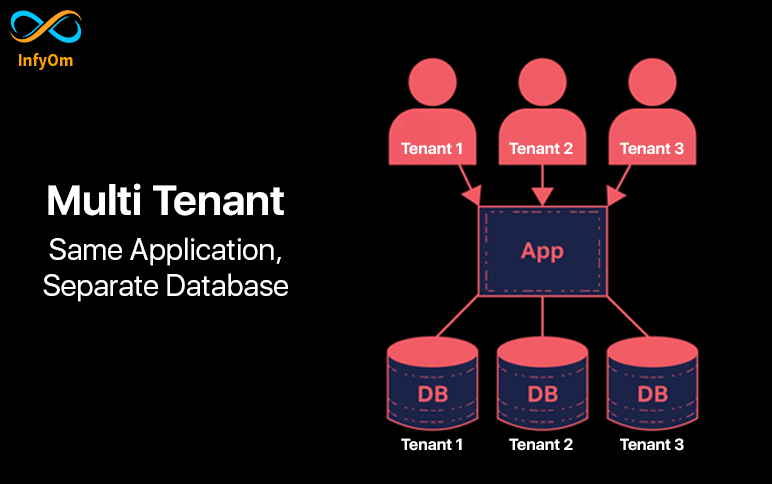
People are quite afraid :), including me 🙂 when it’s about the developing system that works with multi-tenant /…
How to integrate Authorize Net into Laravel ?

In this tutorial, we are going to see how we can implement the authorized hosted payment gateway by using their UI and…
How to check Laravel logs with UI Interface?
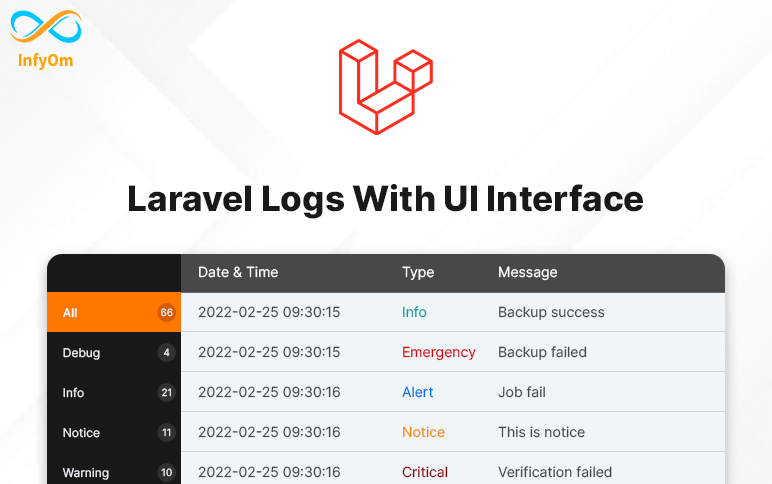
Debugging the most important thing that developers always need while developing things. If it’s about local…
How To Setup SSH key in Windows
In this article, I show you how to set up SSH in windows10, first of all, you have a question what is the ssh key, and…