
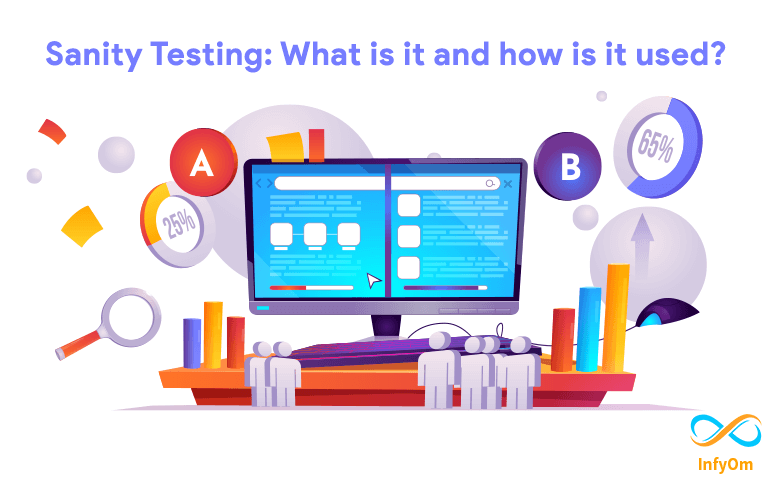
Sanity Testing: What is it and how is it used?
The Basic Concept of Sanity Testing When time is brief, Sanity testing
Understand FontIcon Style
Linear It is the most common style of icon in projects. With

How to Increase Customer Retention Rates
It is critical for a business to draw in customers, but the ultimate goal is to get those customers to return and…

How to integrate Authorize Net into Laravel ?
In this tutorial, we are going to see how we can implement

Why to use Figma over other UI Design Tools?
The program can be used in any browser and operating system, it is also possible to save offline projects as…
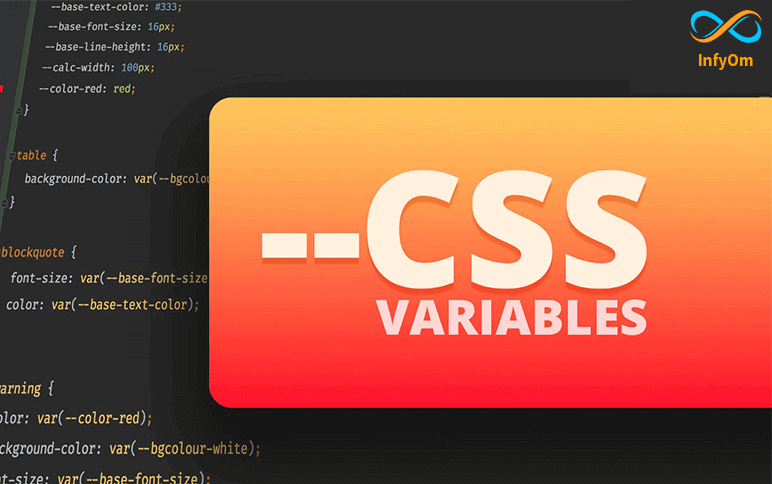
Why Should Use CSS Variables?
A variable gives us the ability to store a value inside it and then reuse it throughout the code. CSS variables make…
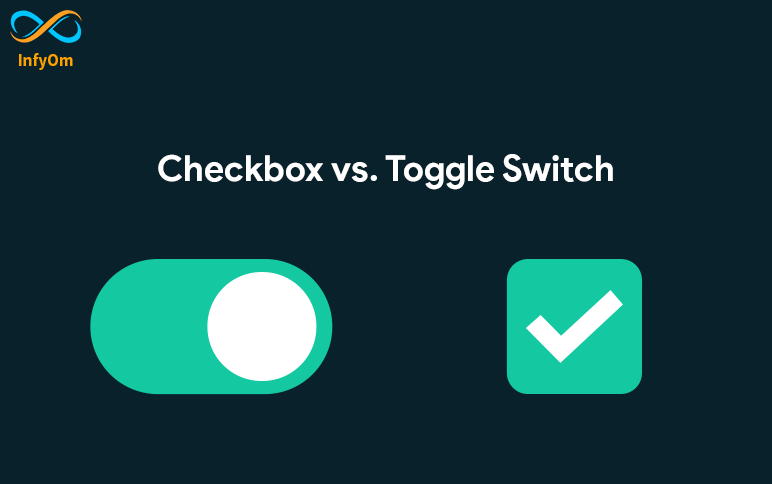
User Interface Design Tips: Checkbox vs Toggle Switch
A toggle switch, like a light switch, is a physical switch that allows users to turn objects on and…
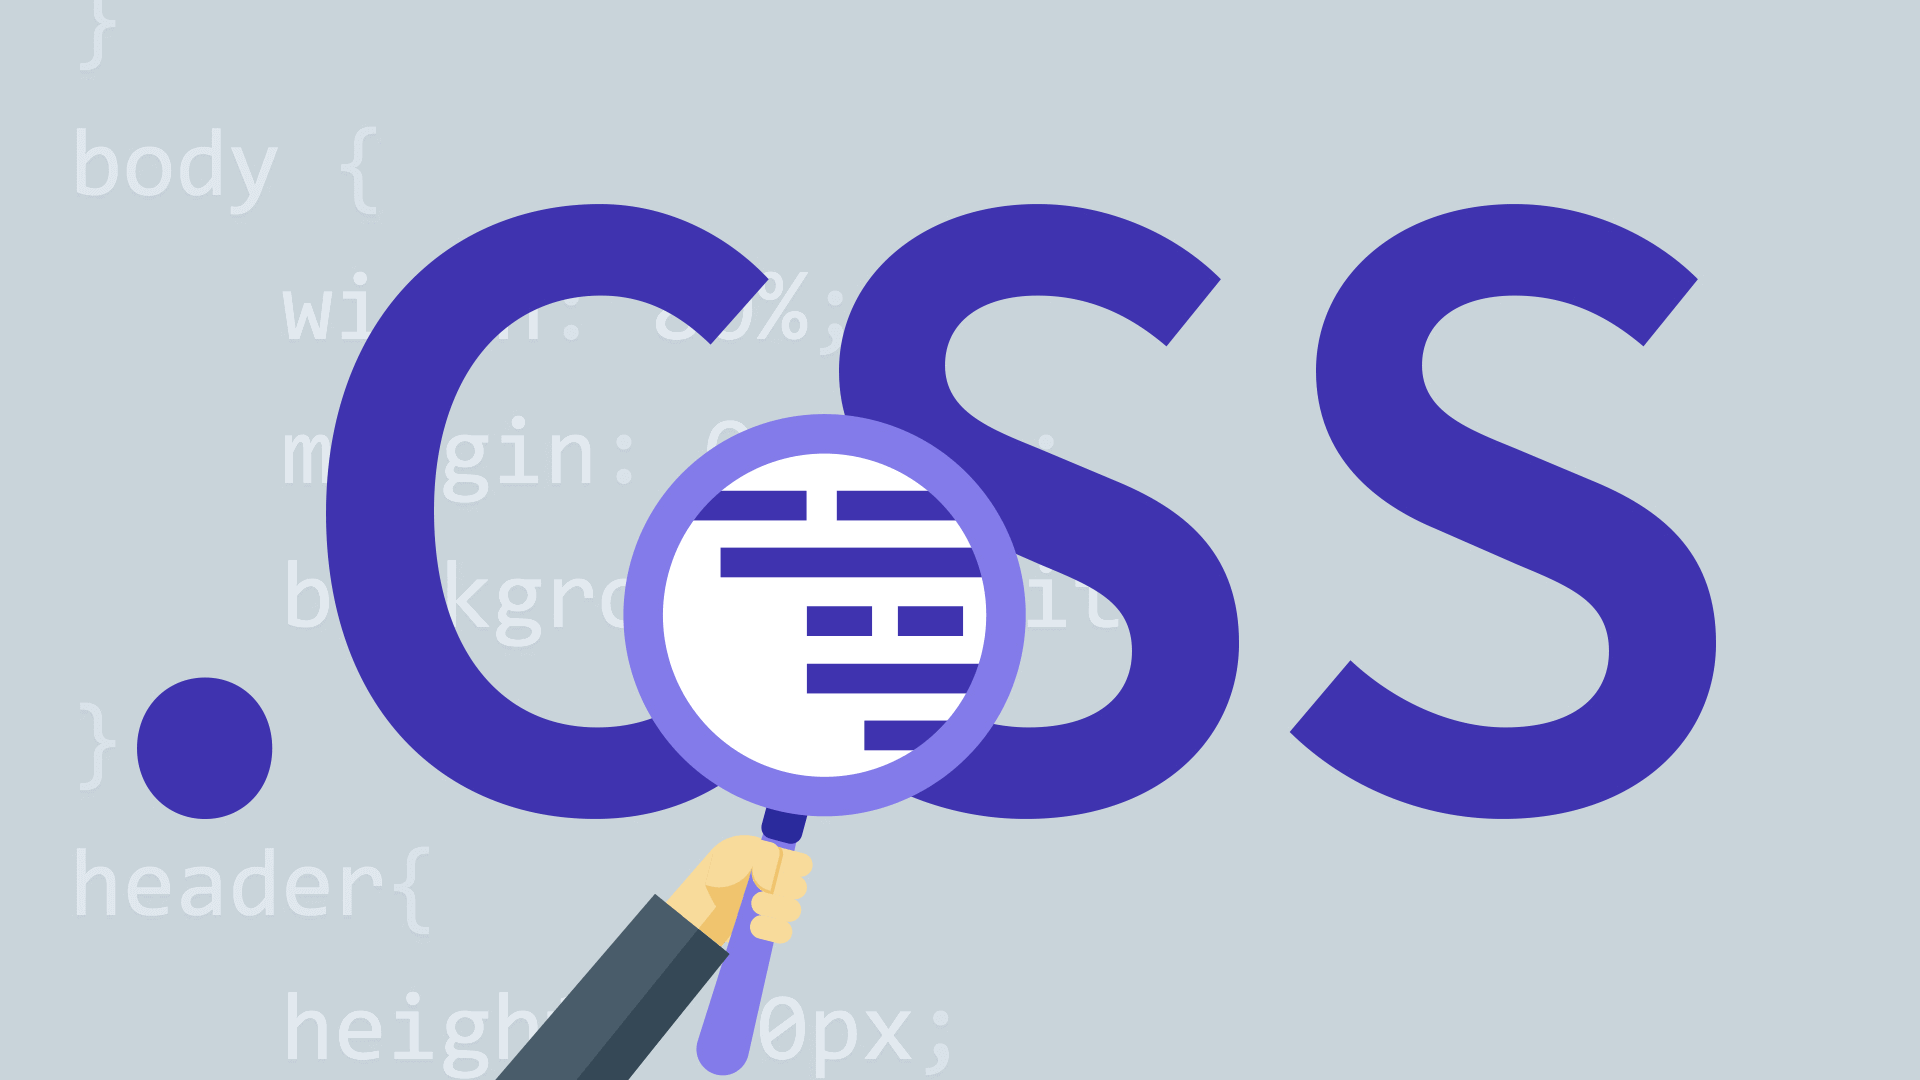
Common CSS Mistakes Should be Avoid
Using PX when it’s not Needed Bad Good Not Using Shorthand Properties

How To Increase Sales Through Digital Marketing
There is no manual on how to achieve this increase in sales with Digital Marketing. Still, there is a list of actions…