

Useful Shortcut Keys for Android Studio
Android studio shortcut key very simple and easy to understanding. Remember all androids studio short cut key and…
How to Implement Splash Screen in Android
What is a Splash Screen? A splash screen is a screen that

How to implement Mailchimp into Gatsby Site
We have recently developed a site into the gatsby. Basically, the contact

Recruitment:The things HR need to keep in mind
Recruitment is the most significant task of core HR. This blog will shade light on tips in order make the recruitment…
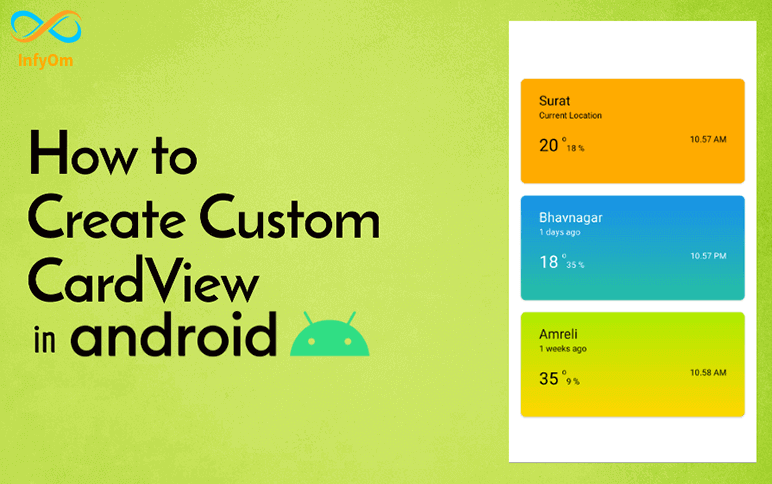
How to Create Custom CardView in Android
Cardview is a widget provided by Android to create a new look

Make fully configurable livewire searching component
laravel. livewire, livewire searching, livewire component
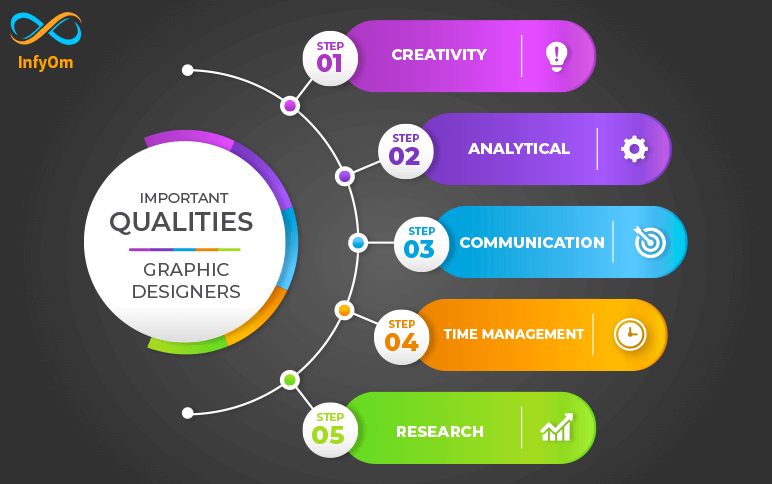
What are some important qualities of graphic designers?
The technical skills outlined above are necessary for graphic designers to…

How to explain the tricks to close your next deal
Persuasion is a method of communication aimed at influencing the attitudes,…
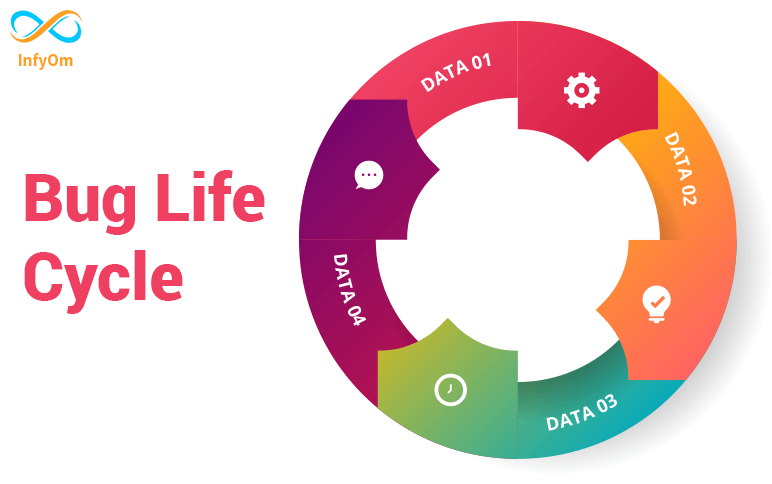
Bug Life Cycle in Software Testing
A bug cycle of a defect from which it goes through covering the different states in its entire…