

Employee Morale: Play significant role in Business Development part-2
To enhance the productivity in the organisation, the employee morale should be taken into consideration by the…
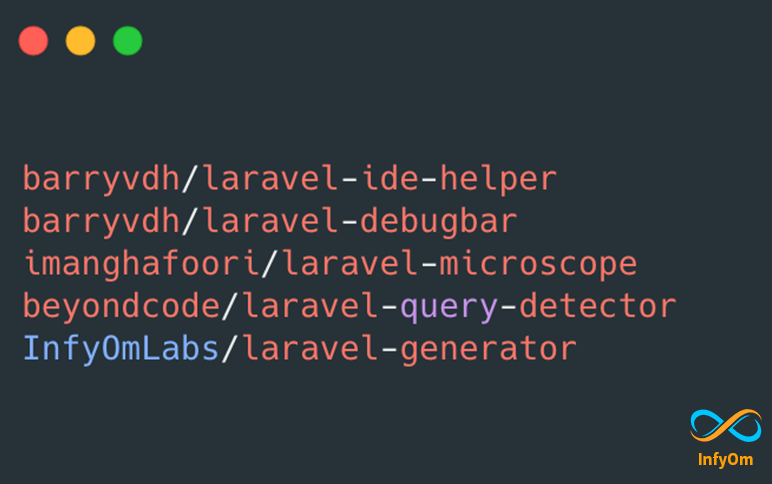
Laravel Packages we use everyday at InfyOm
Lots of people ask me frequently, “Which are the laravel packages that

How to create glow effect in photoshop
In This Advanced Glow/Glowing Effect Photoshop Tutorial, learn How to make glowing effect in…

How To Grow Your Business – 1
You can only develop products and services that are very effective if

How to use select2 with livewire
Most of the developers are facing a select2 style removing issue when
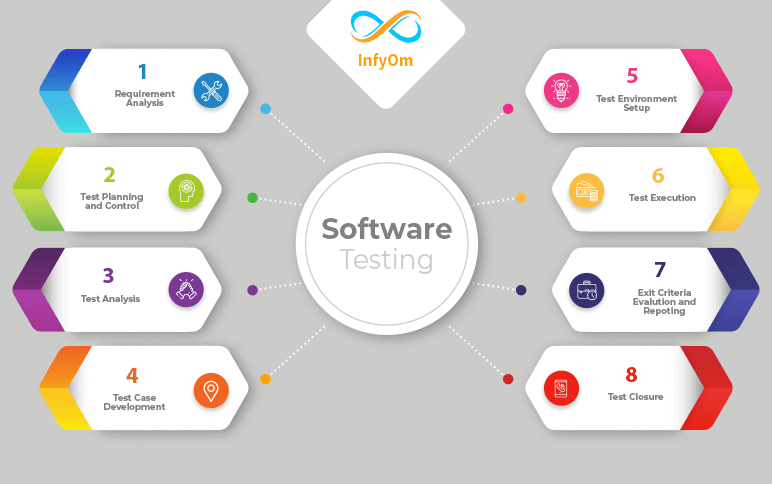
Software Testing Life Cycle
Software Testing Life Cycle. STLC is a sequence of different activities performed by the testing team to ensure the…

How To Change Background in Photoshop
We are going to change the background of the photo with another
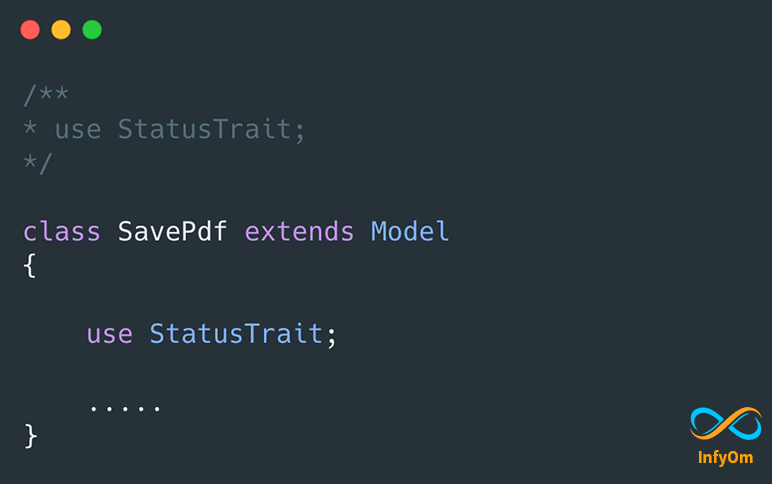
Using Common StatusTrait in Laravel in multiple models
How to create a common Status Trait for the status field for different statuses of models in…

Employee Morale: Play significant role in Business Development
It’s true employee is play significant role in company. The employee is important to organization since it directly…