
Regression Testing Vs Retesting
In this article, We will see the difference between regression testing vs

Why Social Media Is Important for Business Marketing
Social media marketing can be a powerful tool for businesses of all sizes. By following these tips, you can use social…
Step by Step Mobile App Testing Process
What is Mobile App Testing? Mobile app testing is the process of

How to Update Your App for Android 13 Permissions
To prepare your app for Android 13, you should ensure that it follows the best practices for handling…

How to create artisan command in Laravel with arguments support
create artisan command in laravel with arguments

How to write E-mail for Sales
An email is a powerful tool for sales professionals. It provides a

The Role of Graphic Design in Social Media Marketing
If you’re looking to take your social media marketing to the next level, consider investing in graphic design…
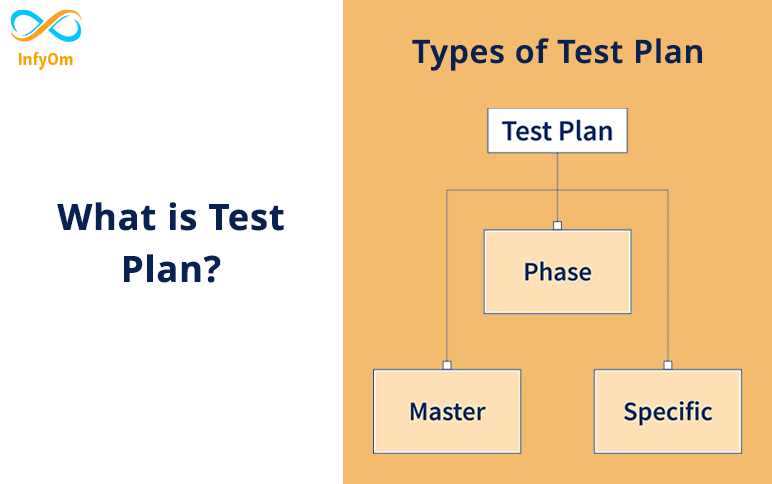
What is Test Plan? – A Complete Guide
Enhance user experience and engagement with these top Android UI design tips and best practices for creating visually…
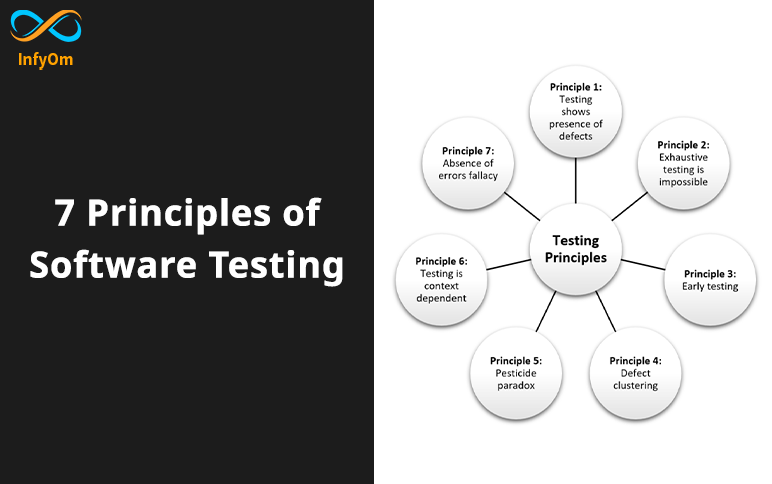
7 Principles of Software Testing
Software testing is the most common way of executing a program determined