
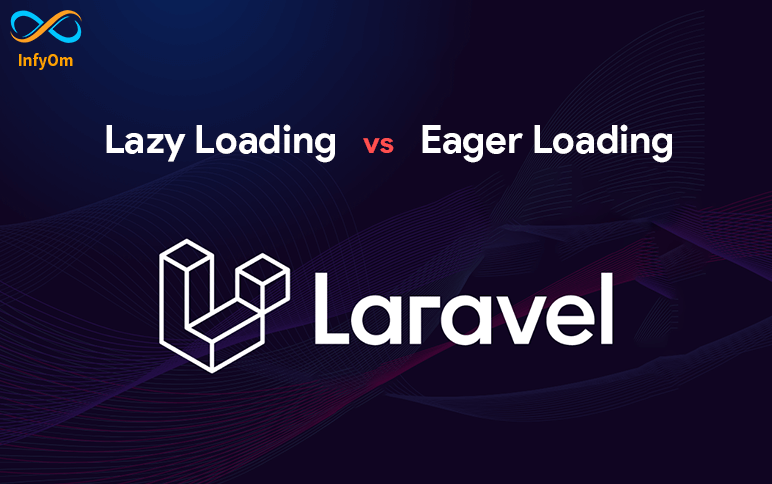
Difference between Eager Loading and Lazy Loading
We often listen to the words “Eager Loading” & “Lazy Loading”…
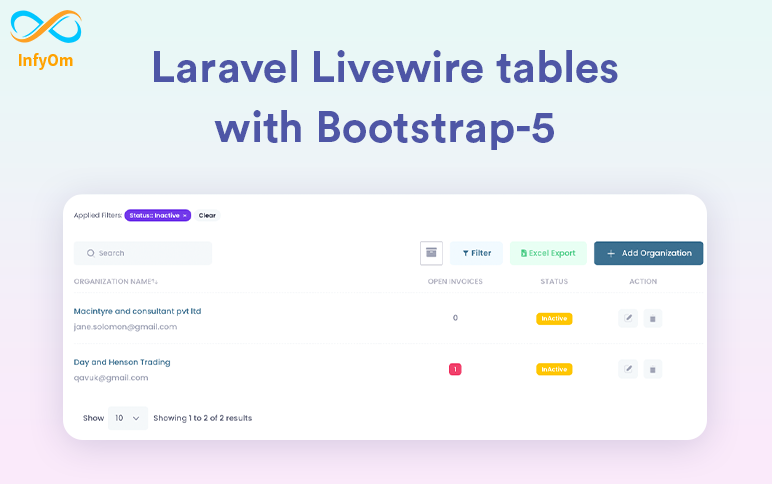
Implement Bootstrap Laravel Livewire tables
It’s 2022 and people are still using the old jquery tables with
Top Laravel packages that you need in 2022
What is Laravel? Laravel is the most popular PHP framework right now

How to Make Sales and Marketing Meetings More Effective and Impactful
There needs to be a close relationship between sales and marketing if you want to increase the number of qualified…

How to add ProGuard to Android?
We may have used ProGuard in our project when developing Android applications.
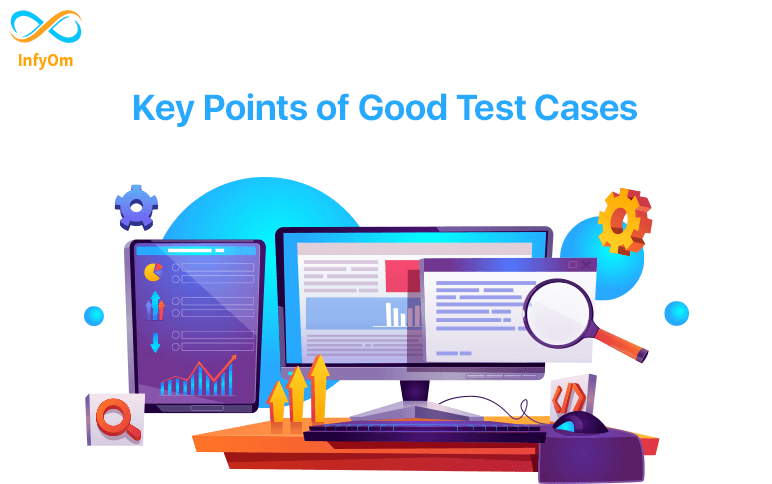
Key Points of Good Test Cases
Testers infrequently suppose about the difference between average and high quality…
Top 5 UI/UX Design Tools
UX and UI tools have played a pivotal role in shaping the
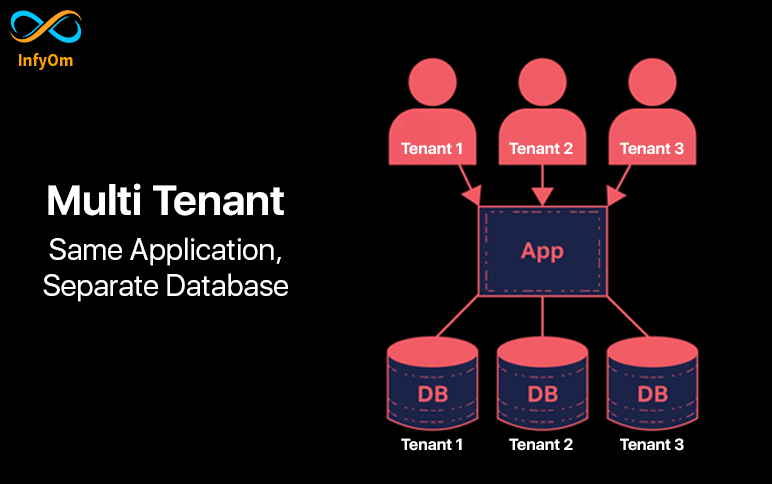
Use Multi-Database Tenancy in Laravel Apps
People are quite afraid :), including me 🙂 when it’s about the
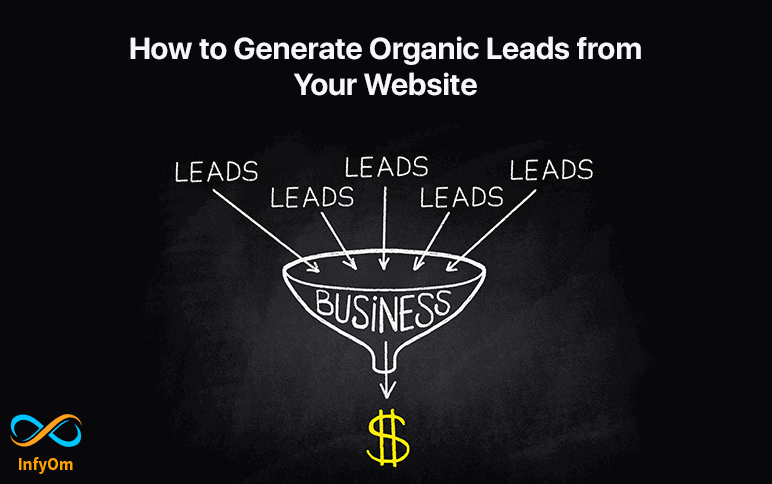
How to Generate Organic Leads from Your Website
What are Organic Leads? Organic leads are your potential customers and customers