
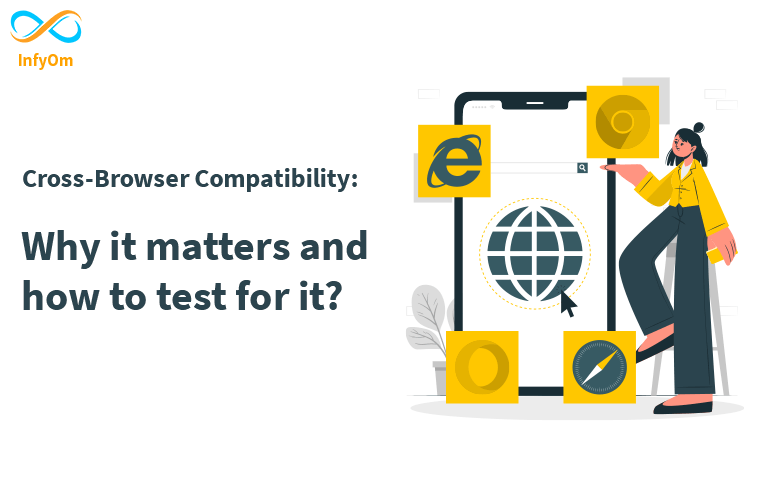
Cross-Browser Compatibility: Why it matters and how to test for it?
Cross-browser testing means to ensure these components function seamlessly across all targeted browser…

Understanding of Employee’s Value Circle
To Engage employees in the organisation Effectively, Understanding of employees’ Value circle is must for HR…

Harmful Browser Security Threats: How to Avoid Them? -2
It will help of this protected from harmful threats & make secure with main seven tips & it’s…
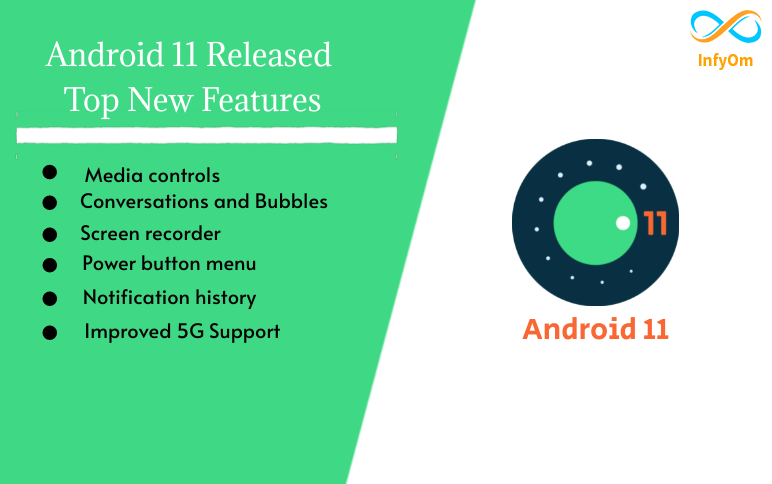
Android 11 Released: Top New Features
This is only part of what’s new as there are over 100 features that serve app developers to further the entire…
![On-Page SEO : The Ultimate Guide[2021]](https://infyom.com/blog/wp-content/uploads/2024/07/on-page-seo-ultimate-guide.png)
On-Page SEO : The Ultimate Guide[2021]
The ultimate guide of different kinds of factors that affect on-page SEO and applying this factor we can rank on google…

How to Develop Effective Communication Skills to Get and Keep Clients
Introduction Effective communication is a tool for achieving your business goals…

What is Agile Testing Methodology & How it Works?
Agile testing methodology aligns with iterative Development Methodology in which requirements develop gradually from…

How to Setup Swagger in Laravel Application
Generally, we are using a Swagger in Laravel. it will take time

How to connect strapi CMS in gatsby website
Gatsby Gatsby is a blazing-fast website framework for React. It allows…