

How to Increase Product Sales on the Website
An easy way I’m going to show you how to increase product

How to Change App Language in Android Programmatically?
Android 7.0 (API Level 24) provides support for multilingual users, allowing…
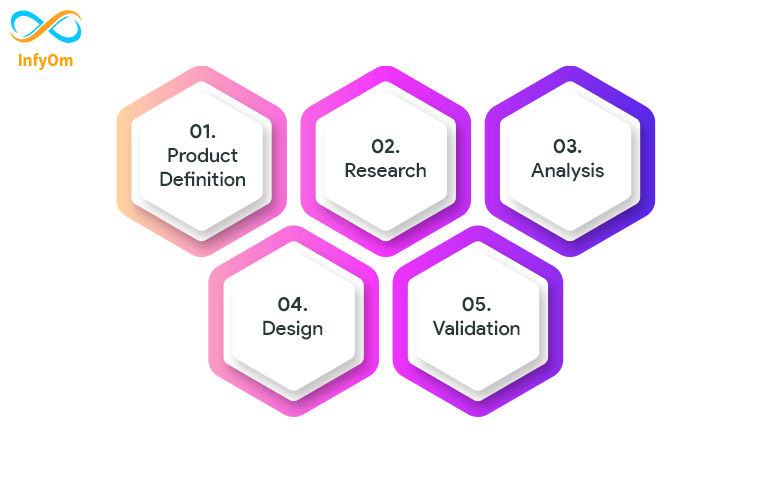
Steps of UI/UX Design Process
A UX design process typically follows something similar to a design thinking approach, which consists of five basic…
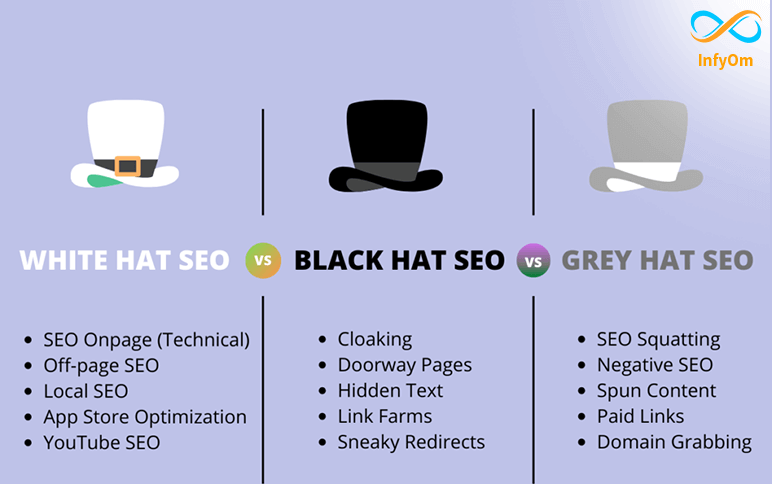
What Are The Different Types of SEO Techniques?
Today I’m going to show you Types of SEO. Basically, White Hat SEO, Black Hat SEO, Gray Hat SEO are the types of SEO…
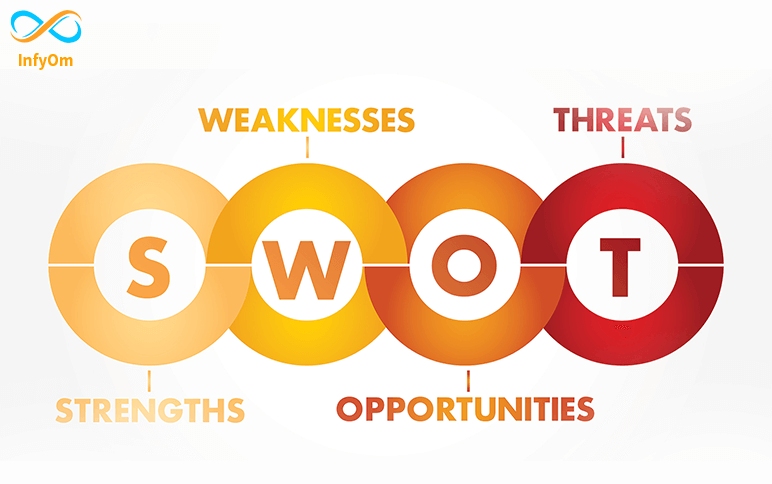
SWOT Analysis – Strategic Planning- 2
SWOT Analysis is a Powerful way to Evaluate your business and choose the best ideas for future…
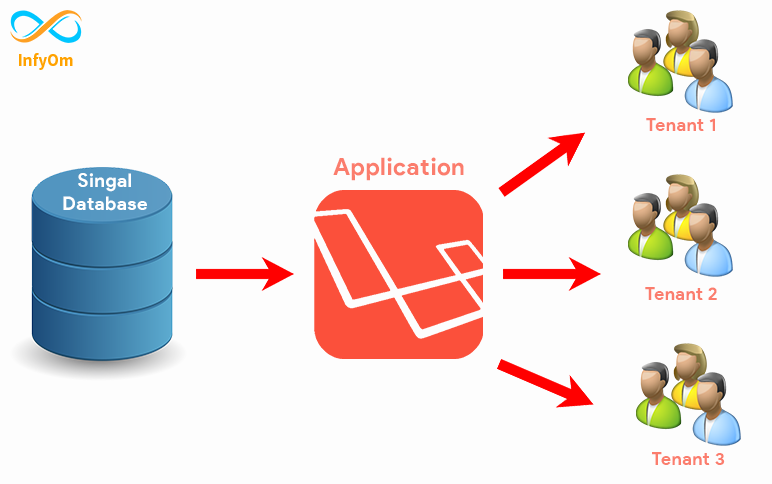
How to use laravel multi tenant (stancl/tenancy) with single DB ?
Nowadays multi-tenant applications are more useful than single-tenant applications. We can…
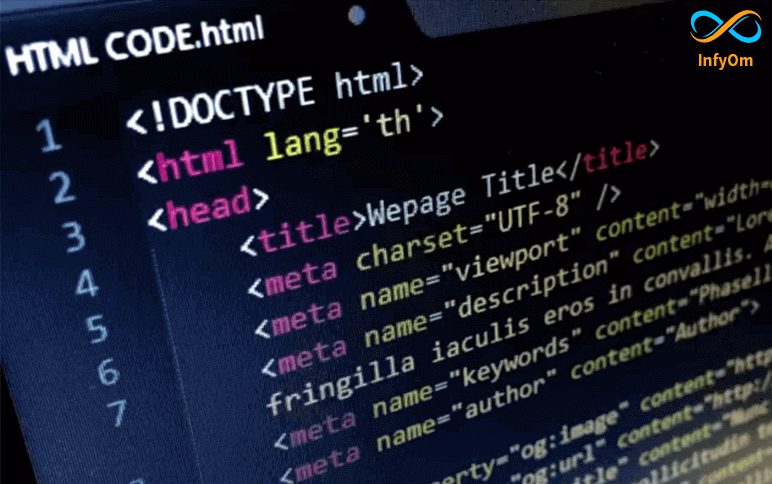
What is HTML Tag?
This blog gives information and different elements of the meta tag. A

Harmful Browser Security Threats: How to Avoid Them?
Web browser, is the most used application or portal for users to
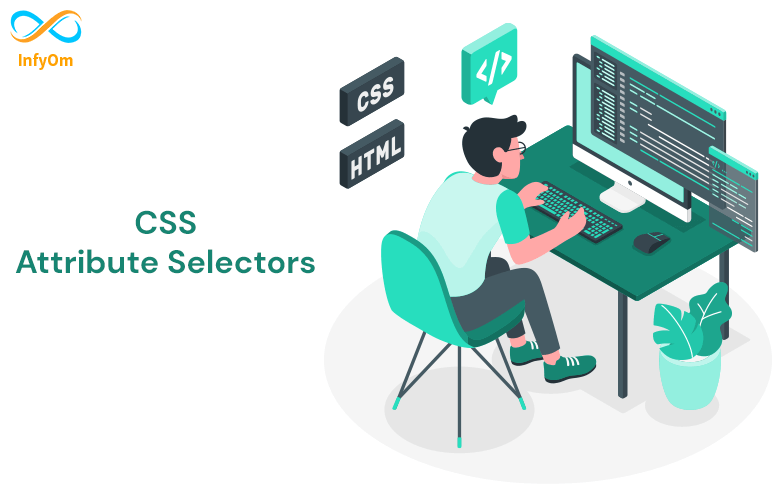
Understanding CSS Attribute Selectors
In HTML and CSS, an attribute selector is used to select any element with a specific attribute or…