
How to create custom validation rules in Laravel ?
While developing complex applications, sometimes we have to validate fields and…
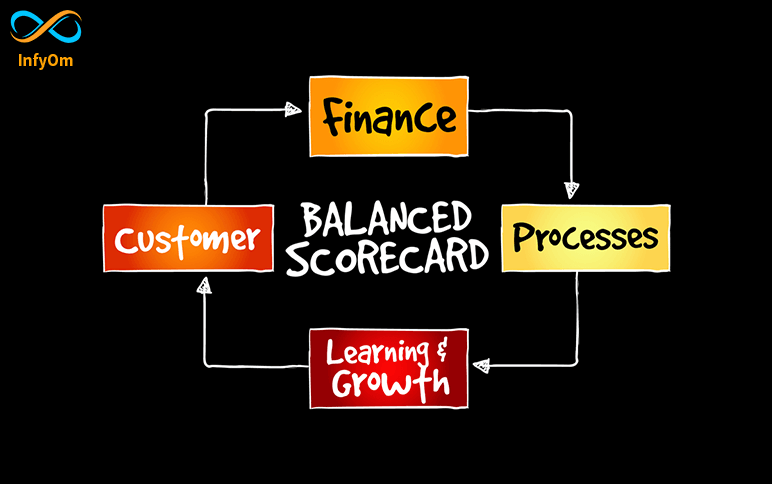
Balanced Scorecard : Strategic Management System-3
In the last blog we have discussed two perspectives namely Financial Perspective
Send real time notification with Pusher using Laravel and Javascript
Send real time notification with Pusher using Laravel and Javascript

How to integration google ad in android app. Part – 1
Google ad integration in android java.Very easy to add and simple flow.All Google ad type…

Performance Testing Part-1
Performance Testing is a software testing process used for testing the speed, response time, stability, scalability and…
Which Logo File Format to Use Part-2
When your logo is finished, your designer should provide you with your logo in a variety of formats so that you can use…

How to Generate Sales Leads
Many successful small business owners are constantly looking to expand their…
How to do payments with stripe checkout
Payments gateways are very useful components of any e-commerce store. One of

How to add Shadow and Text on ImageView in Android
Basically, it works like a stack where each view is stacked on