
Show saved annotations from database in document using PDFTron
Here we will learn how to import annotations saved in the database

How to increase 10 X sales
This will allow both your organization and sales team to think outside the box, and determine more efficient ways to…
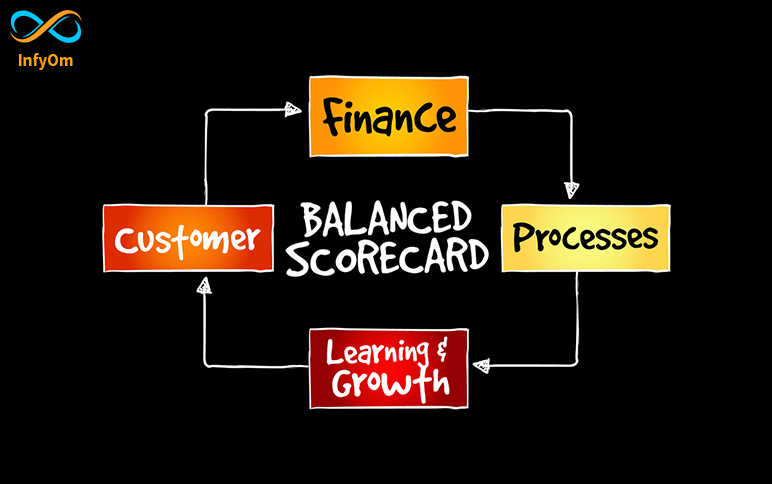
Balanced Scorecard : Strategic Management System-1
BSC is a framework which include financial and non-financial strategies to measure the long-term success of any…

How to Test Android Applications
You can verify its correctness, functional behavior and usability before releasing it publicly. it also provides the…
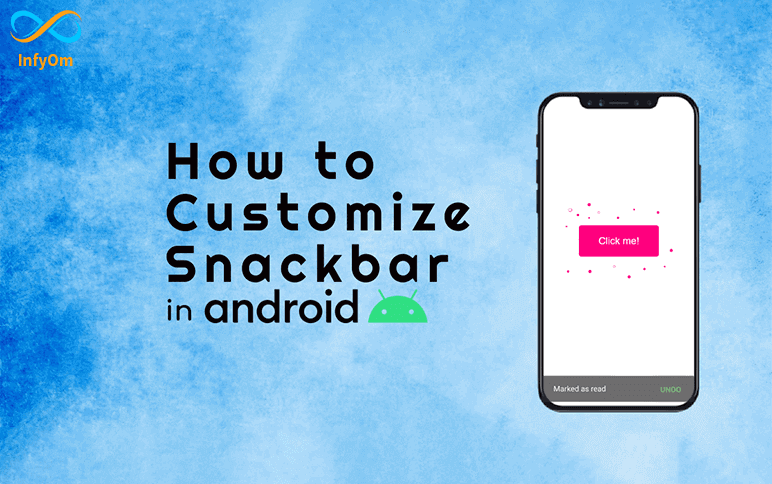
How to Customize Snackbar in Android
Snackbars are fairly common in the Android app. Almost every app uses a snack bar to display some information about…

How to generate thumbnails by using Spatie Media Library
Hope you guys are familiar with Spatie Media Library. It’s a very
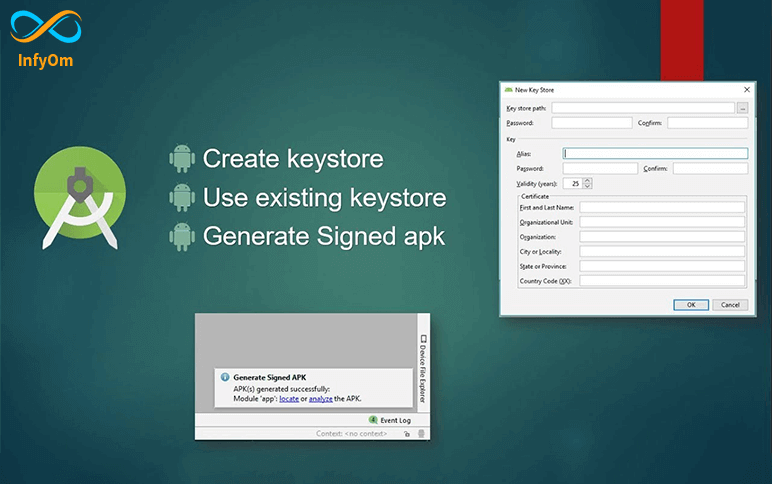
How to create APK and Bundle in android java
While developing apps in Android Studio, developers can create an APK file
Which Logo File Format to Use Part-1
When your logo is finished, your designer should provide you with your logo in a variety of formats so that you can use…

How to implement Google Analytics into Gatsby Site
We have recently developed a site into the gatsby. We want to