
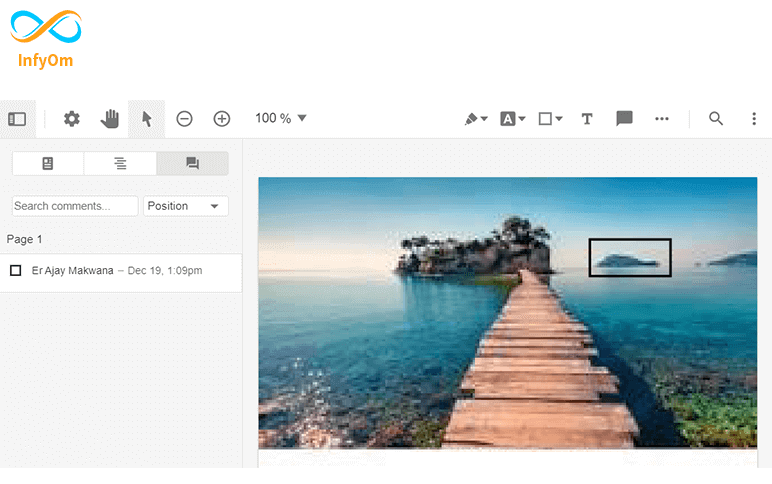
Export annotations of PDFTron using jquery
Here we will learn how to export annotations drawn using PDFTron. Events

How to increase profit in our business – 2
In the previous article, we learned 6 areas or tips on How
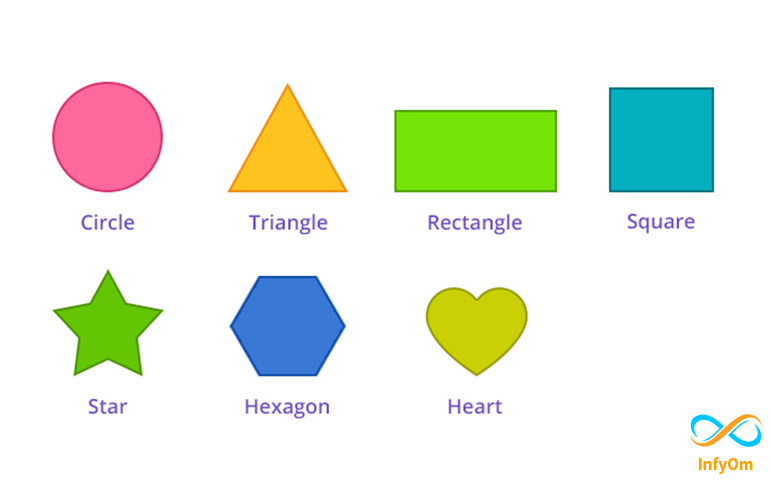
How to create different type shape in android java
Hello, wonderful friends today in this blog on learning in android XML

How To Integrate onesignal push notification in Android
Step: 1 Create a new Project in Android Studio First, create a
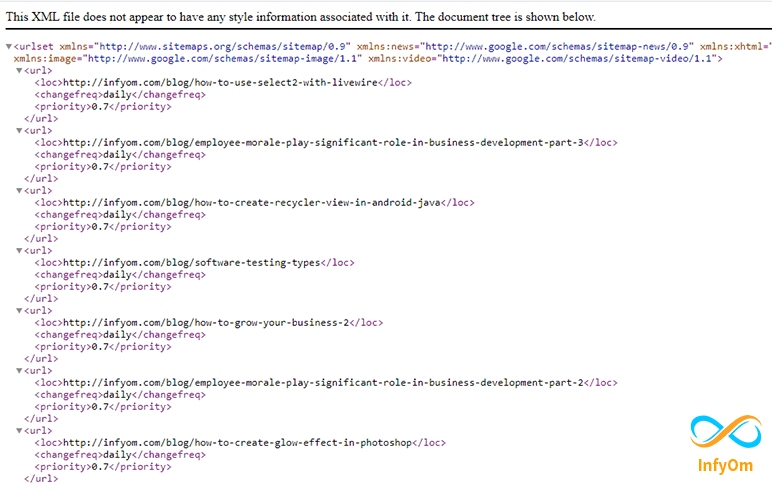
How create a sitemap for your Gatsby site
We are adding a sitemap in our all site pages for making

Employee Morale: Play significant role in Business Development Part-3
It’s not possible to measure the Morale directly but we need to look at the various organizational…
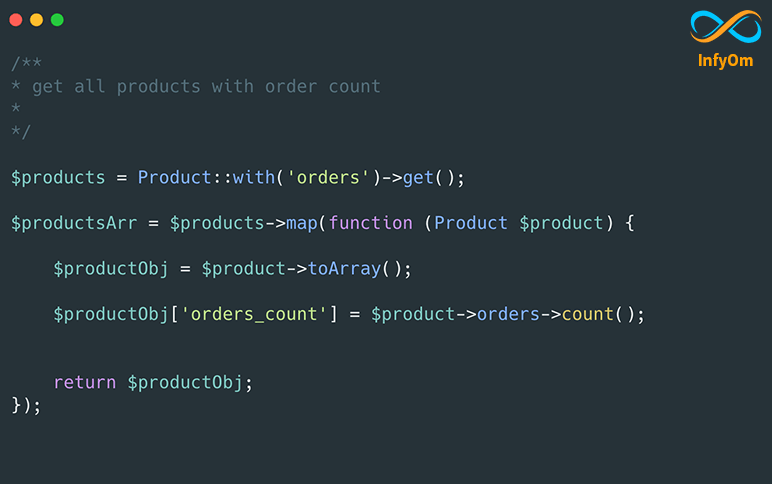
Retrieve count of nested relationship data in Laravel
Recently in one of our client’s projects, we want to load the
Software Testing Types
The testing is important since it discovers defects/bugs before the delivery to the client, which guarantees the…

How To Grow Your Business – 2
How to grow you business with develop products and services that are very…