
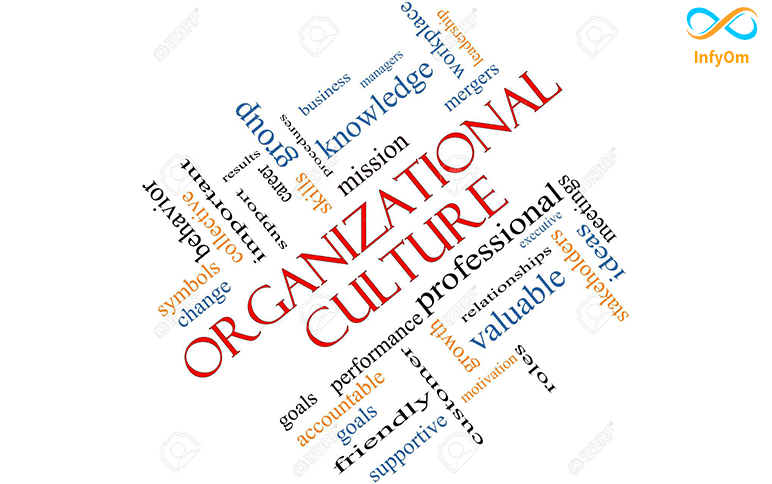
Company Culture:“It’s the backbone of any Successful Organisation”
Building the Organisational culture is significant as it creates the enjoyable working place for employees which aid to…
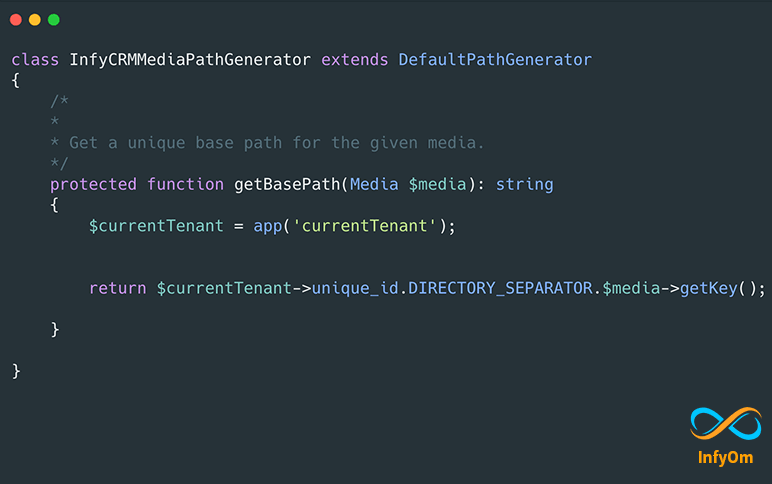
Custom path generation in Spatie Media Library while multi-tenant
Recently we use Spatie laravel-multitenancy package in our of our client’s…

Facebook Login With Firebase In Android Java
Facebook login with firebase app owner justify user login over app.some time user data upload over app in so necessary…
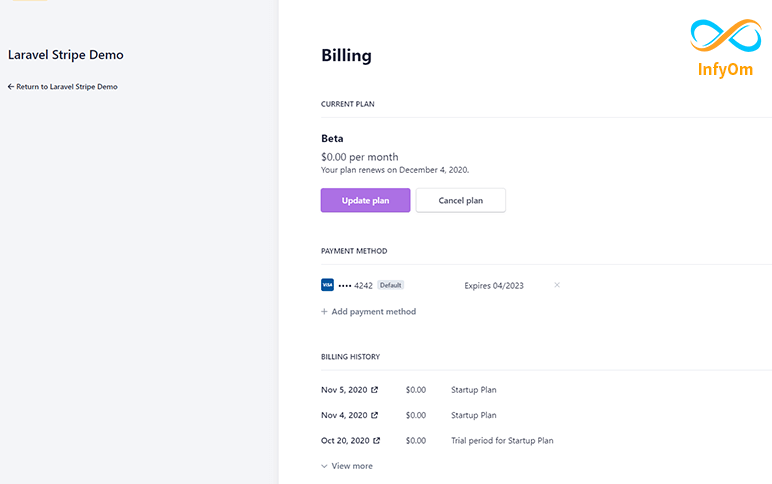
How to Integrate the Stripe Customer Portal
Stripe Customer Portal users can directly manage their subscription user can update/cancel subscriptions, change…
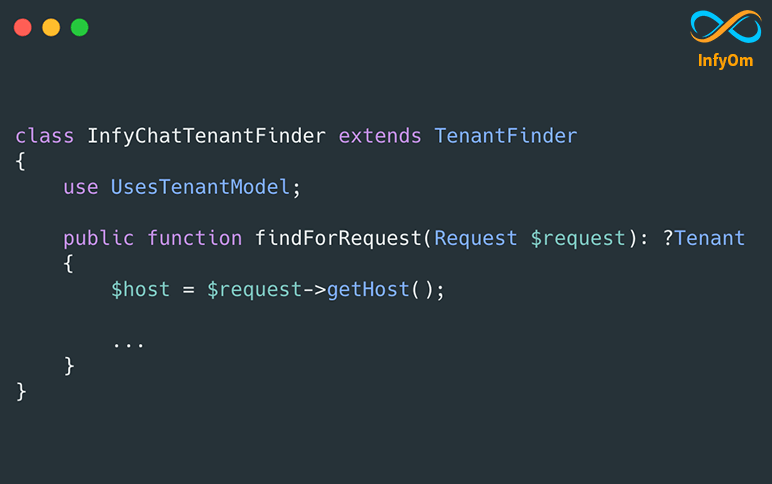
Customize Spatie Multi-Tenancy Without Subdomain
How to use Spatie multi-tenancy package with a single domain and create your custom TenantFinder class in…
Send Device-to-Device Push Notification using Firebase Cloud Messaging
Firebase Cloud Messaging (FCM) is a cross-platform messaging solution that lets you deliver messages for…

Manual Testing like a Pro
However advanced automation testing may get, we can’t live without manual…
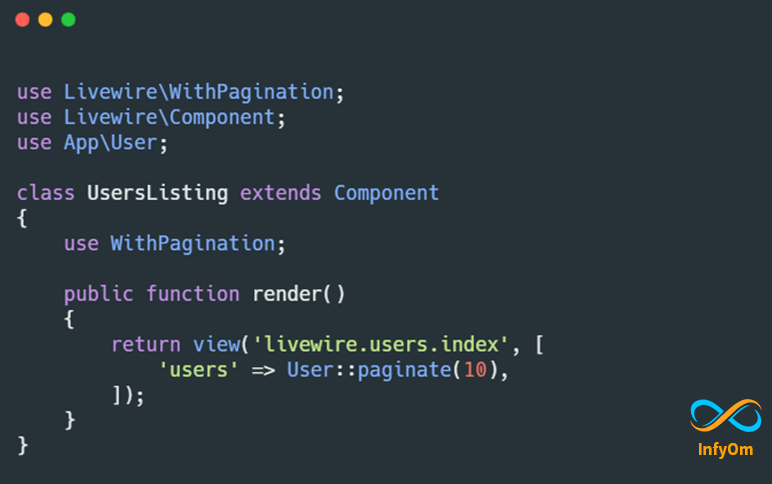
How to build Pagination with Laravel Livewire
Livewire is a very awesome thing that I have ever seen, the
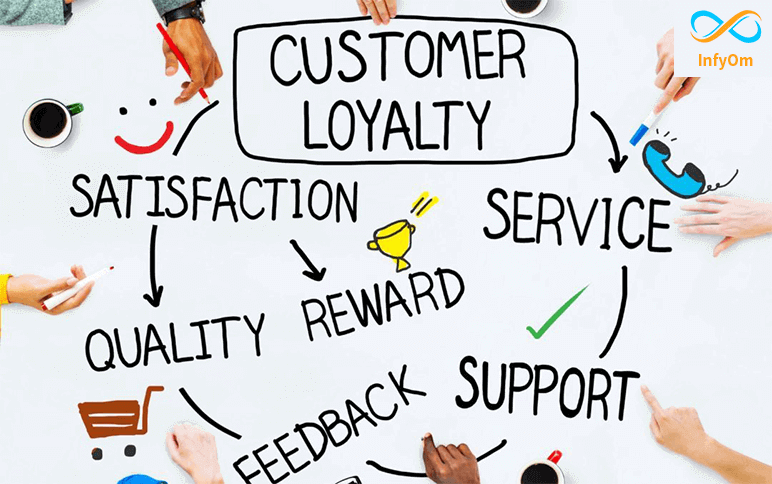
How to Keep Your Customers Happy & Increase Repeat Project
Increasing customer loyalty is a requirement of any organization. If a recurring project is found, the organization…