Difference between Eager Loading and Lazy LoadingLaravel

Difference between Eager Loading and Lazy LoadingLaravel
We often listen to the words "Eager Loading" & "Lazy Loading" in Laravel. but maybe some of how still don't know what that actually stands for.
What Lazy Loading means?
I worked with many projects that is developed by some other developers and the common problems in code I found us Lazy Loading queries everywhere.
To understand it more easily let's take one simple example.
Let's say There is Post model and Comments Model.
So basically post->hasMany('comments')
So let's say we are fetching 10 posts and now we want the comments of each post. what we will do is :
$post->comments()->get() (LAZY LOADING)
Lazy loading cause N+1 queries issues as every time we are fetching comments of each post and it will block the execution too for while as its queries from the DB.
What Eager Loading means?
Eager loading is very useful when we are working with large-scale projects. it saves lot's of execution time and even DB queries too :)
Let's take the above example to understand the Eager loading.
$posts = Post::with('comments')->get()
$post->comments (EAGER LOADING)
here when we retrieve the posts at that time we are fetching its comments too on the same query. so when we do $post->comments it will not again do query into DB or not even block execution as the comments are already there in model instance.
So this is how Eager loading saves your time and also prevents N+1 Query.
Hope that helps.
Implement Bootstrap Laravel Livewire tablesLaravel

Implement Bootstrap Laravel Livewire tablesLaravel
It's 2022 and people are still using the old jquery tables with Laravel. As laravel have the livewire why do we have to use the jquery tables ??
In this tutorial, we are going to use the livewire tables and gonna see the benefits of it.
The main problem I see with Jquery Datatable is :
- Page will flicker when we do any search, as it will fire the server-side query and fetch results
- HTML Appending into JS for action column
- It's not easy to customize the row, we have to write the HTML into JS
The main benefits of using Laravel Livewire tables are:
- After searching results will be quickly updated on-page, without flickering
- As the Livewire table is JS less, Of course, you don't have to append HTML into it. you can do it via blade files :)
- You can easily customize the row and tables view by adding your custom blade views.
How to integrate Bootstrap Livewire tables?
For that we are going to use the following package :
https://github.com/rappasoft/laravel-livewire-tables
Install Package
composer require rappasoft/laravel-livewire-tables
Publish Assets
php artisan vendor:publish --provider="Rappasoft\LaravelLivewireTables\LaravelLivewireTablesServiceProvider" --tag=livewire-tables-config
php artisan vendor:publish --provider="Rappasoft\LaravelLivewireTables\LaravelLivewireTablesServiceProvider" --tag=livewire-tables-views
php artisan vendor:publish --provider="Rappasoft\LaravelLivewireTables\LaravelLivewireTablesServiceProvider" --tag=livewire-tables-translations
`
Choosing Bootstrap 5 theme
Into the published config file you can choose/change theme to bootstrap-5
    return [
        /**
        * Options: tailwind | bootstrap-4 | bootstrap-5.
        */
        'theme' => 'bootstrap-5',
    ];
Render the components
<livewire:members-table />Create Component
    namespace App\Http\Livewire;

    use App\Models\User;
    use Rappasoft\LaravelLivewireTables\DataTableComponent;
    use Rappasoft\LaravelLivewireTables\Views\Column;

    class MembersTable extends DataTableComponent
    {
        protected $model = User::class;

        public function configure(): void
        {
            $this->setPrimaryKey('id');
        }

        public function columns(): array
        {
            return [
                Column::make('ID', 'id')
                    ->sortable(),
                Column::make('Name')
                    ->sortable(),
            ];
        }
    }
That's It :)
That's it, and you will see the bootstrap-5 Laravel livewire table. it have other lot's of fucntionality too, you can use or disable it as per your need.
Top Laravel packages that you need in 2022Laravel

Top Laravel packages that you need in 2022Laravel
What is Laravel?
Laravel is the most popular PHP framework right now to develop web applications, it offers a very easy environment and services for developers.
In this blog, we are going to know about the packages that we must have to use while developing any laravel application.
Best Laravel Packages
Here we are going to see some best and top laravel packages that will help you to optimize your application performance and it's also very useful while doing the development.
IDE Helper
Github: https://github.com/barryvdh/laravel-ide-helper
It's a very helpful package and saves lots of time for the developer.
It will generate the helper file which enables our IDE to provide accurate autocompletion while doing the development.
Laravel Debugbar
Github : https://github.com/barryvdh/laravel-debugbar
This is very helpful when we have to check the page performance, in sense of how many queries are firing on the specific page? , how many models are loading? etc.
We can show the total processing time of the page, and the query results time too. by using that results we can do some refactor to our code and make our application more optimized.
Spatie Medialibrary
Github : https://github.com/spatie/laravel-medialibrary
This package is very useful when we are doing file uploads. also, it allows us to upload files to the s3 (AWS) very easily by changing just the file system driver.
The main functionality it has is it allows us to associate files with the Eloquent models.
Spatie Role Permission
Github : https://github.com/spatie/laravel-permission
It's 2022 and still, lots of developers are using the custom roles/permissions management. they even didn't familiar that this package have capabilities to manage each role/permissions management with a specific Eloquent model too.
We can assign roles or permissions to the user model or even any model. later we can check it via the middleware that this package is providing.
Ziggy
Github : https://github.com/tighten/ziggy
Before using this package you must need to implement the named routes into your laravel application.
Normally people can just provide a hardcoded URL into the JS file while doing the AJAX calls. But with this package, you can use the route we are using in blade files.
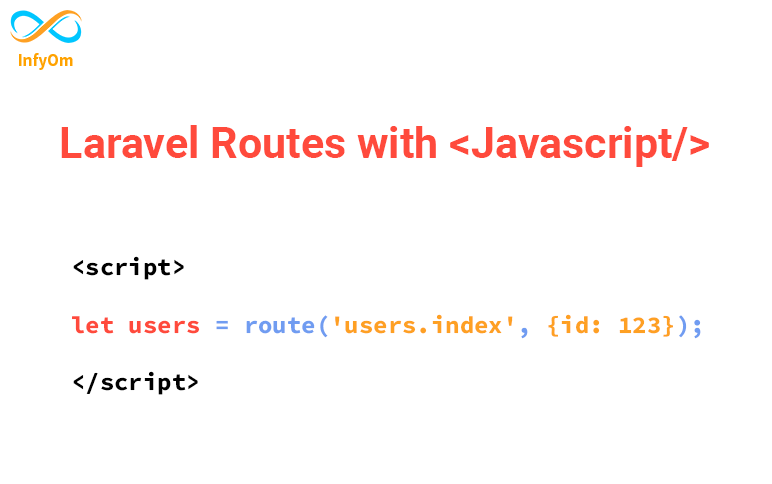
This allows us to use the route() helper method in the JS files.
How to use Multi Tenant with Multi Databases Into Any Laravel Application ?Laravel

How to use Multi Tenant with Multi Databases Into Any Laravel Application ?Laravel
People are quite afraid :), including me :) when it’s about the developing system that works with multi-tenant / multi-database.
In this tutorial, we will implement a multi-tenant system that will create a separate database when the new tenant will create.
Install Package
composer require stancl/tenancy
Then run the following command :
php artisan tenancy:install
Then add the service provider TenancyServiceProvider to your config/app.php file:
/*
 * Application Service Providers...
 */
App\Providers\AppServiceProvider::class,
App\Providers\AuthServiceProvider::class,
// App\Providers\BroadcastServiceProvider::class,
App\Providers\EventServiceProvider::class,
App\Providers\RouteServiceProvider::class,
App\Providers\TenancyServiceProvider::class, // <-- here
Setup Tenant Model
namespace App;

use Stancl\Tenancy\Database\Models\Tenant as BaseTenant;
use Stancl\Tenancy\Contracts\TenantWithDatabase;
use Stancl\Tenancy\Database\Concerns\HasDatabase;
use Stancl\Tenancy\Database\Concerns\HasDomains;

class Tenant extends BaseTenant implements TenantWithDatabase
{
    use HasDatabase, HasDomains;
}
Then, configure the package to use this model in config/tenancy.php:
'tenant_model' => \App\Tenant::class,Create Migrations For tenant
Create one migration and move that migration file to migrations/tenant. So when we are going to create new tenant this migarations files will run for that new tenant.
You can do the same for seeders. if you want to change the seeder file then you can change it from the config/tenancy.php
Create Actual Tenant
$tenant = Tenant::create([
    'id' => time(),
]);
Result
Now when we run above code it will create new tenant and also create new database with related prefix and given id value.
So it will create following things :
- New Tenant will be created in main database
- New tenant database will be created
- New migrations and seeders will be executed into new tenant database.
Hope that will helps a lot.
How to integrate Authorize Net into Laravel ?Laravel

How to integrate Authorize Net into Laravel ?Laravel
In this tutorial, we are going to see how we can implement the authorized hosted payment gateway by using their UI and components and take payments from users via authorized net using Laravel.
Create HTML form as like below code :
authorize.blade.php
{{ Form::open(array('url' => 'https://test.authorize.net/payment/payment')) }}

Form::hidden('token', '{{$token}}');

Form::submit('Click Me!');

{{ Form::close() }}
You must have to pass $token to form, we will see below how we can generate that token.
AuthorizeController.php
 public function onboard() {

    $token = $this->getAnAcceptPaymentPage();

    return view('authorize', compact('token'));
 }

 public function getAnAcceptPaymentPage()
 {
    $merchantAuthentication = new AnetAPI\MerchantAuthenticationType();
    $merchantAuthentication->setName(config('payments.authorize.login_id'));
    $merchantAuthentication->setTransactionKey(config('payments.authorize.transaction_key'));

    $refId = 'ref' . time();

    $transactionRequestType = new AnetAPI\TransactionRequestType();
    $transactionRequestType->setTransactionType("authCaptureTransaction");
    $transactionRequestType->setAmount("2050");

    $setting1 = new AnetAPI\SettingType();
    $setting1->setSettingName("hostedPaymentButtonOptions");
    $setting1->setSettingValue("{\"text\": \"Pay\"}");

    $setting2 = new AnetAPI\SettingType();
    $setting2->setSettingName("hostedPaymentOrderOptions");
    $setting2->setSettingValue("{\"show\": false}");

    $setting3 = new AnetAPI\SettingType();
    $setting3->setSettingName("hostedPaymentReturnOptions");
    $setting3->setSettingValue(
        "{\"url\": \"http://127.0.0.1:8000/authorize-success?refID\".$refID, \"cancelUrl\": \"http://127.0.0.1:8000/authorize-cancel\", \"showReceipt\": true}"
    );

    // Build transaction request
    $request = new AnetAPI\GetHostedPaymentPageRequest();
    $request->setMerchantAuthentication($merchantAuthentication);
    $request->setRefId($refId);
    $request->setTransactionRequest($transactionRequestType);

    $request->addToHostedPaymentSettings($setting1);
    $request->addToHostedPaymentSettings($setting2);
    $request->addToHostedPaymentSettings($setting3);

    $controller = new AnetController\GetHostedPaymentPageController($request);
    $response = $controller->executeWithApiResponse(\net\authorize\api\constants\ANetEnvironment::SANDBOX);

    if (($response != null) && ($response->getMessages()->getResultCode() == "Ok")) {

    } else {
        echo "ERROR :  Failed to get hosted payment page token\n";
        $errorMessages = $response->getMessages()->getMessage();
        echo "RESPONSE : " . $errorMessages[0]->getCode() . "  " .$errorMessages[0]->getText() . "\n";
    }
    return $response->getToken();
}
Now create routes into web.php as specified below.
web.php
Route::get('authorize-onboard', [\App\Http\Controllers\AuthorizePaymentController::class, 'onboard'])->name('authorize.init');

Route::get('authorize-success', [\App\Http\Controllers\AuthorizePaymentController::class, 'success']);
How it's going to work ?? (flow)
So initially we will call the route that contains that authorization form and also contains the payment information.
Here we are generating token before, generally, it should be generated from the payment screen.
The token will contains the payment information so while generating it make sure you are passing all the details properly.
Now when you submit the form it will redirect you to the authorized checkout page from where users can do payments and again redirect to the success screen.
Once Payment is done successfully you will be redirected to the success route URL with the RefID which is basically the transaction ID, and you can perform related actions on success action.
Hope it will help.
How to check Laravel logs with UI Interface ?Laravel

How to check Laravel logs with UI Interface ?Laravel
Debugging the most important thing that developers always need while developing things.
If it's about local environments then we can easily check our logs by putting logs to local but when it's about live environments it's a time-consuming process.
We have to go to the files and open/download those files to local and then we are able to check live logs.
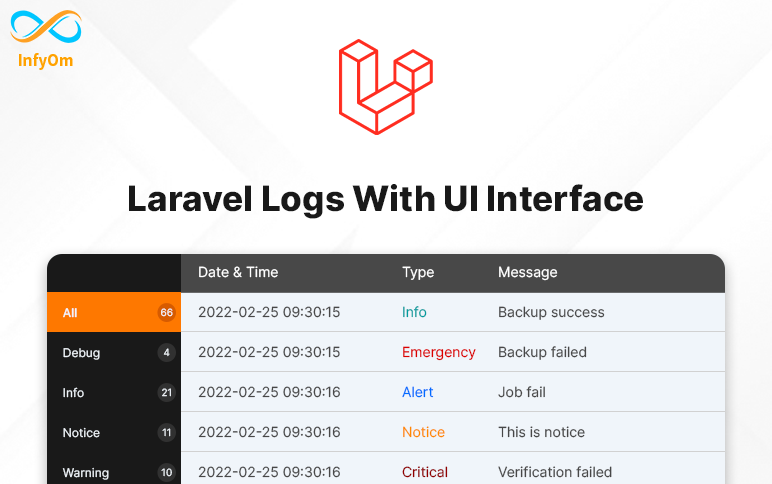
Here we are going to one package that will provide us the UI interface and we can easily check all our logs there.
We can also clear / delete our logs files from there. its better to use daily logs so we can trace logs easily.
Let's see how we can integrate that package to our existing laravel application.
Installation
composer require rap2hpoutre/laravel-log-viewer
Add Service Provider to config/app.php in providers section
Rap2hpoutre\LaravelLogViewer\LaravelLogViewerServiceProvider::class,
Access Logs UI By adding a new route
Route::get('logs', [\Rap2hpoutre\LaravelLogViewer\LogViewerController::class, 'index']);
That's it and you can see all the logs thereby accessing the given route.
That will saves lots of debugging time, hope that will help you :)
How to use laravel routes with Javascript / JQuery ?Laravel

How to use laravel routes with Javascript / JQuery ?Laravel
Generally, we can use laravel routes into its blade files, but what do we have to do when we want to use routes in javascript? is that possible to use laravel routes into javascript?
Yes, now you can use laravel routes into laravel, thanks to Tighten/Ziggi package.
In this tutorial, we will learn how we can use laravel routes into javascript, so let's get started.
Install the package
composer require tightenco/ziggy
Update your main layout file
Add the @routes Blade directive to your main layout (before your application's JavaScript), and the route() helper function will now be available globally!
E.g (app.blade.php)
 ...
 ...

     @routes

..
..
