Laravel Posts
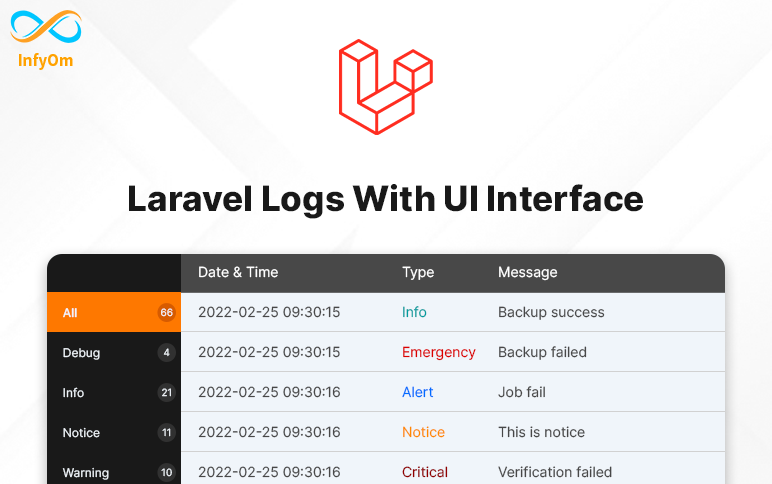
How to check Laravel logs with UI Interface ?Laravel
How to check Laravel logs with UI Interface ?Laravel
Debugging the most important thing that developers always need while developing things.
If it's about local environments then we can easily check our logs by putting logs to local but when it's about live environments it's a time-consuming process.
We have to go to the files and open/download those files to local and then we are able to check live logs.
Here we are going to one package that will provide us the UI interface and we can easily check all our logs there.
We can also clear / delete our logs files from there. its better to use daily logs so we can trace logs easily.
Let's see how we can integrate that package to our existing laravel application.
Installation
composer require rap2hpoutre/laravel-log-viewer
Add Service Provider to config/app.php in providers section
Rap2hpoutre\LaravelLogViewer\LaravelLogViewerServiceProvider::class,
Access Logs UI By adding a new route
Route::get('logs', [\Rap2hpoutre\LaravelLogViewer\LogViewerController::class, 'index']);
That's it and you can see all the logs thereby accessing the given route.
That will saves lots of debugging time, hope that will help you :)

How To Make a Laravel Application PWA In Few MinutesLaravel

How To Make a Laravel Application PWA In Few MinutesLaravel
Recently, I have created a new package for Laravel Community. it's called Laravel PWA. first of all what is PWA? let me explain a bit more about PWA. PWA means progressive web application. PWA provides a facility to install your web application on mobile and desktop. you don't need to write lots of line code in native platform-specific code.
You can create a PWA site in a few minutes using Laravel PWA.
You can watch the video tutorial as well to install this package.
Step 1:
Install the package by the following command,
composer require ladumor/laravel-pwaStep 2:
Add Service Provide into app.php config file in provider section. You can skip this step if you installed it in Laravel 6 and more.
Ladumor\LaravelPwa\PWAServiceProvider::class,Step 3:
Add Facade to app.php config file in aliases section. You can skip this step if you installed it in Laravel 6 and more.
'LaravelPwa' => \Ladumor\LaravelPwa\LaravelPwa::class,Step 4:
I think installation is done and no need to publish all the assets using the following command,
php artisan laravel-pwa:publishStep 5:
This step is very important. you published all the assets in the previous step. now, you need to link all the assets in your main blade file. for ex app.blade.php
Add the following code in the root blade file in the header section.
<!-- PWA  -->
<meta name="theme-color" content="#6777ef"/>
<link rel="apple-touch-icon" href="{{ asset('logo.PNG') }}">
<link rel="manifest" href="{{ asset('/manifest.json') }}">
Add following code in root blade file before close the body,
<script src="{{ asset('/sw.js') }}"></script>
<script>
    if (!navigator.serviceWorker.controller) {
        navigator.serviceWorker.register("/sw.js").then(function (reg) {
            console.log("Service worker has been registered for scope: " + reg.scope);
        });
    }
</script>
You should watch this tutorial if you want to set it up manually instead of using this package.

How to use laravel routes with Javascript / JQuery ?Laravel
How to use laravel routes with Javascript / JQuery ?Laravel
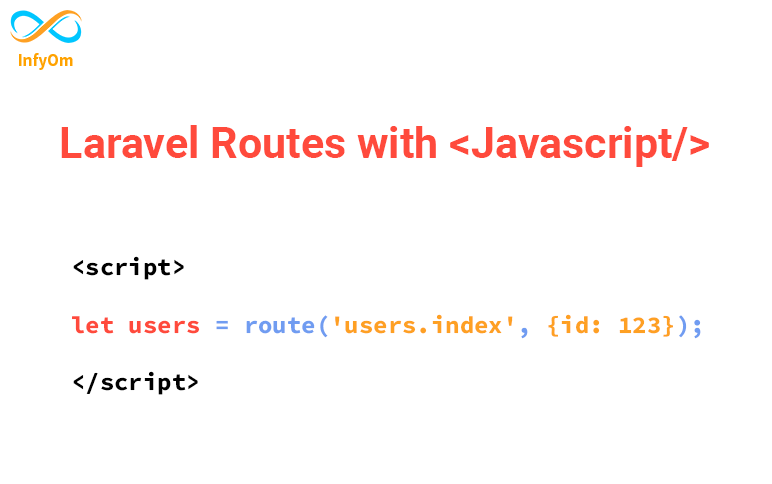
Generally, we can use laravel routes into its blade files, but what do we have to do when we want to use routes in javascript? is that possible to use laravel routes into javascript?
Yes, now you can use laravel routes into laravel, thanks to Tighten/Ziggi package.
In this tutorial, we will learn how we can use laravel routes into javascript, so let's get started.
Install the package
composer require tightenco/ziggy
Update your main layout file
Add the @routes Blade directive to your main layout (before your application's JavaScript), and the route() helper function will now be available globally!
E.g (app.blade.php)
 ...
 ...

     @routes

..
..