Laravel Posts
How to generate User Device API using Laravel One SignalLaravel
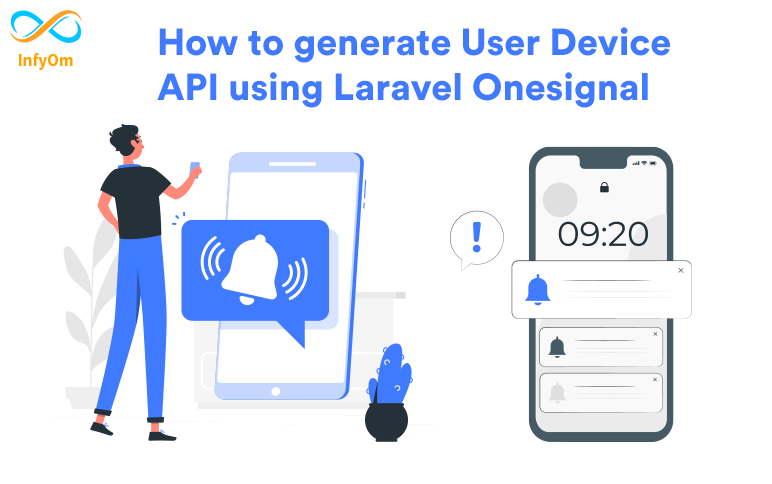
How to generate User Device API using Laravel One SignalLaravel
Generally, we are using a Laravel One Signal package for push notification. if you are planning to use one signal in the mobile application then this package right for you.
Recently, I add a new feature UserDevice. let me explain why I added support for user Device APIs.
We need to create an API to register a device because One Signal sends a push notification using os player id. so, we need to store os_player_id in the backend from the mobile application. So, need to create an API for it.
Now. you can save your time using this package. you can Generate APIs using one artisan command,
php artisan one-signal.userDevice:publish
This command generates the following files,
- UserDeviceAPIController
- UserDeviceAPIRepository
- UserDevice (model)
- Migration So, everything is ready in minutes and delivered an API on the spot.
Also, do not forget to add the following routes to the api.php file.
use App\Http\Controllers\API\UserDeviceAPIController;
Route::post('user-device/register', [UserDeviceAPIController::class, 'registerDevice']);
Route::get('user-device/{playerId}/update-status', [UserDeviceAPIController::class, 'updateNotificationStatus'])
How to generate pre-signed URL from s3 bucket ?Laravel

How to generate pre-signed URL from s3 bucket ?Laravel
People nowadays are becoming more intelligent, so better to protect our application's content/data from those who are calling themself hackers.
One of the best examples is the data URLs from AWS buckets. it's not a good idea to store sensitive data into a public AWS Bucket, as the URL is accessible by the people.
Of Course, you can store profile avatars and others data to the public bucket's that not contains any confidential information. so that's fine.
But when it's about confidential information like PAN CARD Details, AADHAR Card Details, Bank Informations we Must Recommend using AWS Protected Bucket.
In this tutorial, we are going to show that how we can prevent that kind of case, Or how we can integrate AWS Protected Bucket in our Laravel Application.
The following code will help you to generate a pre-signed AWS URL that will prevent our data, that URL is non-guessable and it will expire within some minutes/hours specified by us.
So let's start with some code :
$s3 = \Storage::disk(config('filesystems.s3_protected_disk'));
$client = $s3->getDriver()->getAdapter()->getClient();
$expiry = "+1 minutes";
$command = $client->getCommand('GetObject', [
  'Bucket' => \Config::get('filesystems.disks. s3_protected_disk.bucket'),
      'Key'    => 'Path to your file',
    ]);
$request = $client->createPresignedRequest($command, $expiry);
    return (string) $request->getUrl();
So here we have created an s3 instance and it's stored on the $s3 variable, we have specified the expiry time as 1 minute so the given URL for data will be expired within a minute.
Also, we have to specify the bucket name and path to our protected file to generate AWS pre-signed URL.
It will return the pre-signed URL and its looks like as the following URL.
https://pre-signed.s3.au-west-2.amazonaws.com/image.png?X-Amz-Algorithm=AWS4-HMAC-SHA256&X-Amz-Credential=xxxxxxxx%2F20180210%2Feu-west-2%2Fs3%2Faws4_request&X-Amz-Date=20210210T171315Z&X-Amz-Expires=60&X-Amz-Signature=xxxxxxxx&X-Amz-SignedHeaders=hostHope this helps.

How to setup passwordless Login In LaravelLaravel

How to setup passwordless Login In LaravelLaravel
Basically, we set up email/username and password login in all our projects. but, sometimes we need to implement s passwordless login in the laravel application,
First of all, what is passwordless login? passwordless login is an authentication method that allows the user to log in without entering a password.
In this article, I show you how to set up passwordless login laravel step by step.
Step 1:
one great laravel package Laravel Passwordless Login provides the ability to log in without a password.
This package provides a temporary signed URL link that logs in a user, What it does not provide is a way of actually sending the link to the route to the user. This is because I don't want to make any assumptions about how you communicate with your users.
Step 2:
Open the terminal and go to the project directory and fire the following command to install
composer require grosv/laravel-passwordless-loginStep 3:
Configure the following variables in your env file
  LPL_USER_MODEL=App\User
  LPL_REMEMBER_LOGIN=false
  LPL_LOGIN_ROUTE=/magic-login
  LPL_LOGIN_ROUTE_NAME=magic-login
  LPL_LOGIN_ROUTE_EXPIRES=30
  LPL_REDIRECT_ON_LOGIN=/
  LPL_USER_GUARD=web
  LPL_USE_ONCE=false
  LPL_INVALID_SIGNATURE_MESSAGE="Expired or Invalid Link"
Step 4:
Create one function in your login controller. it looks like
use App\User;
use Grosv\LaravelPasswordlessLogin\LoginUrl;

function sendLoginLink(\Request $request)
{
    $user = User::where('email','=', $request->get('email))->first();

    $generator = new LoginUrl($user);
    $url = $generator->generate();

    //OR Use a Facade
    $url = PasswordlessLogin::forUser($user)->generate();

    $data['url'] = $generator->generate();
    $data['user'] = $user;

    Mail::to($user->email)->send(new UserLoginMail($data));

    return back();
}
Step 5:
Set following route in your web.php
Route::post('/user/login', [LoginController::class, 'sendLoginLink'])->name('userLogin');Step 6:
Create one mailable. you can refer to a doc if not familiar. Also, fire the following command to create a mailable
php artisan make:mail UserLoginMailStep 7: Create an Email UI as per your requirement.
How to Setup Global Git Ignore in windowLaravel

How to Setup Global Git Ignore in windowLaravel
Lots of developers have a question: How do I create a global gitignore file? so, In this article, I show how to set up a global git ignore.
Reviewing pull requests, I often see contributors sneakily adding editor configuration to the repository’s .gitignore file.
If everyone would commit their environment-specific .gitignore rules, we’d have a long list to maintain! My repository doesn’t care about your editor configuration.
There’s a better solution to this: a personal, global .gitignore file for all your repositories. Here’s how you can set one up. create a .gitignore file for your global rules.
You can also see the following video tutorial as well.
You need to set up your global core.excludesfile configuration file to point to this global ignore file. So, let's start step by step
Step 1:
Create a file .gitignore on your profile C:\Users{username} for example C:\Users\Shailesh
Step 2:
Now you can set a .gitignore path with a three-way. we need to tell this to get this my global git to ignore file.
First Way: Using Windows git bash
Let's open Windows git bash and fire the following command,
git config --global core.excludesFile '~/.gitignore'Second Way: Using Windows cmd
Let's open Windows cmd and fire the following command,
git config --global core.excludesFile "%USERPROFILE%\.gitignore"Third Way: Using Windows PowerShell
Let's open Windows PowerShell and fire the following command,
git config --global core.excludesFile "$Env:USERPROFILE\.gitignore"So, you can easily set the .gitignore global file.
Stisla Templates with JQuery DatatablesLaravel
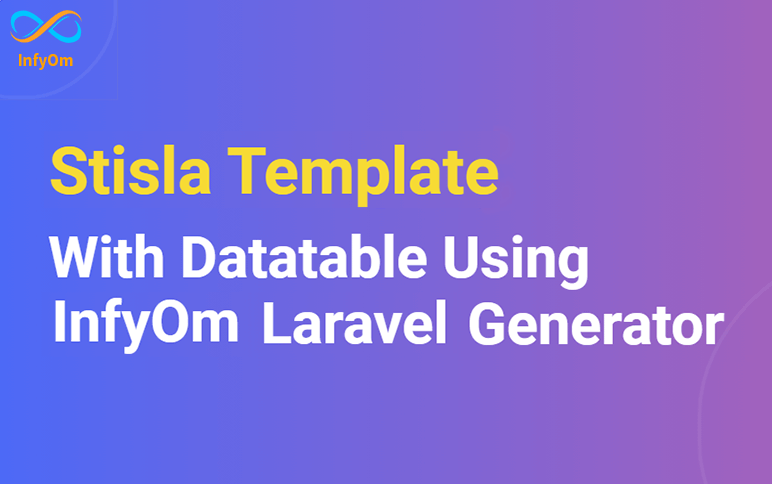
Stisla Templates with JQuery DatatablesLaravel
Today we are going to see how we can generate a data table with one of the most popular a stisla theme.
We can actually do that in minutes with the package that we Recently developed called stisla-templates .
Our team made a great effort into this package and developed it with a new feature. This template package has Jquery Datatable support. So, anyone can easily generate CRUD(scaffold) with a Data table.
Let's see step by step, how we can do that.
You can watch the following video tutorial or follow the article.
Install Packages
Follow the installation steps given in our official documentation of Laravel InfyOm generator and stisla-templates if not installed.
Now, you have to perform the following steps.
composer require yajra/laravel-datatables-oracle:"~9.0"This package handles the query and frontend stuff.
Register provider and facade on your config/app.php file.

Now clear your cache and regenerate it using the following command,
php artisan config:cacheWe are done with installation and configuration.
Use Generate Scaffold with Datatable
Now I am going to add an option jqueryDT, at last, to use JQuery Datatables while generating scaffolds. the command looks like
php artisan infyom:scaffold Post --jqueryDTEnter all required inputs and generate a scaffold of Post.
All views are created inside the posts directory in the resource. Also, the post.js file is created inside the js directory in assets that are located inside the resource.
Fire the following command for compile and publish the post.js
npm run devNow, the data table is ready for use. you can watch the video tutorial here.
How to create custom validation rules in Laravel ?Laravel

How to create custom validation rules in Laravel ?Laravel
While developing complex applications, sometimes we have to validate fields and data in a totally customized way, at that time you can use laravel's custom validations rules functionality.
In this tutorial, we are going to create our own custom validation rule to compare UUID. In our case, I have to check the UUID which is actually a binary string, whether it exists on DB or not.
Laravel doesn't provide any rule to compare that binary UUID string, so we will create our own validation rule.
So let's create our custom validation rule::
Generate Custom Validation Class
So here we have created a new class named UuidExists into App\Rules
namespace App\Rules;
use Illuminate\Contracts\Validation\Rule;
use Ramsey\Uuid\Uuid;
class UuidExists implements Rule
{

    protected $table;
    protected $column;

    public function __construct($table, $column)
    {
        $this->table = $table;
        $this->column = $column;
    }
    public function passes($attribute, $value)
    {
        $value = Uuid::fromString(strtolower($value))->getBytes();
        return \DB::table($this->table)->where($this->column, $value)->exists();
    }
    public function message()
    {
        return 'The validation error message.';
    }
}
Add Rule to AppServiceProvider
Add your rule to AppServiceProvider.php into boot() method. here I have to give the name uuid_exists to my custom rule. you can give your own name whatever you want.
\Validator::extend('uuid_exists', function ($attribute, $value, $parameters, $validator) {
    list($table, $column) = $parameters;
    return (new UuidExists($table, $column))->passes($attribute, $value);
});
How to use custom rules?
You can use your custom rule as follows. Here we have using the required and uuid_exists rule, where we are passing attributes and values to our custom rule, which will be used to passes($attribute, $value) function.
'tenant_id' => ['required', 'uuid_exists:tenant_id,uuid']Keep connected to us for more interesting posts about Laravel.
How to use One Signal in LaravelLaravel

How to use One Signal in LaravelLaravel
The OneSingnal is the market leader in push notification providers. It provides mobile + web push, email & in-app messages, and an easy way to send notifications. OneSignal provides official core PHP APIs but not the Laravel package. We are using OneSignal in many projects and write a bunch of line code in all projects where we needed OneSingnal.
One day I had an idea in my mind why I should not write a Laravel wrapper for OneSignal?. Finally, I wrote the shailesh-ladumor/one-signal Laravel Wrapper for it. Using this package, we can write neat & clean code and just a few lines of code.
OneSignal add this package in his official docs here
You can watch the following video tutorial or follow the article.
This package also works with the previous Laravel version.
Today we are going to see how we can use Laravel OneSignal Wrapper in Laravel. Let's see step by step, how we can do that.
Spet 1: Install Packages
Install shailesh-ladumor/one-signal by the following command,
composer require ladumor/one-signalStep 2: Publish the config file
Run the following command to publish config file,
php artisan vendor:publish --provider="Ladumor\OneSignal\OneSignalServiceProvider"Step 3: Add Provider
Add the provider to your config/app.php into the provider section if using a lower version of Laravel,
Ladumor\OneSignal\OneSignalServiceProvider::classStep 4: Add Facade
Add the Facade to your config/app.php into aliases section,
'OneSignal' => \Ladumor\OneSignal\OneSignal::classConfigure a .env file with following keys
ONE_SIGNAL_APP_ID=XXXXXXXX-XXXX-XXXX-XXXX-XXXXXXXXXXXX
ONE_SIGNAL_AUTHORIZE=XXXXXXXXXXXXXXXXXXXXXXXXXXXXXXXXXXXXXXXXXXX X
ONE_SIGNAL_AUTH_KEY=XXXXXXXXXXXXXXXXXXXXXXXXXXXXXXXXXXXXXXXXXXX
ONE_SIGNAL_AUTH_KEY is optional if you do not want to create an app. I hope you are familiar with the One Signal Platform and know how to get APP_ID and AUTHORIZE. If not, you should see the below image for how to get it.

So, we are done. Let's check how to send push notifications.
Check out this code to send a push notification.
use Ladumor\OneSignal\OneSignal;
$fields['include_player_ids'] = ['xxxxxxxx-xxxx-xxx-xxxx-yyyyy']
$message = 'hey!! This is a test push.!' OneSignal::sendPush($fields, $message);


